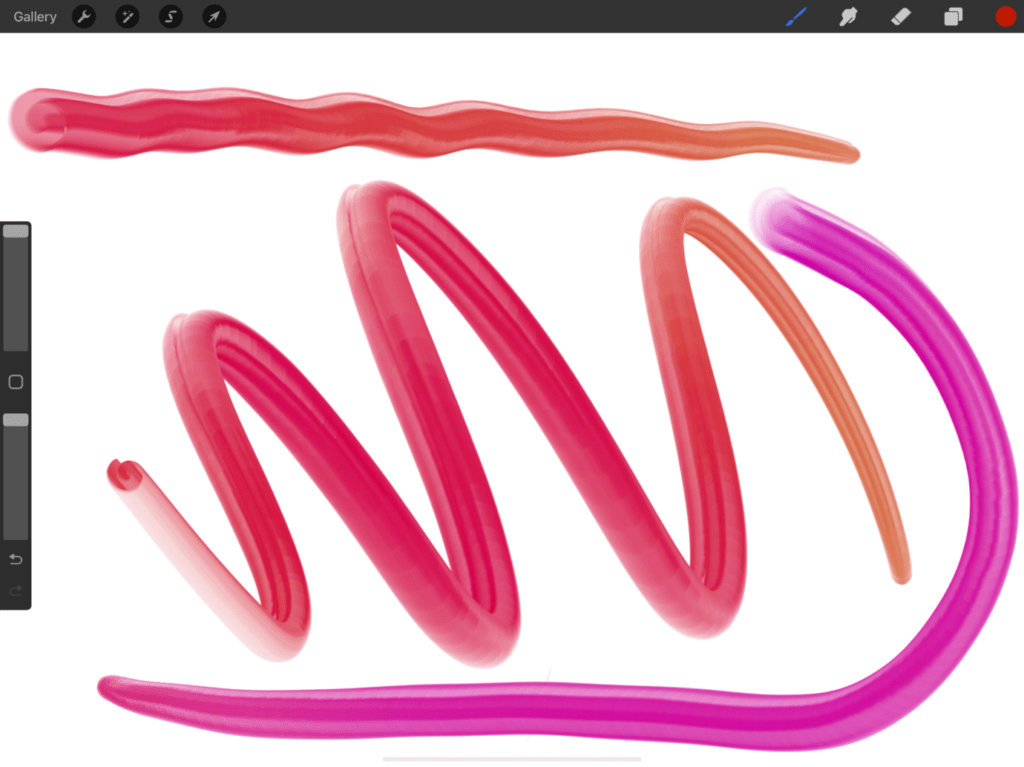
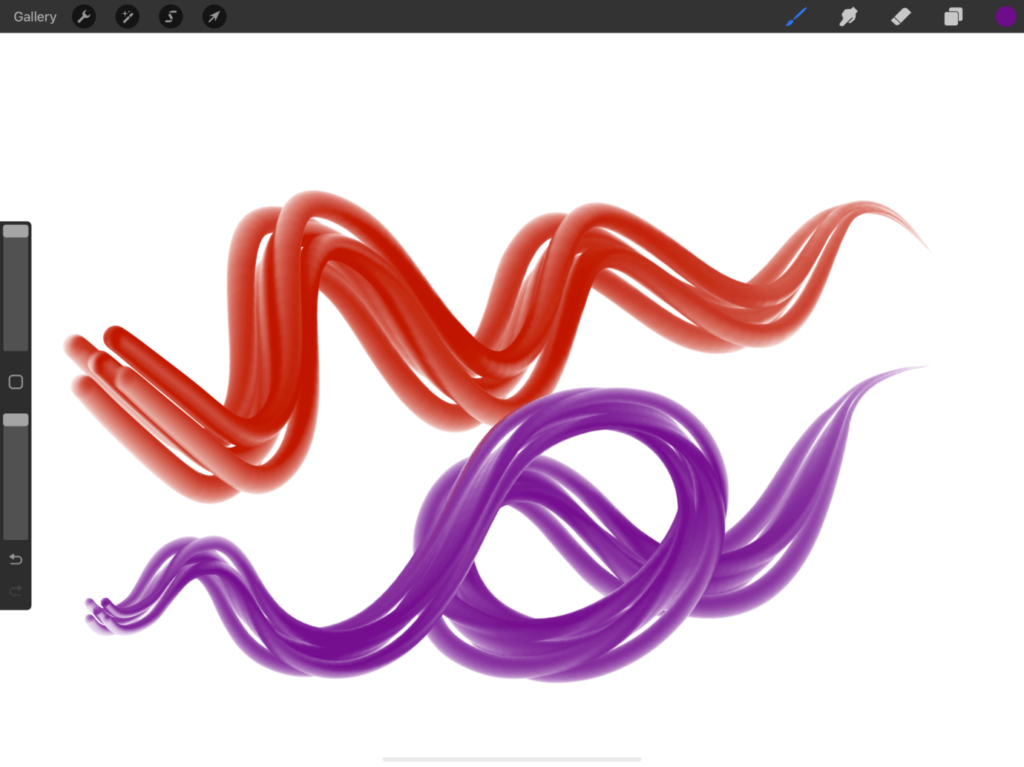
This article will explain the full process to create a 3D effect on Procreate brush.
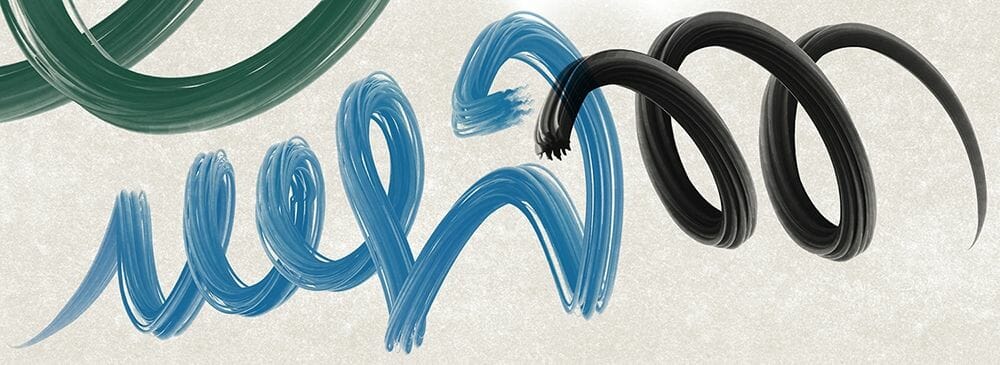
This brushes samples will be difficult to use in a painting process, but for calligraphy and lettering it would be perfect.
The brushes settings will be approximately similar in all the exemples, but the shapes will have an important role to create different effects.

To create great tags effect, or give the feeling of volume to strokes, this step by step tutorial will show you how to adjust all settings to arrive to similar results…After you’ll can experiment.
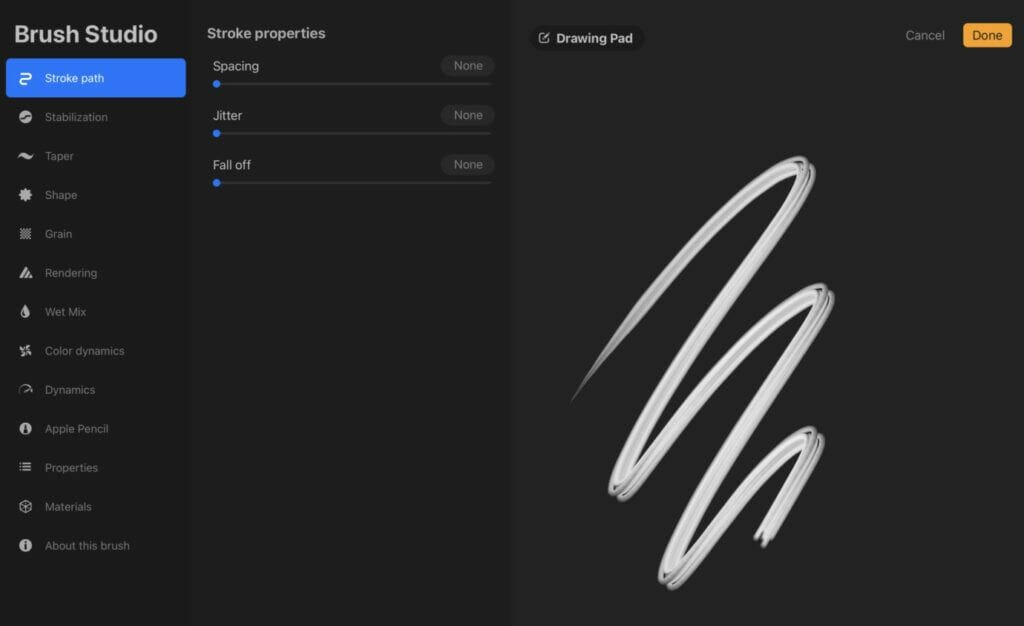
Step 1: Stroke Path
Spacing, jitter and fall off at None
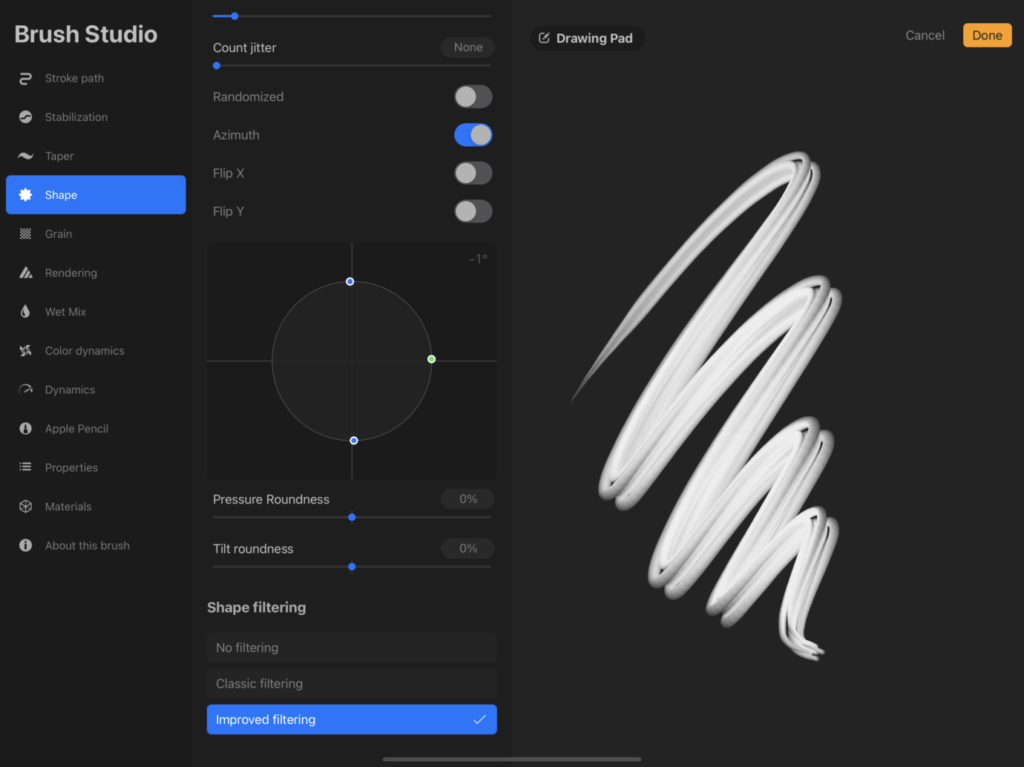
Step 2: Shape
In the shape section import a form, preferably a clean one.
you can start with geometrical shapes like circle or square.
in this sample we will choose this 5 dots.
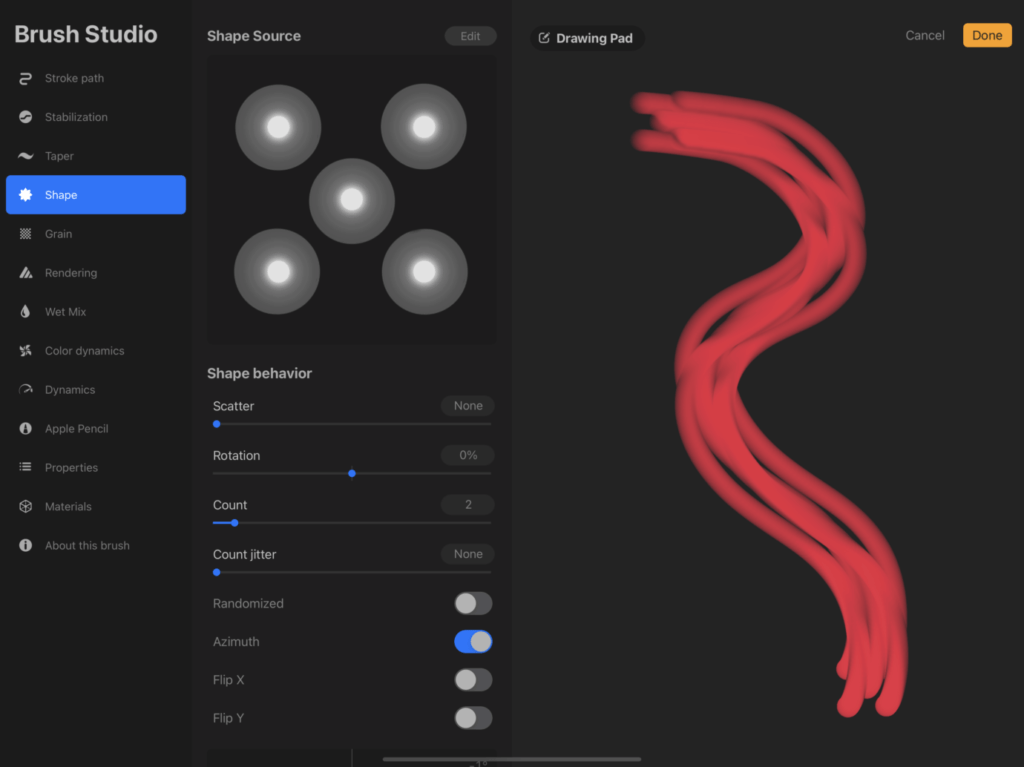
Adjust the settings like in the screen captures.
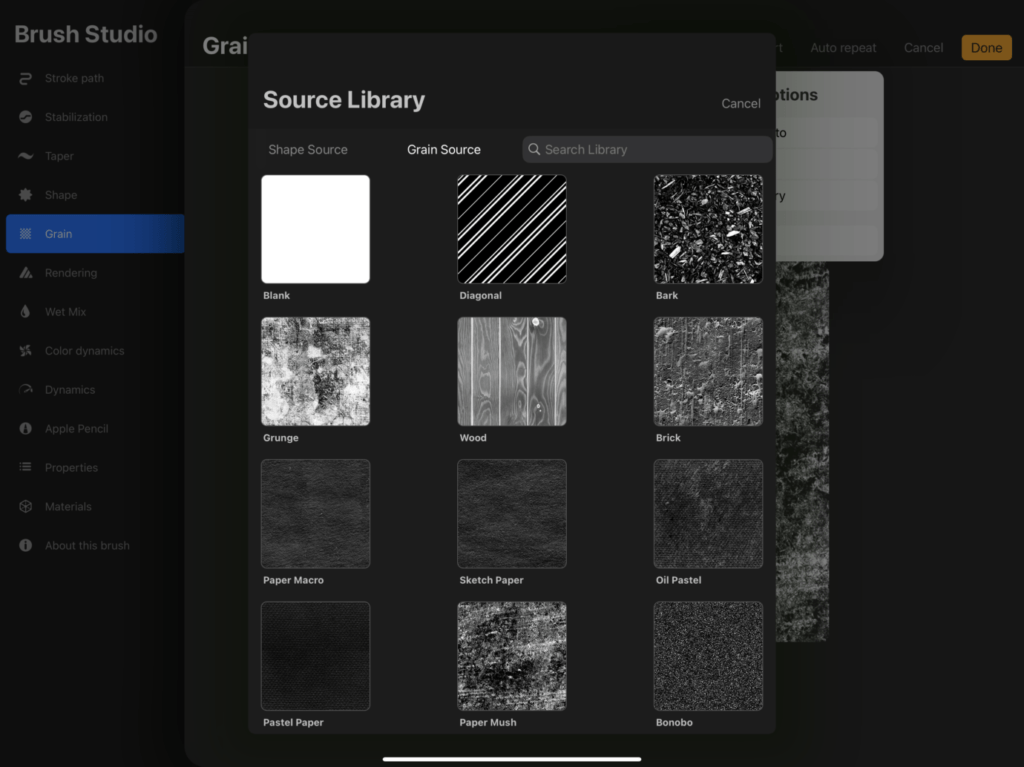
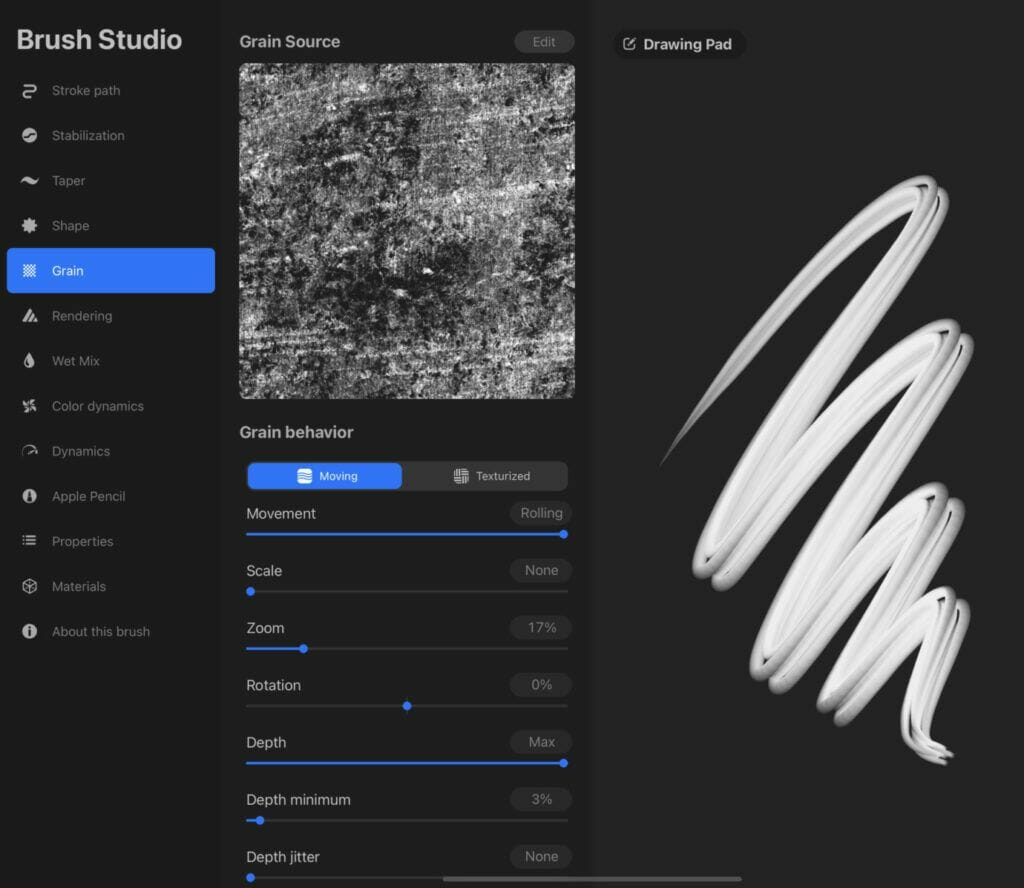
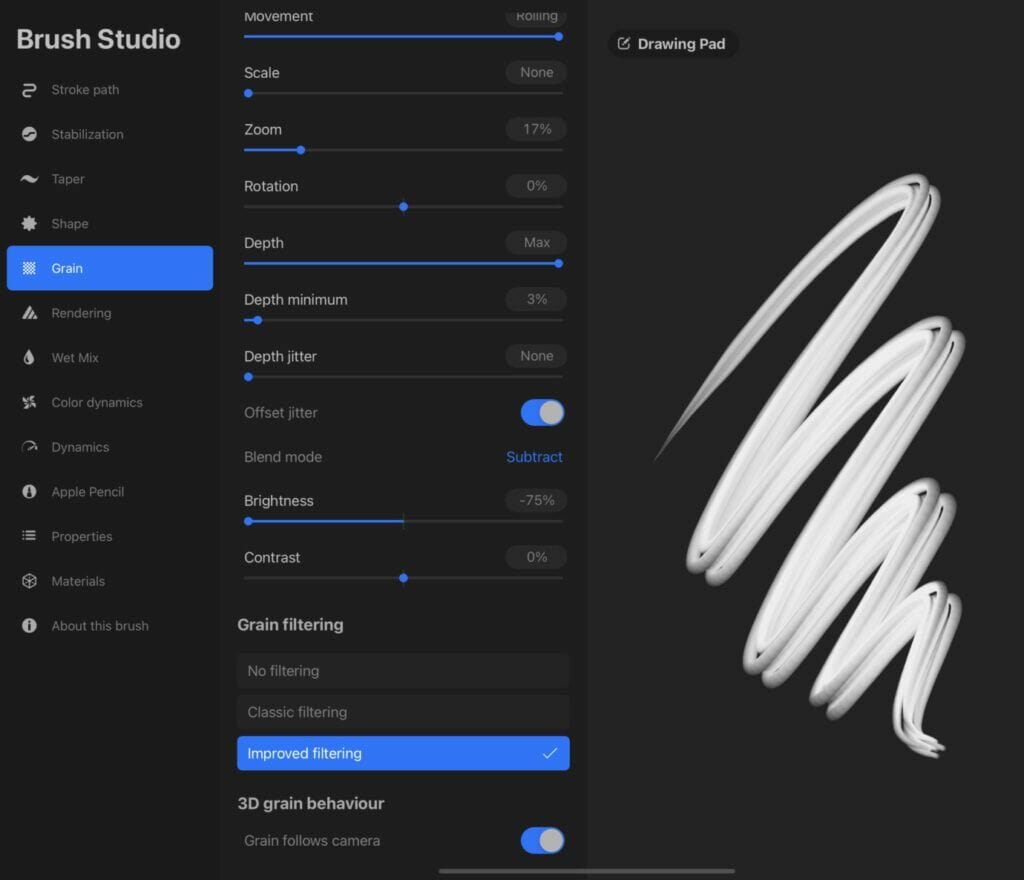
Step 3: Grain
Go to the grain section, import a texture from Procreate gain library, and adjust the settings.
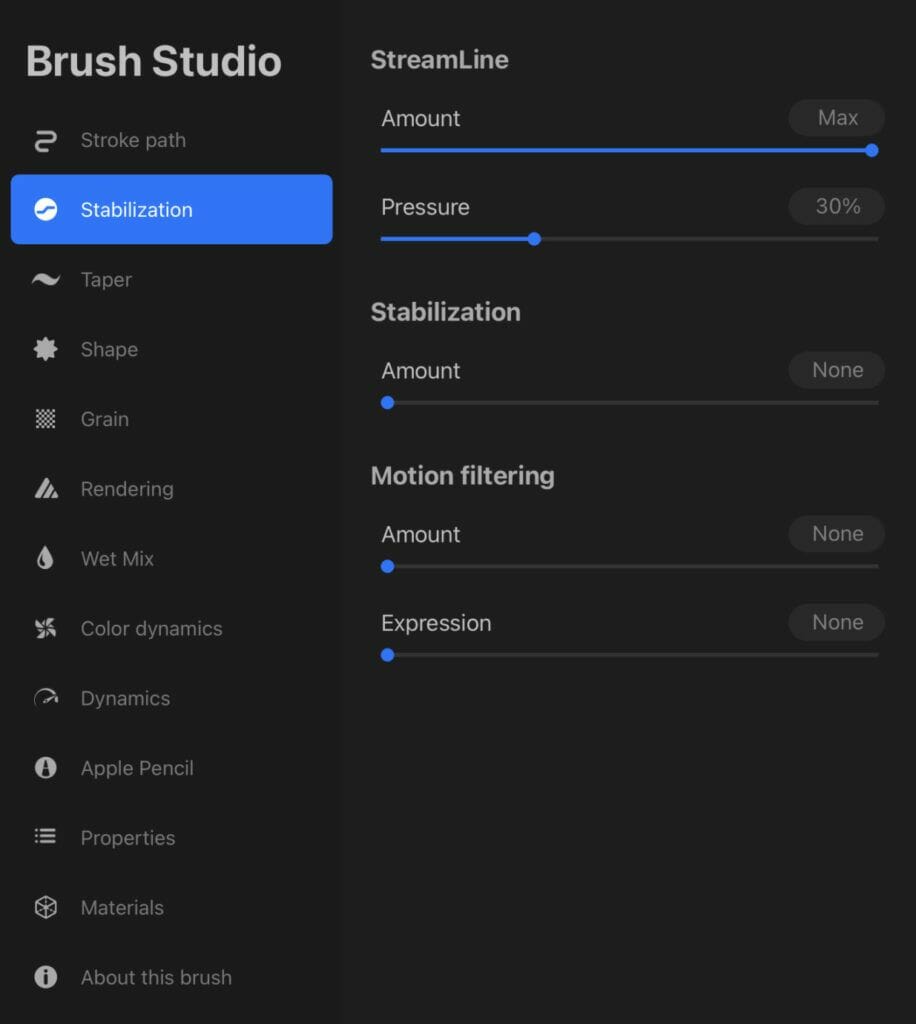
Step 4: Stabilization
Go up to the stabilization section, and for a smooth lettering effect you can adjust the streamline settings.
Test thé result until you thinks it’s good for you…You’ll can adjust it more precisely later.
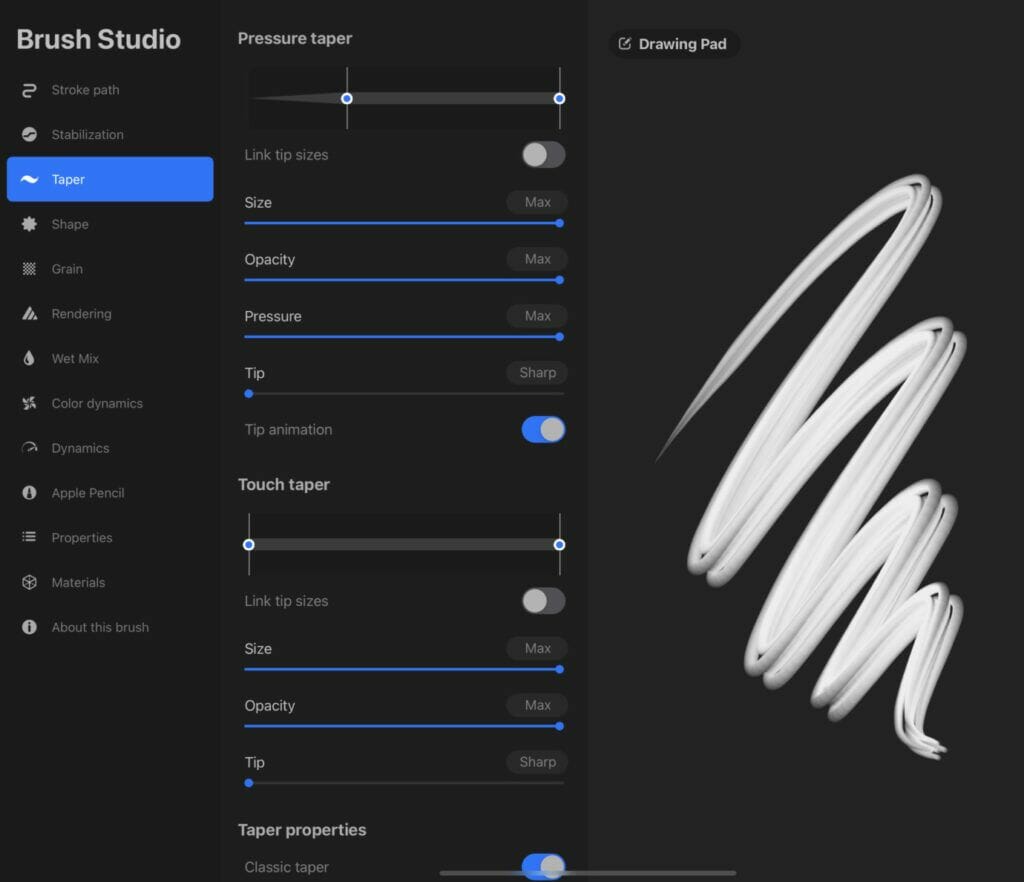
Step 5: Taper
It’s where you will adjust the attack and end of your brush, experiment with this according to your shape.
In this exemple, the start is small and finish with full brush according to pressure.
Step 6: Rendering
Step 7: Wet Mix

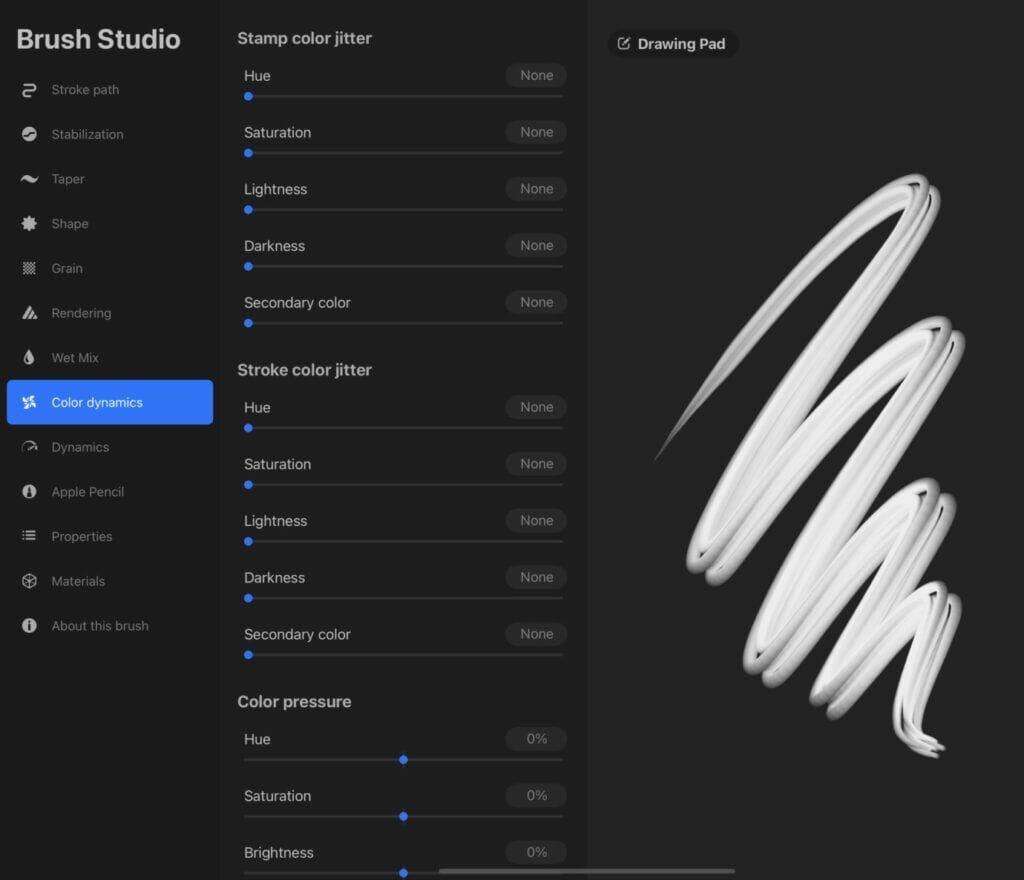
Step 8: Color Dynamics
For the color dynamics, according to your goals, you can adjust this.
For this exemple, I will keep everything at zero.
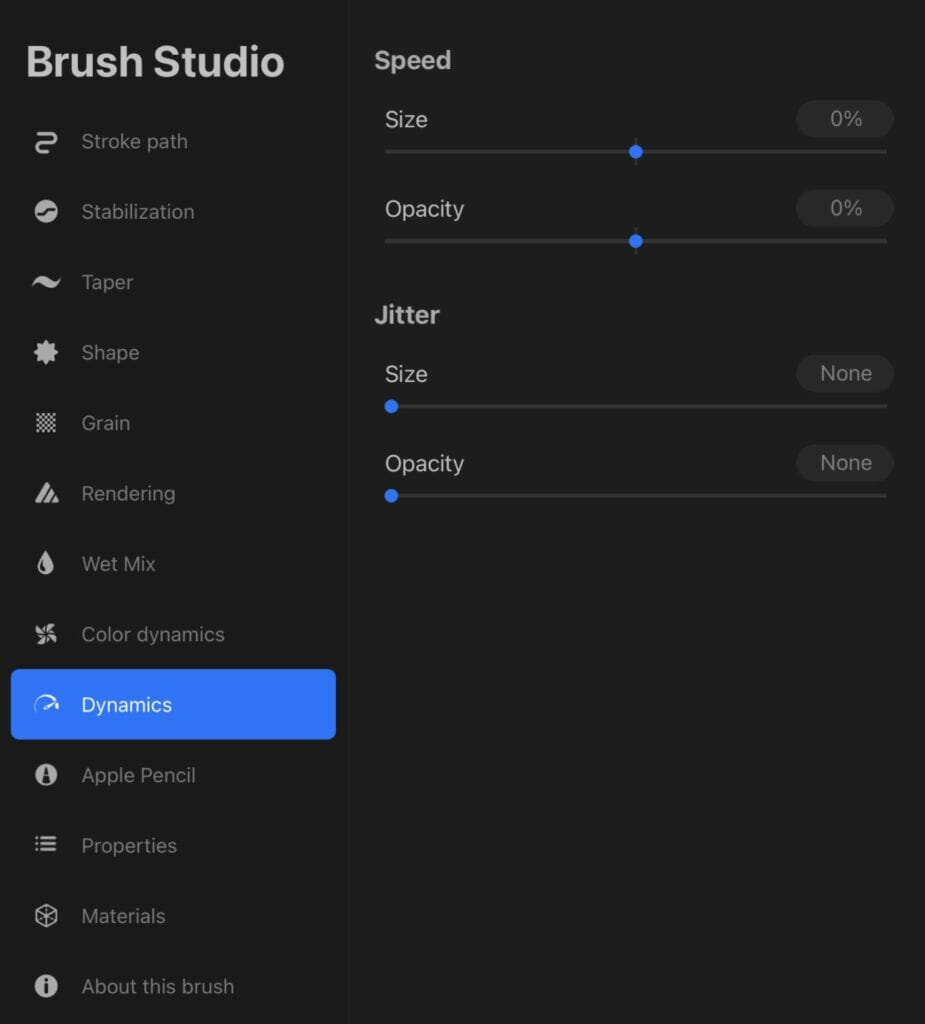
Step 9: Dynamics
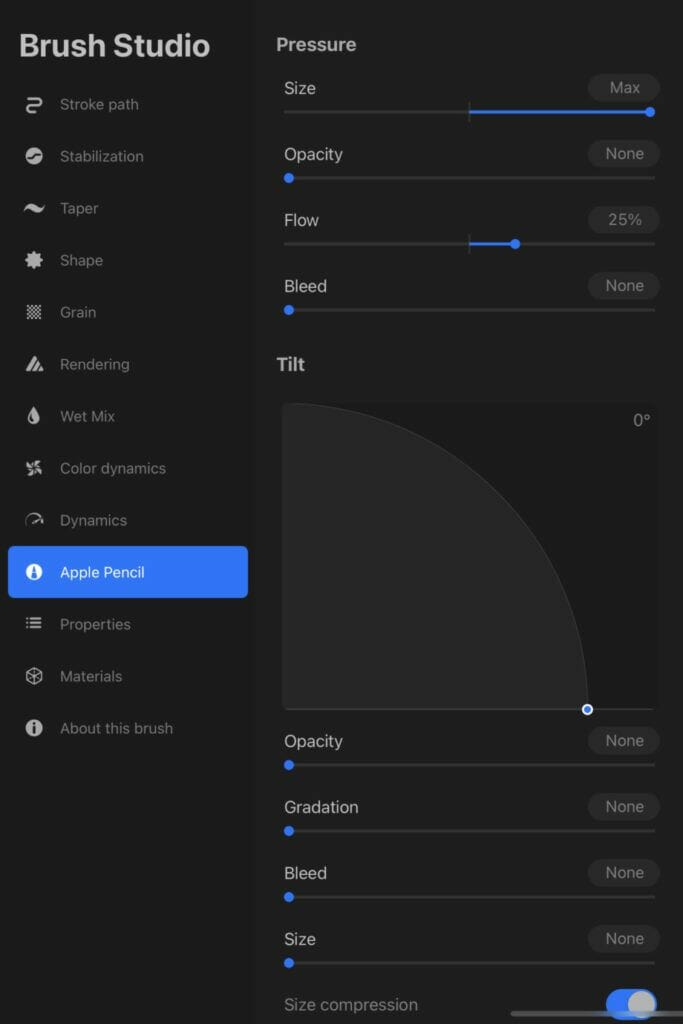
Step 10: Apple Pencil
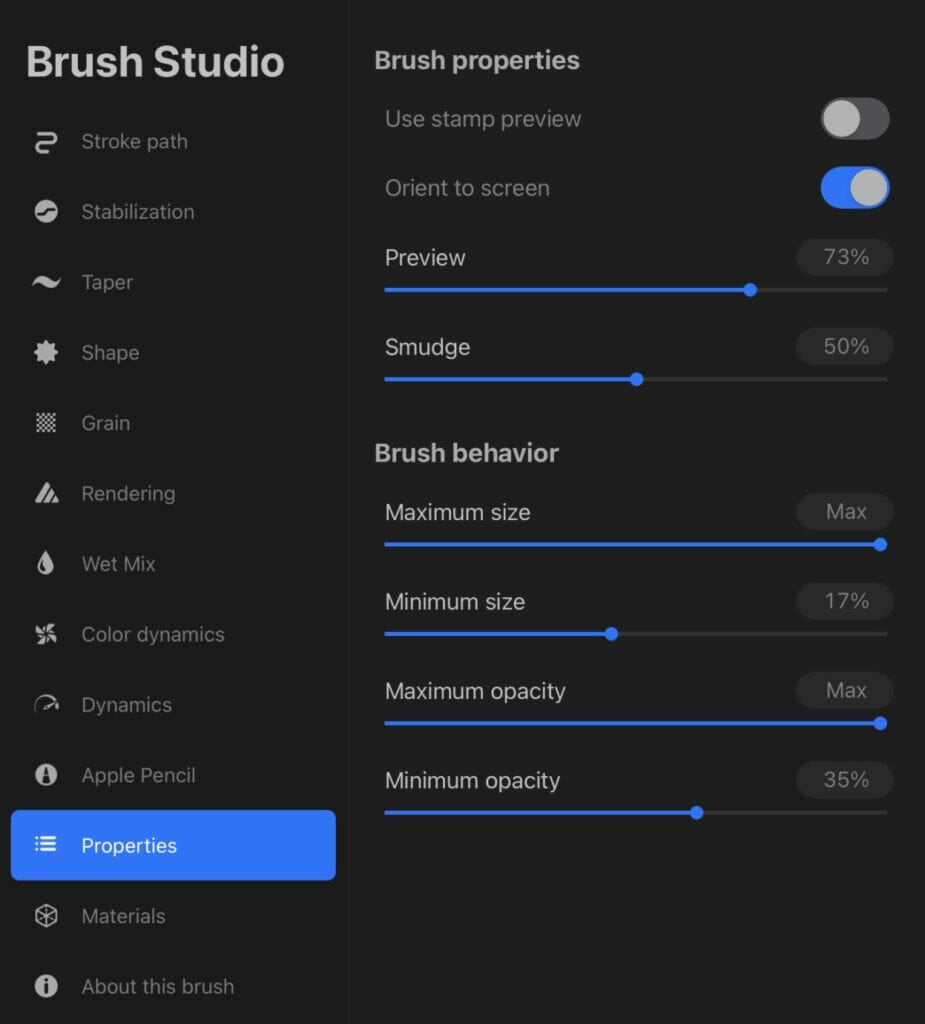
Step 11: Properties
Step 12: About this Brush
You can pass the Materials section and go directly to About this Brush.
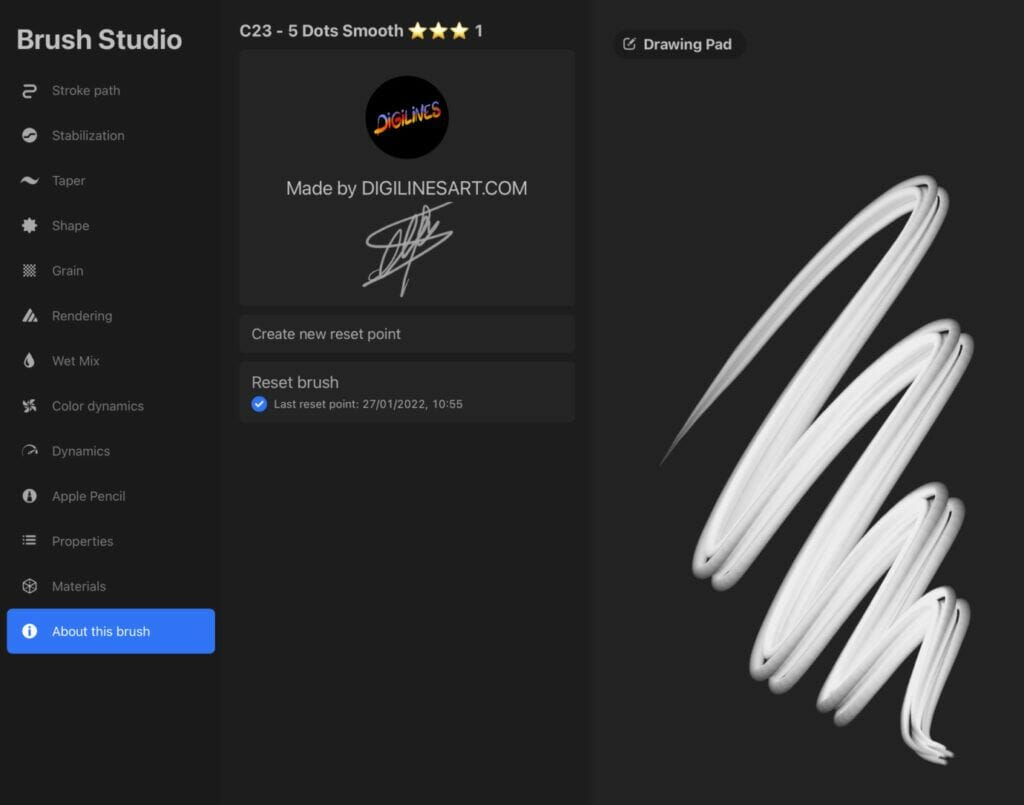
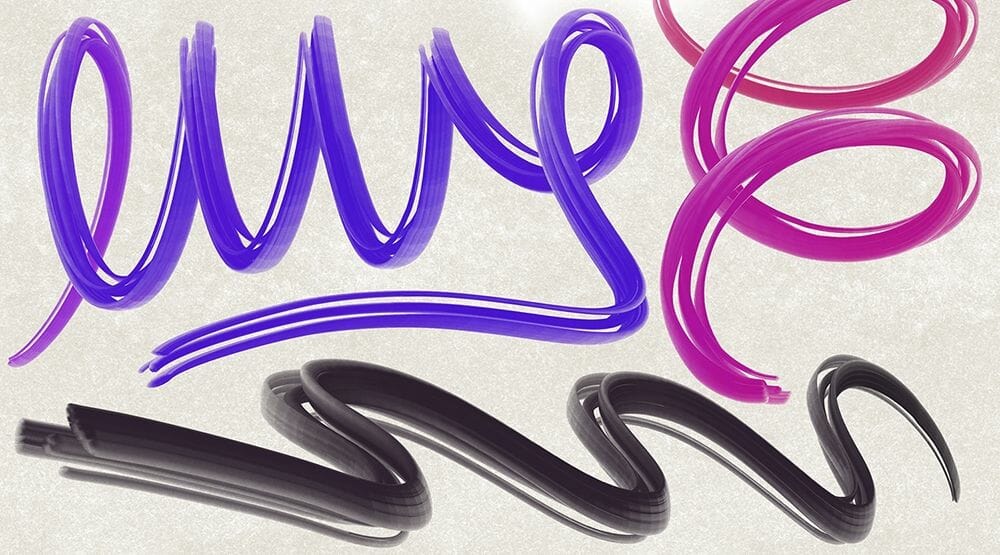
Your brush is done…
Now you can finalize your settings as you want and also experimenting with different shapes and grains.
29 $Purchase