Procreate is a raster graphics editor app for digital art and animation developed by Savage Interactive for iIOS.
Designed in response to the artistic possibilities of the iPad it was launched in 2011.
In 10 years, Procreate was improved a lot, and today it’s one of the most popular design app used by professionals as well as arts amateurs.

The possibilities are huge, but the strong point of Procreate, it’s to be perfectly adapted to a professional workflow in a user friendly environment.
The tools and effects are perfectly organized and easy to access.
The learning curve is faster than most of the other programs with a very clean layout.
The focus is really made on the workflow and the accessibility of the main tools.
As professional illustrator and animator, I definitely opted for procreate as my main design software.
Since the iPads becomes powerful enough, with procreate it becomes a great art studio in your bag.
Perfect for the artists wants to create everywhere at a professional level, as well as professionals from all design branches.
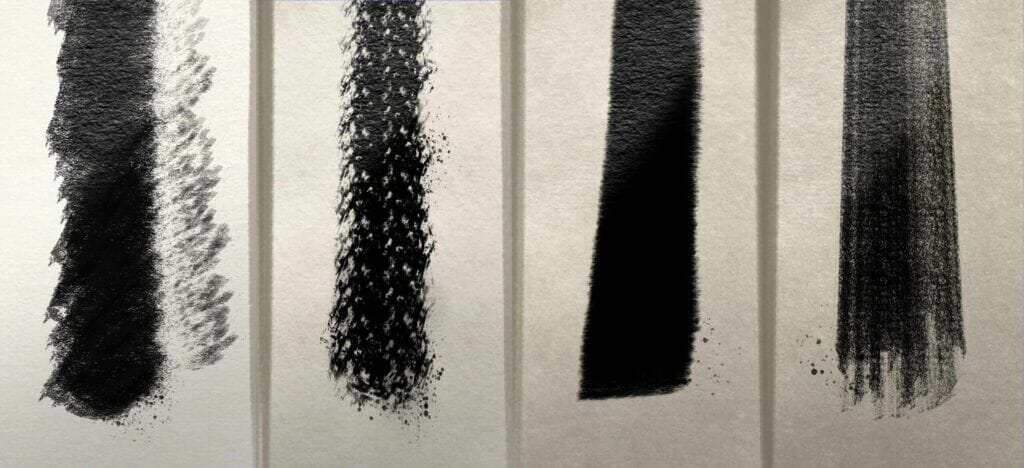
Brushes, whether they’re calligraphic, sketching, charcoal, or painting, can elevate any given design.
With them, you can bring in detail, noise, variation, or texture to any digital illustration or painting.
Procreate comes with a large variety of brushes, but finally the developers keeps the original brush library limited, and give to the artists the possibility to develop their own.
There will always be instances where you need to improve an existing brush or create your own from scratch.
With Procreate’s Advanced Brush Settings, the brush options are completely endless.
In this article, we will see how to manage Procreate brush library and settings.
We'll approach how to alter default brushes and how to create your own custom brushes from scratch to take your illustrations to the next level.
Procreate’s brushes mimic various mediums from sketching to final render, adding realistic textures to a digital artwork.
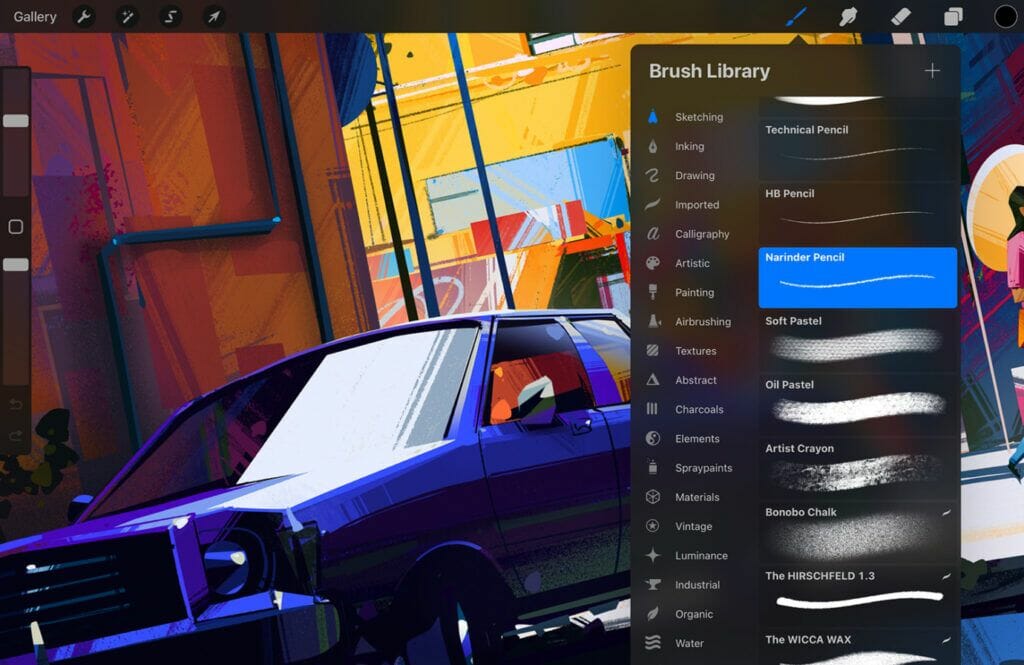
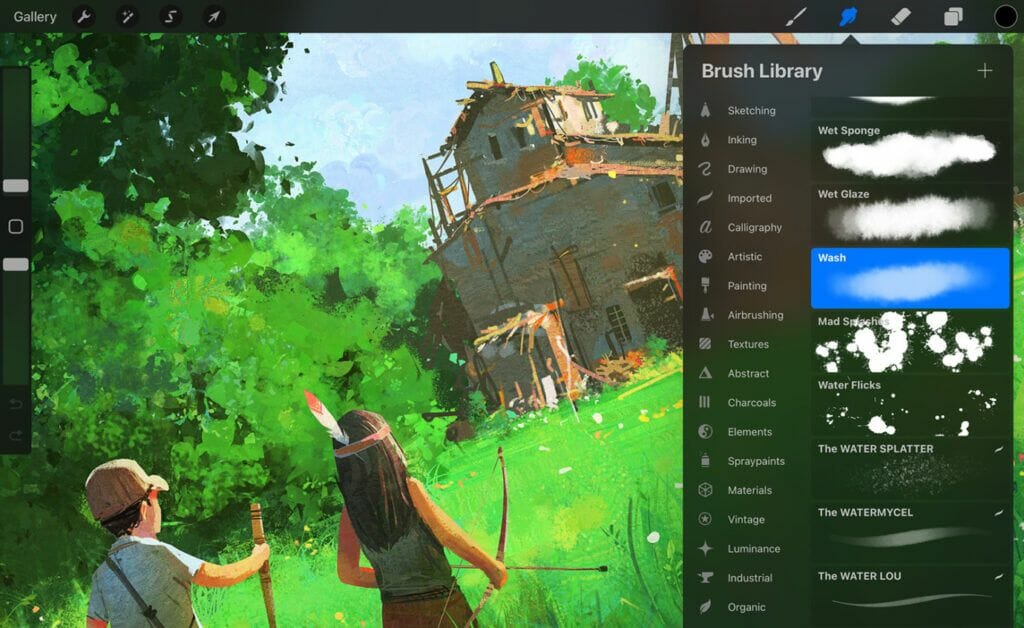
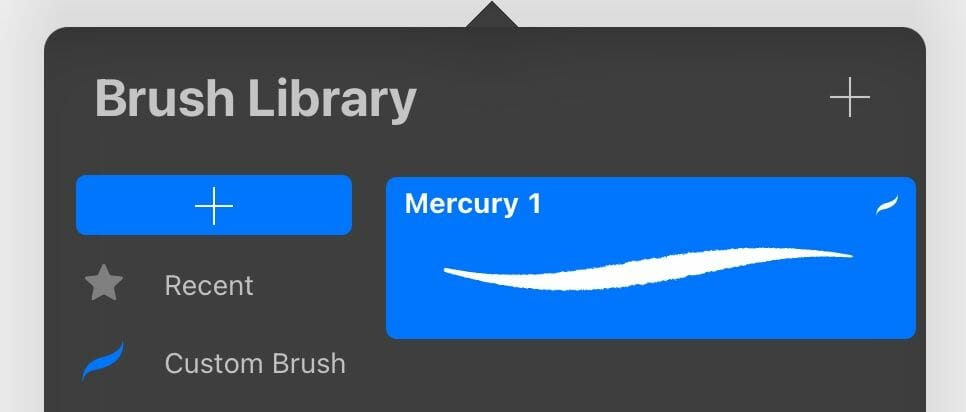
Every brush within Procreate can be found by accessing the brush icon at the top-right bar in the program.
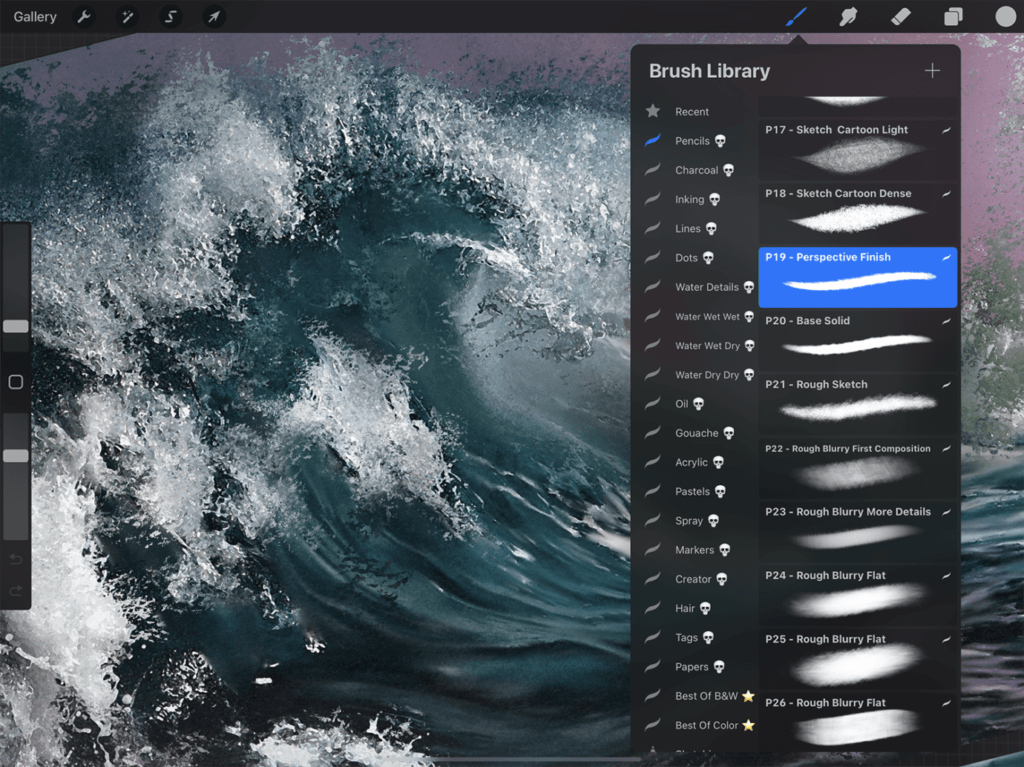
Located on the top right of the interface, Paint, Smudge, and Erase all share the same Brush Library, and all work the same way.
Tap the icon of the tool you want to use - the brush for Paint, the finger for Smudge, and the eraser for Erase.
You can start working immediately, or tap again to open the Brush Library and choose a brush.
Tap outside the Brush Library to close it again, and start creating.
Sketch, ink, paint, color, shade and texture in a wide variety of mediums.
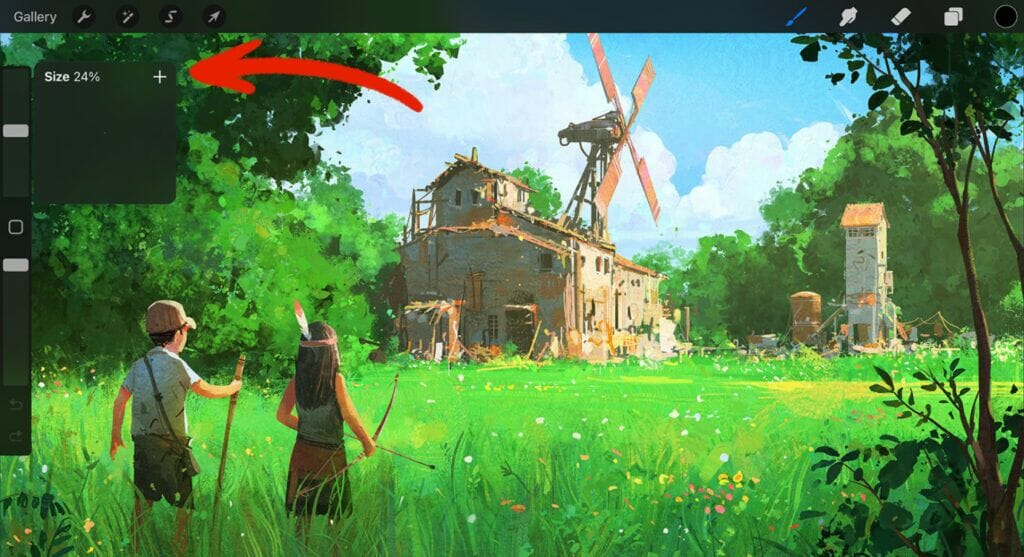
Use the two sliders in the left sidebar to adjust the size and transparency of your brushstrokes.
Explore the Brush Library to discover a range of unique brushes.
These create a variety of effects ranging from the realistic to the fantastic.
Smudging and blending is essential to achieving a smooth, realistic appearance, especially when painting, drawing with charcoal, and adding lights and shadows to drawings.
To enable the Smudge tool in Procreate, click on the finger icon next to the Brush icon.
With this tool activated, you can blend all components of the selected layer together.
Once you click the Smudge icon twice, you can select from various brushes within the brush library just as you can with the Brush tool.
Light pressure:
At lower strengths, Smudge is smoother and softer.
This can create gradients, blending shadows and highlights, or smudging pencil drawings.
Smudge shares the same Brush Library as Paint.
Experiment with different brushes to mix with each brush's unique characteristics.
These can have interesting and unexpected results.
Strong pressure:
When you use Smudge at full pressure, it smears color around like wet paint.
Colors will blended much quicker at full pressure.
You may also see visible drag lines where Smudge has moved paint around the canvas.
Mix color and pull transparency into your image for dynamic results.
Erasing what has been drawn is simply a part of the drawing process.
With the Eraser tool located at the top of the interface next to both the Brush and Smudge icons, you can easily erase any component of the selected layer in a specific brush.
Select the Eraser icon twice to bring up the brush library to choose from.
Paint away mistakes, remove pigment, carve out areas of transparency, and soften your artwork.
Tap Erase then select a brush from the Brush Library. Tap or drag your finger over your brushstrokes and colors to blend your artwork.
Match your eraser brush with your painting brush to create a seamless style.
You can adjust the opacity slider in the left sidebar to reduce the amount of pigment the eraser takes away. Use this technique to fade off or lighten areas of your art.
Pro Tip from Procreate developers: Switch between paint, smudge and erase while using the exact same brush quickly.
Tap and hold an unselected Paint, Smudge, or Erase icon. This will transfer your current brush settings over from the previous tool you’ve been using.
Remember up to four of your favorite brush size and opacity settings across paint, smudge and erase.
When using the two sliders in the sidebar a window will pop up to preview your brush size or opacity percentage.
In the top right of the preview window you will see a + symbol.
Tap the + symbol to save your brush size or opacity setting for that particular brush.
This will set a mark to indicate a Brush Size Memory setting, displayed as a small line on your slider.
You can set four marks for both the brush size and opacity slider.
Now let's go inside the brushes creation process
By default, the Procreate application features a vast selection of pre-made brushes that artists can use for various applications.
While Procreate’s brush collection is quite versatile, there will be times when you need to make a few tweaks to the default brushes.
By adjusting the settings and sliders here and there, the brush appearance can change dramatically.
Create a new canvas, then click on the brush icon at the top of the screen.
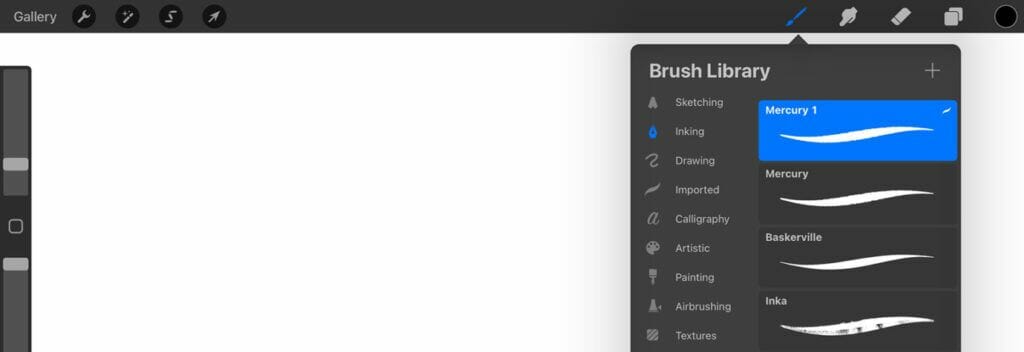
The Brush Library will open up the collection of default brushes to choose.
Scroll through the categories on the left side of the library and see the brush preview on the right side.

When you want to adjust a default brush, it's better to do it with a duplicated brush, and keep the original.
Duplicate the brush before editing by swiping left on the selected brush and hitting Duplicate.
You’ll see a new brush pop up on top of the original brush with a small brushstroke icon.
To further organize your custom brushes, scroll all the way to the top of the categories on the left and hit the plus sign icon.
You can then drag-and-drop any custom brushes into the new section.
Once you’ve found a brush to customize, here we'll customize the Baskerville...
Click on the brush preview to open up the Brush Studio.
On the left, you’ll find multiple sections: Stroke Path, Stabilization, Taper, Shape, Grain, Rendering, Wet Mix, Color Dynamics, Dynamics, and more.
Each section contains sliders that can be used to customize the appearance of the stroke and its behavior.
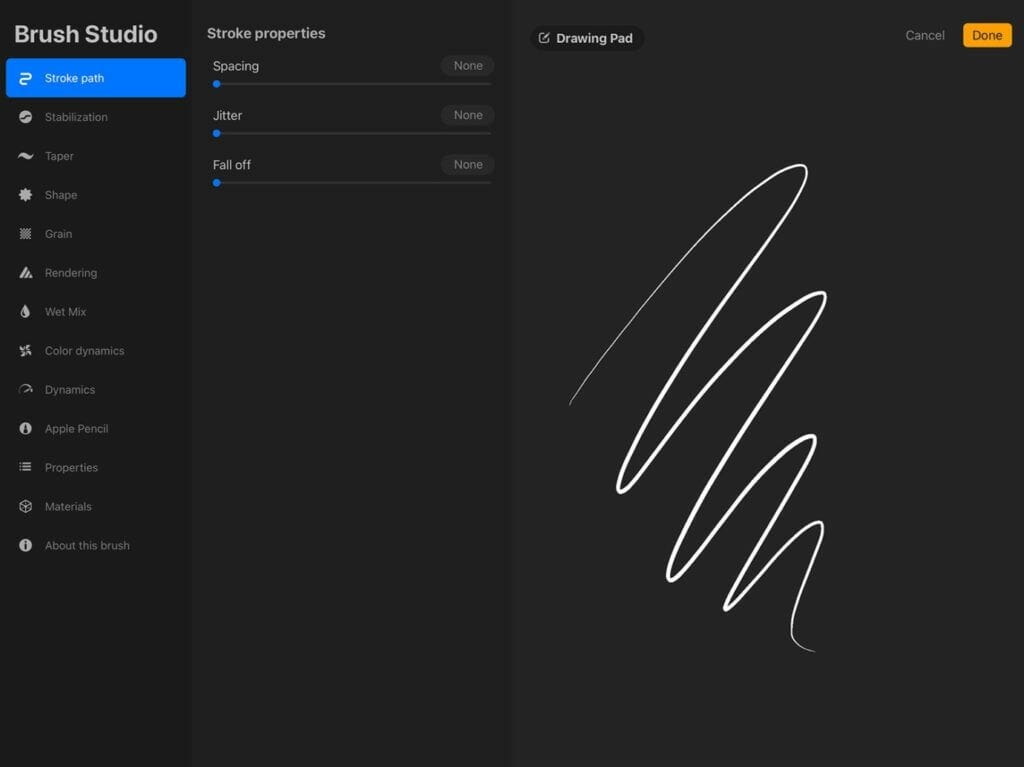
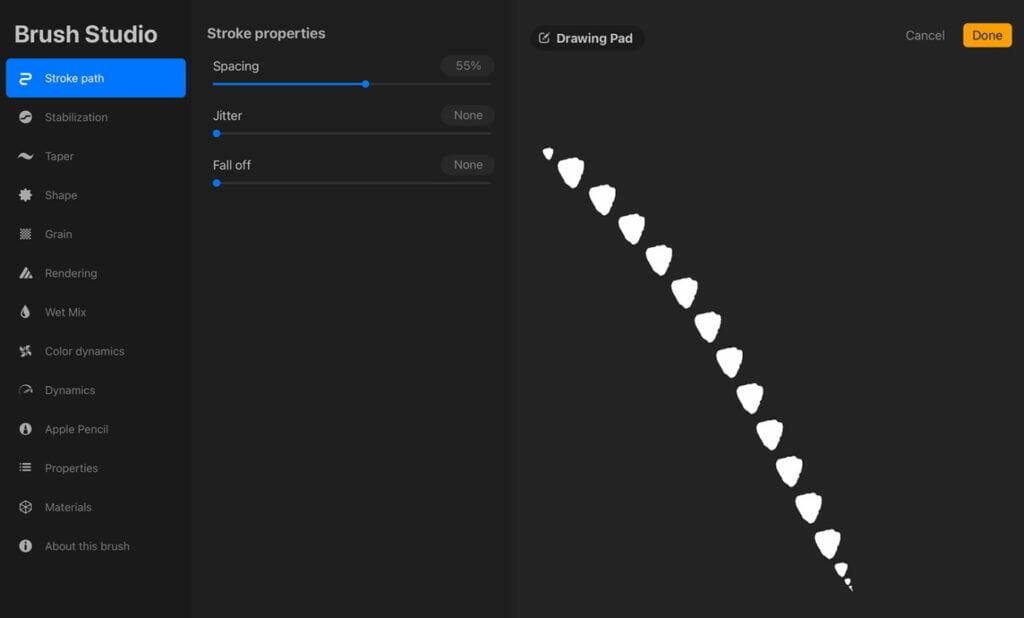
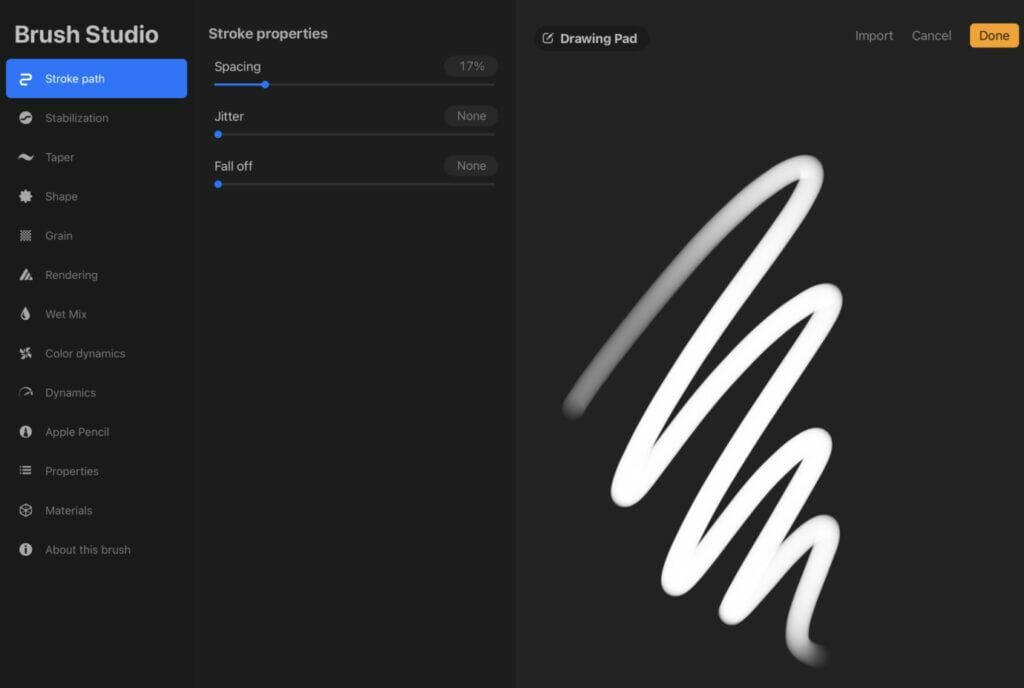
The first panel in the Stroke section is the Stroke Path.
Spacing, Jitter, and Fall Off are all properties that affect the spacing of the source image used to create the stroke.
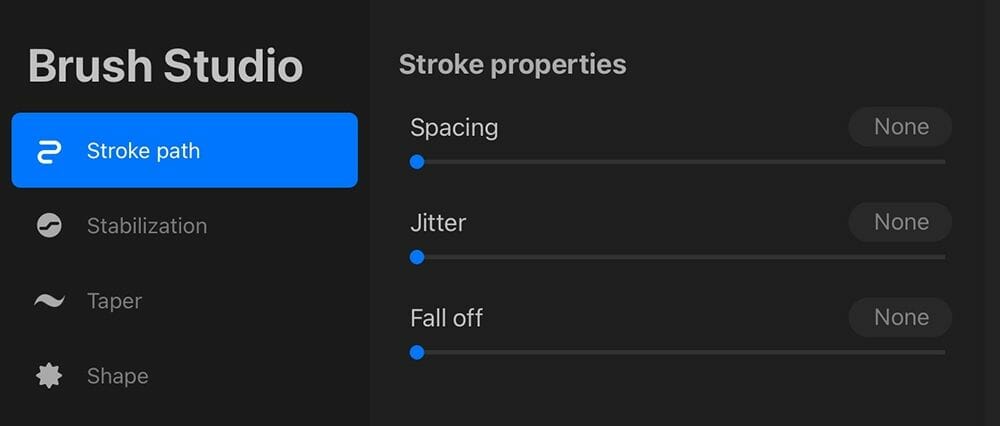
Spacing alters the spacing between each plot point.
Jitter changes the spacing that is offset from the stroke line.

Fall Off creates a stroke that will fade in intensity over time.

Within those properties, you’ll also see the Stabilization function.
This tool stabilizes your stroke appearance and is optimal when using Procreate for hand-lettering purposes or inking.
Before Procreate 5, this section was included in Stroke Path as Streamline.
Since the Procreate 5 update, this function is separated in 3 Sub-function: Streamline, Stabilization and Motion filtering.

Beneath the Stabilization panel is where you’ll find the Taper menu.
This menu shows sliders that impact the appearance of the taper at the end of the brush stroke.
Use the Pressure Taper option when working with the Apple Pencil, or the Touch Taper when working with your fingers.
Classic Taper applies the taper effect to the overall brush.
The remaining sliders customize the taper amount, size, opacity, pressure, and tip.
Experiment with these sliders and test out the custom settings by drawing within the Drawing Pad.

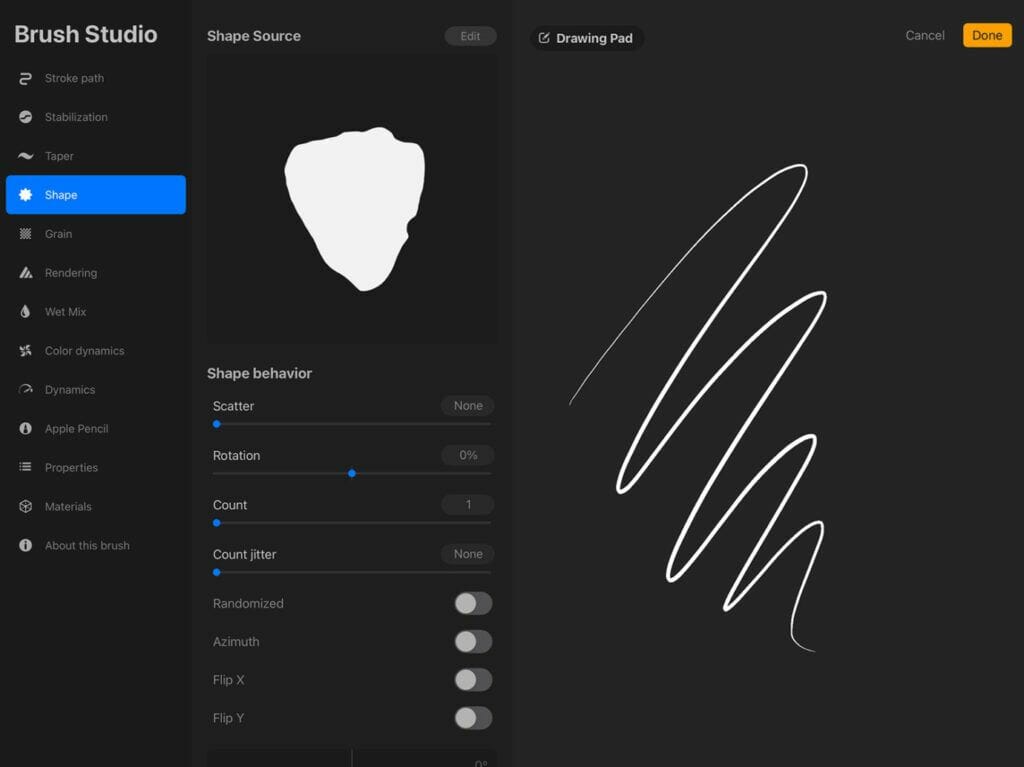
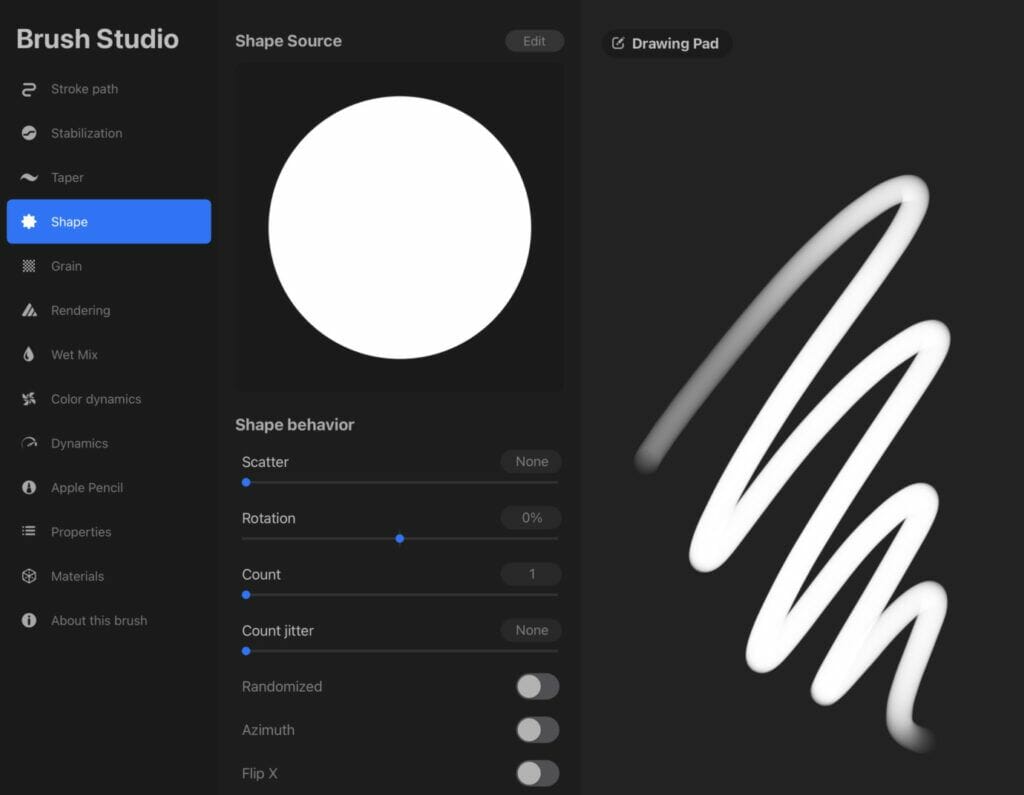
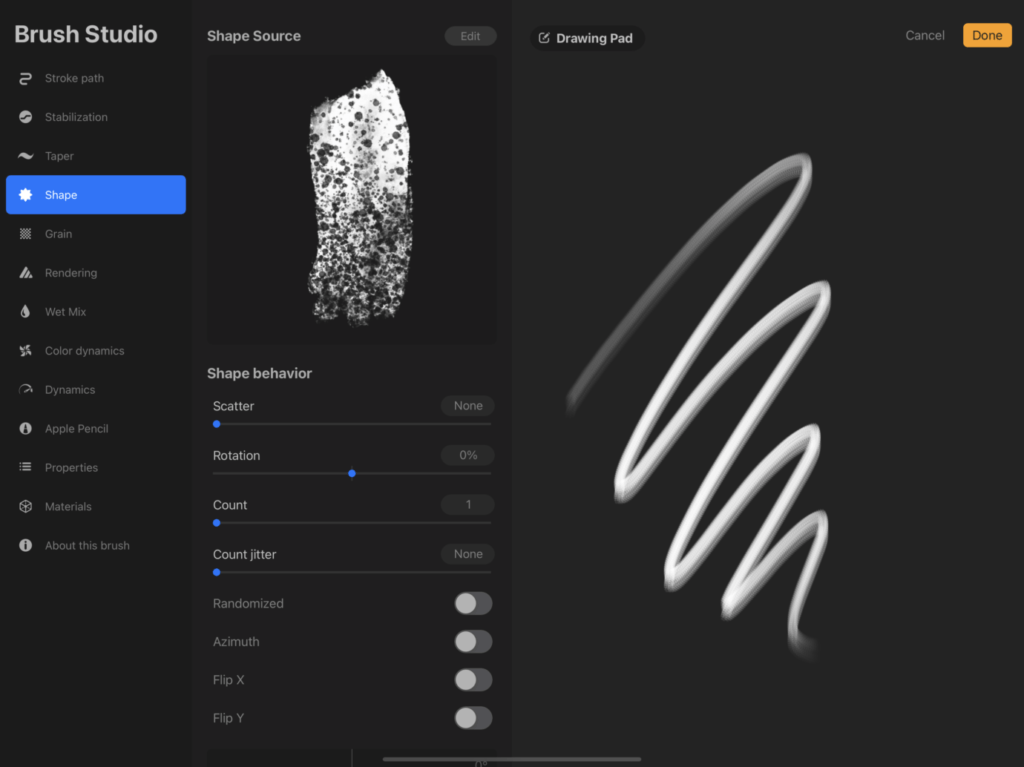
Brushes in Procreate begin as a single shape.
That single shape then repeats over the course of the stroke to create a brushstroke.
The Shape section will alter how the source shape behaves when drawn out.
This determines the base of your brush and how it’ll appear when drawn out.
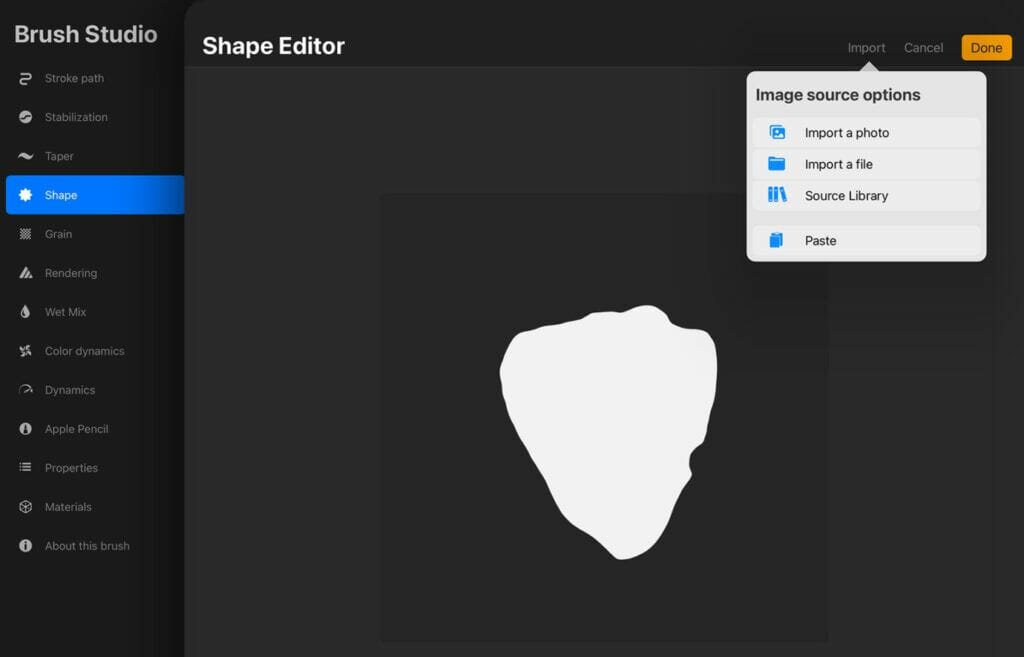
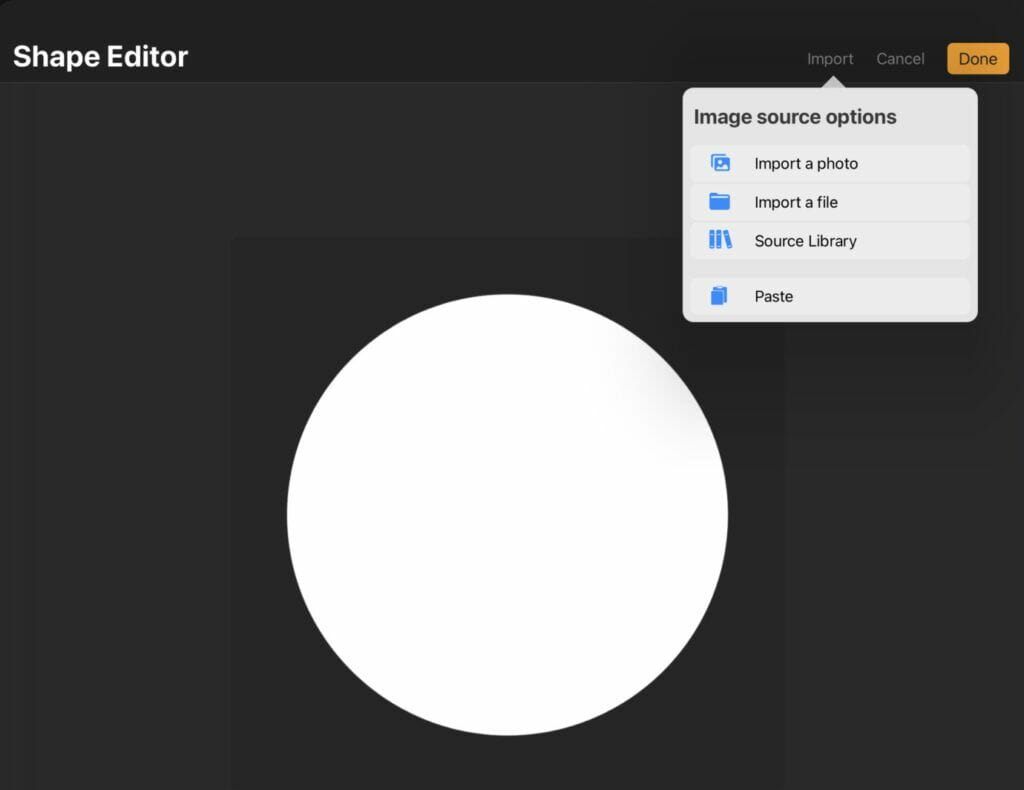
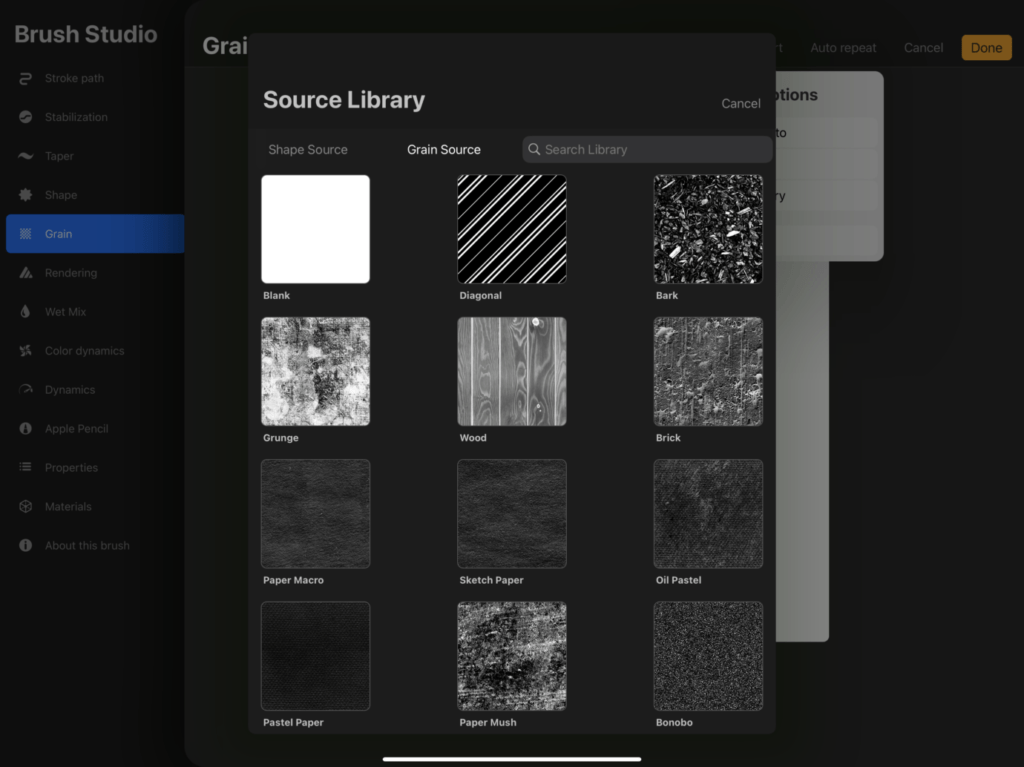
While the default source is a soft circle shape, you can also import a photo, file, or select from Procreate’s Source Library.
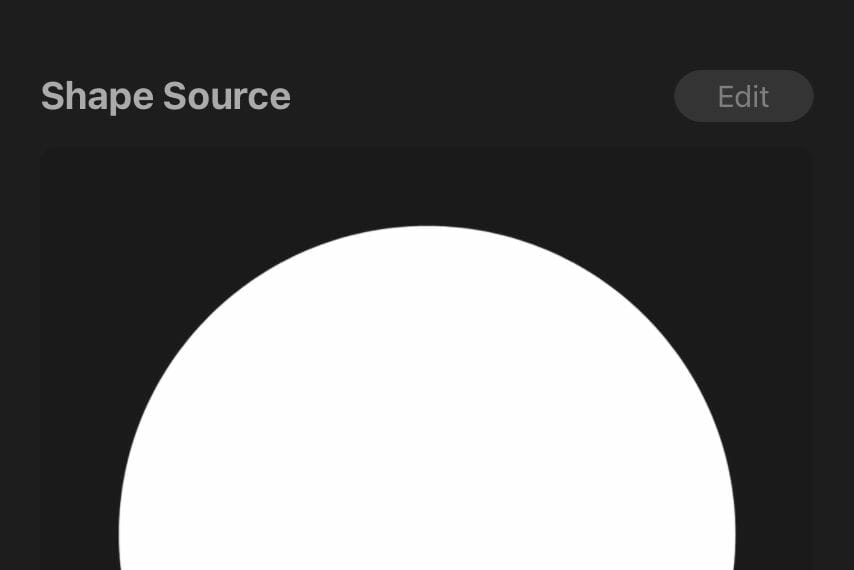
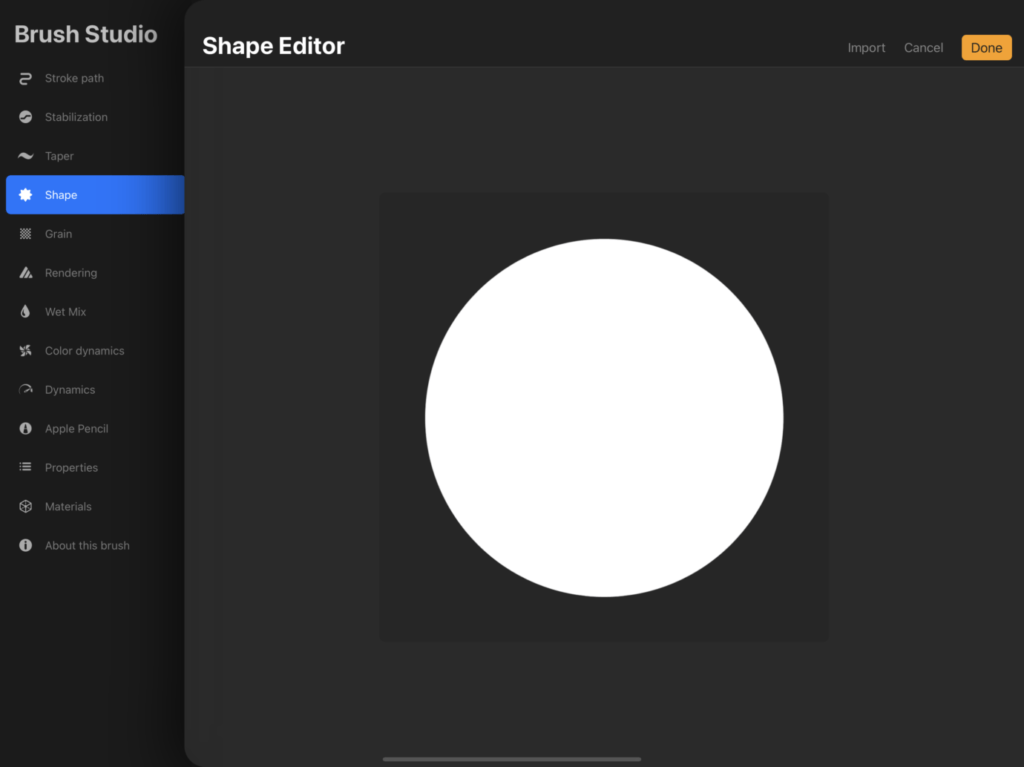
In the Shape source click Edit
The shape editor show up...
Your can import a photo, from fils or choose a shape in the Procreate source library.
Or paste if you already copy an image created in Procreate.
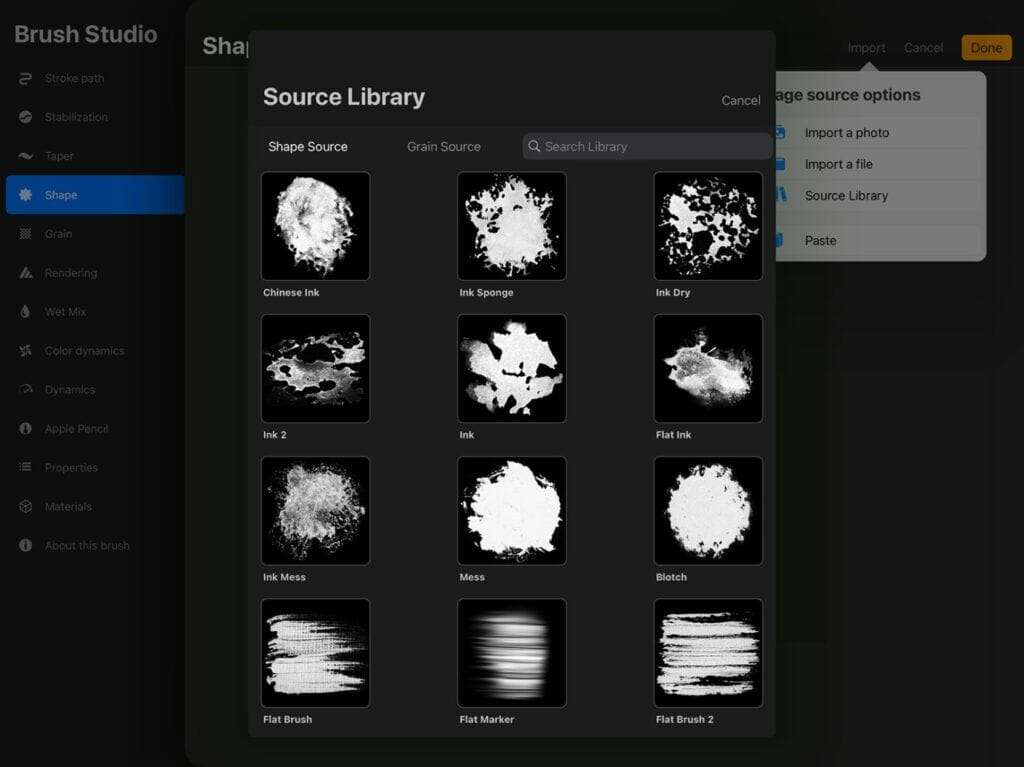
If you choose the Procreate source library this window will pop up with a lot of shapes.
Scroll down to see all the shapes and pick up one adapted to your goal on this brush.
The Shape Behavior panel contains sliders to edit the scatter and rotation of the brush shape.
Scatter pertains to the orientation of the brush within the stroke.
A higher value of Scatter creates a textured brush, while a lower value of Scatter creates a streaked effect.
The Rotation slider affects the brush’s rotation and how it responds to directional change.
This slider is extremely useful when creating a calligraphy brush due to the varying weights as you draw upward or downward.
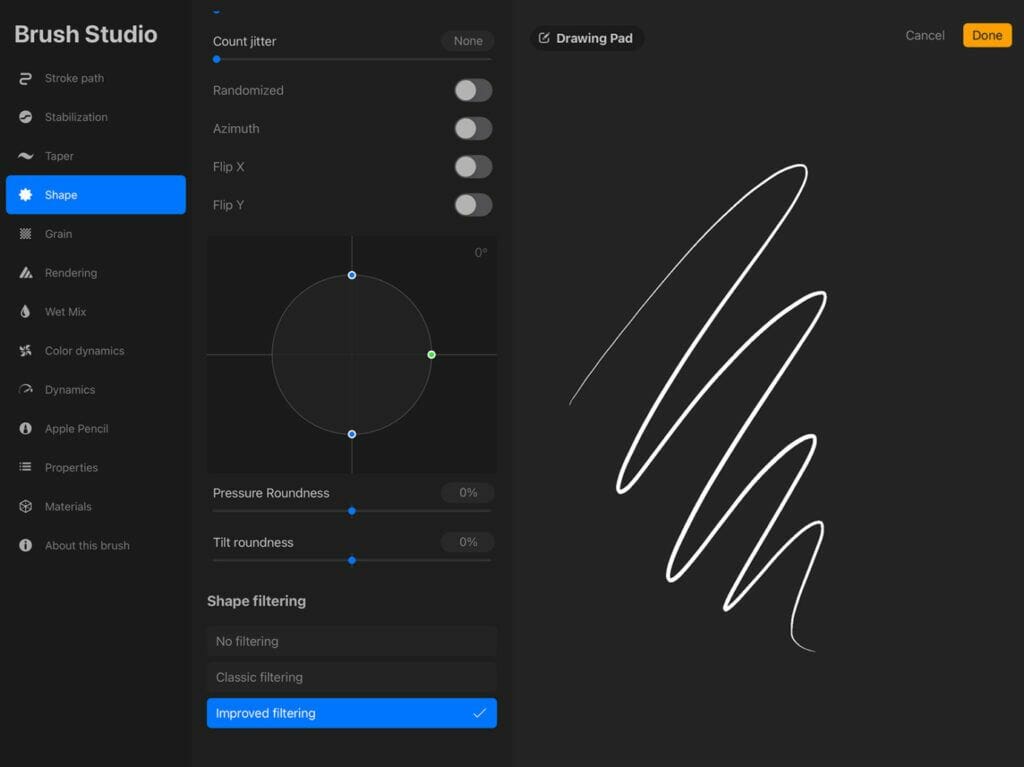
In the Shape Properties section, you’ll find Randomized and Azimuth with on and off switches.
Turn the Randomized function on to create a different shape direction at the beginning of each stroke.
Turn Randomized off to base the shape direction off of the beginning stroke.
The Azimuth property enables the brush shape to follow the perpendicular angle of the Apple Pencil.
Shape Filtering affects the rendering of the brush shape.
Improved adds anti-aliasing, Classic applies earlier versions of filtering, and None takes away all filtering.
The best option for a clean brush appearance is the Improved filtering.
In Procreate, the brush stroke acts as a strand of singular shapes.
Within the shape holds the grain.
Think of the brush’s grain as a paint roller, as the brush is drawn on the canvas, the grain changes in direction and size.
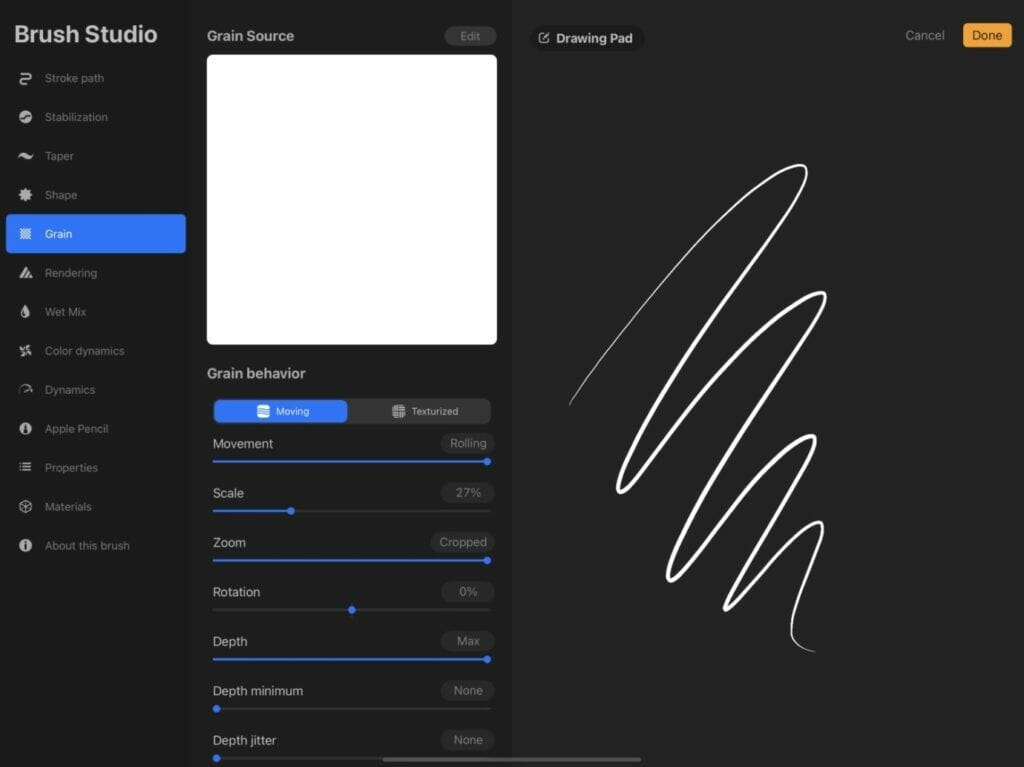
Within the Grain panel, you can customize the Grain Source, Grain Behavior, and Grain Filtering.
Much like the Shape Source, the Grain Source enables you to import a photo or file, or select from the Source Library to texturized your brush further.
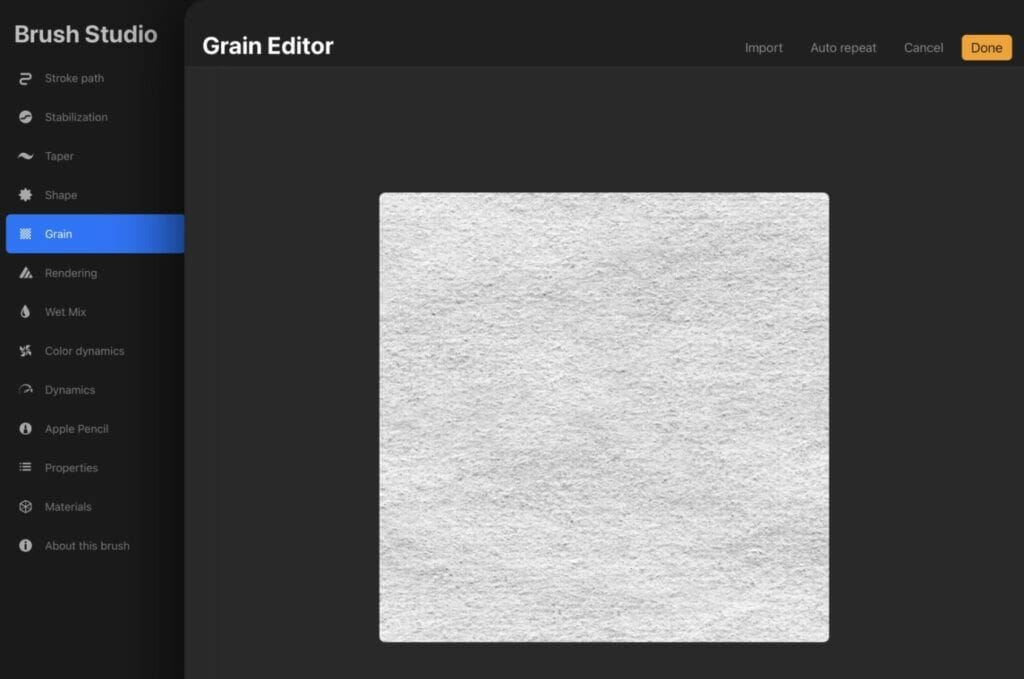
The darker the grain source, the more solid your brush will appear.
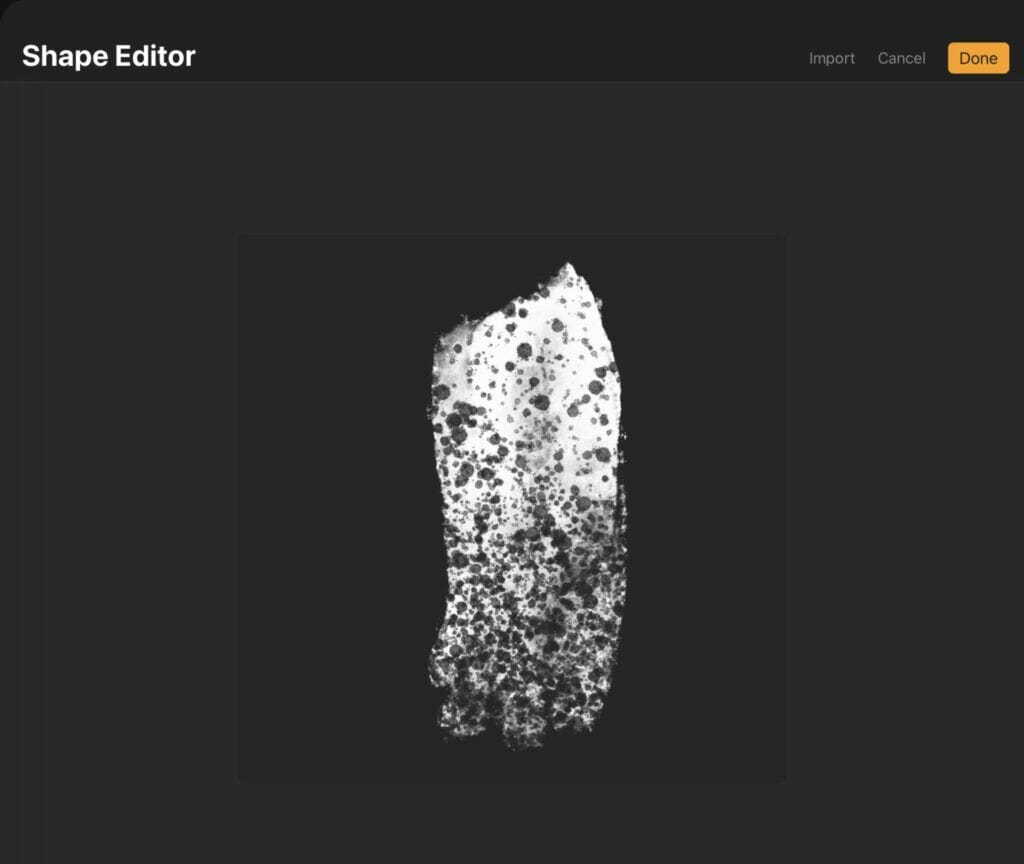
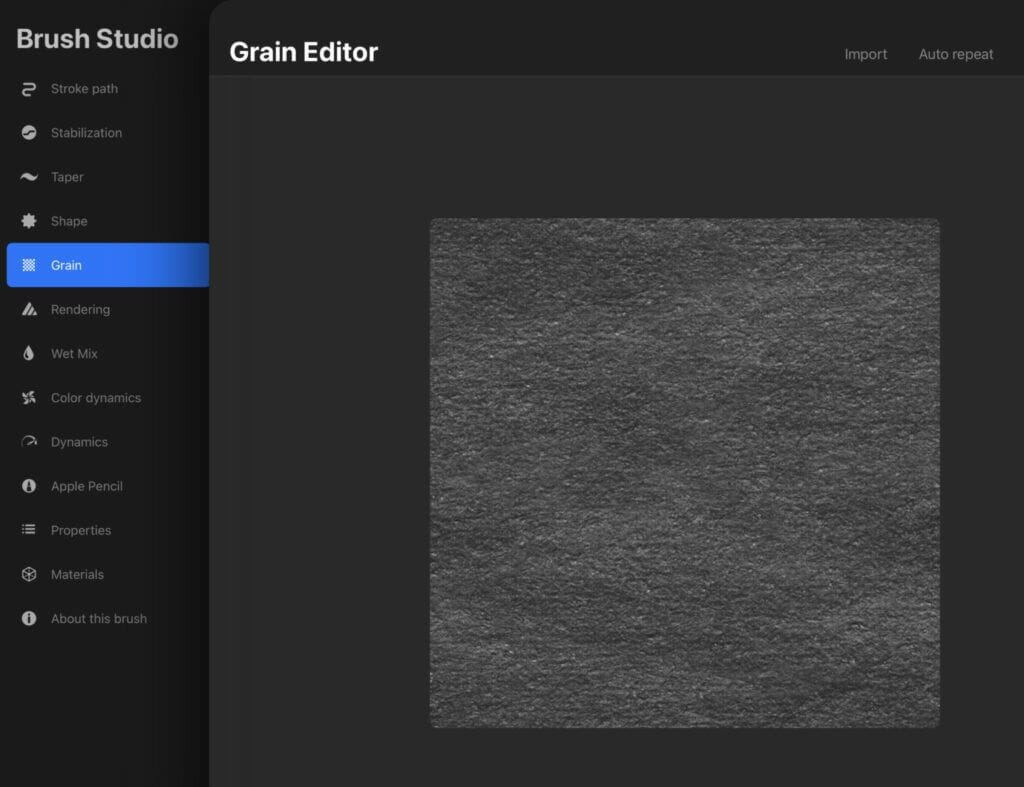
To edit the Grain, click on Edit, and Import.
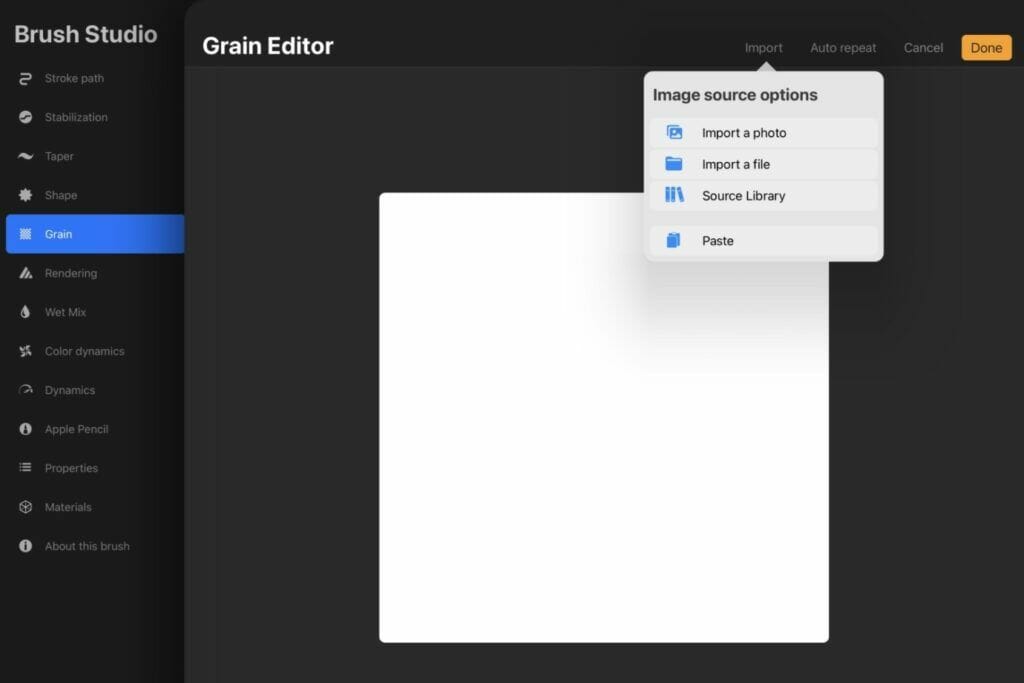
Import a Grain from your files or photos…The image must be square.
Here we will import from the Procreate grain source.

Once the grain is selected, it appears like this.
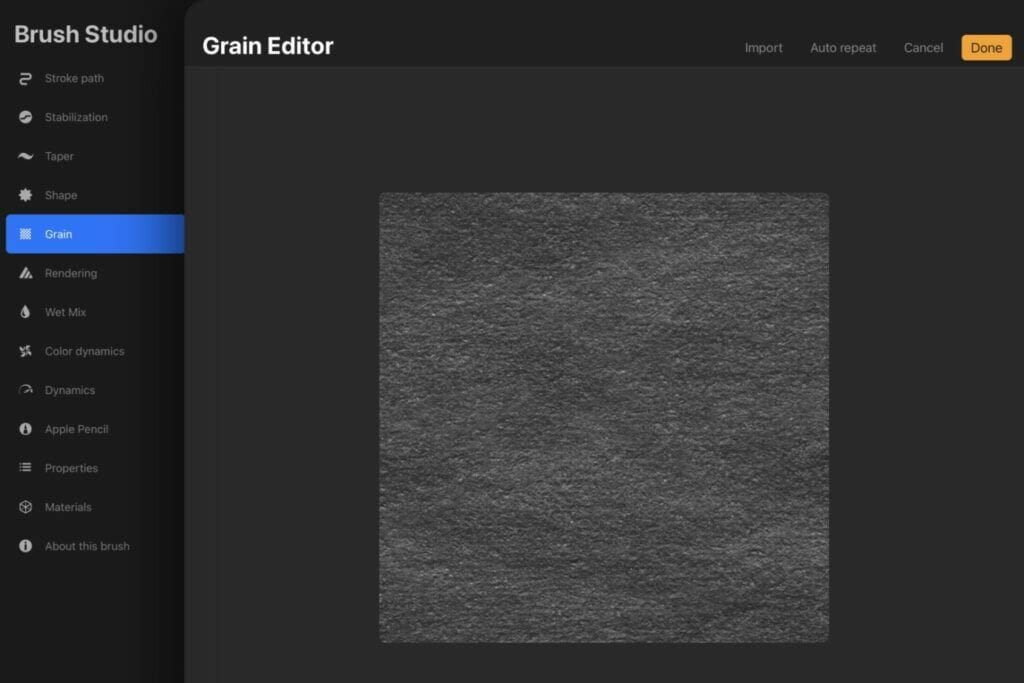
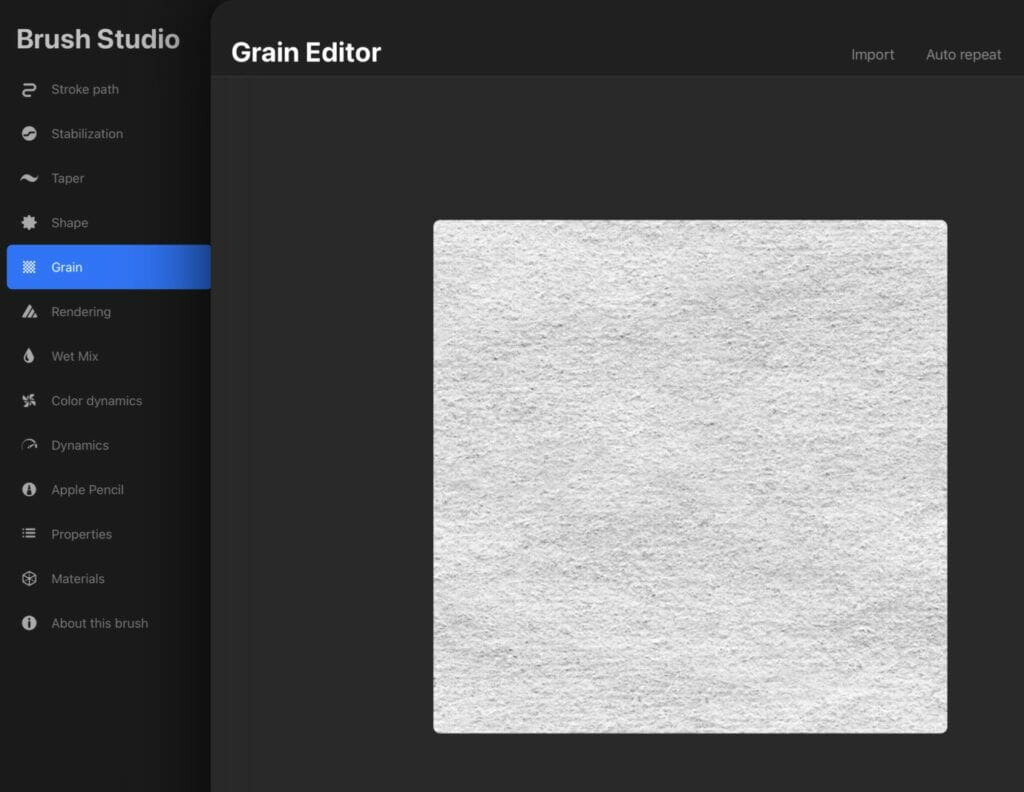
By taping with 2 fingers you can invert the texture.
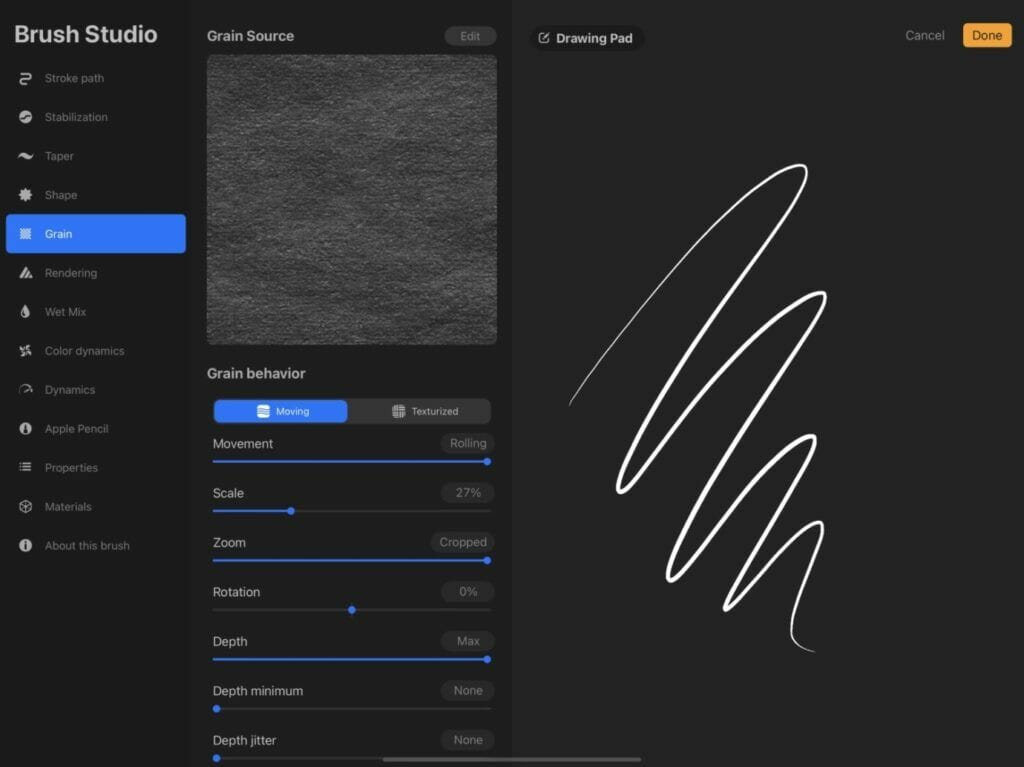
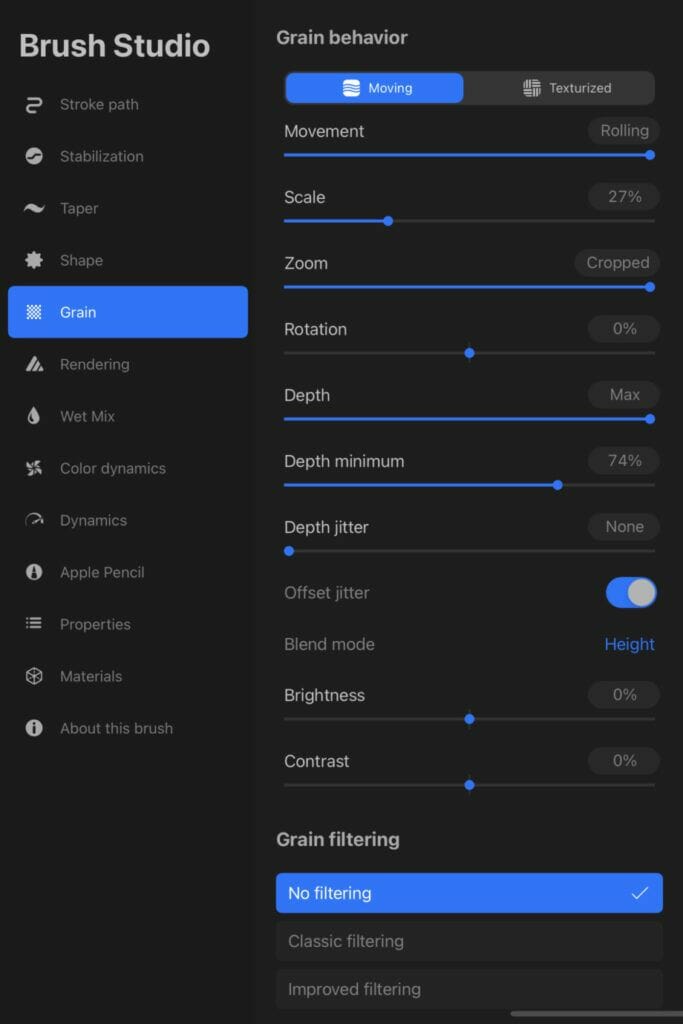
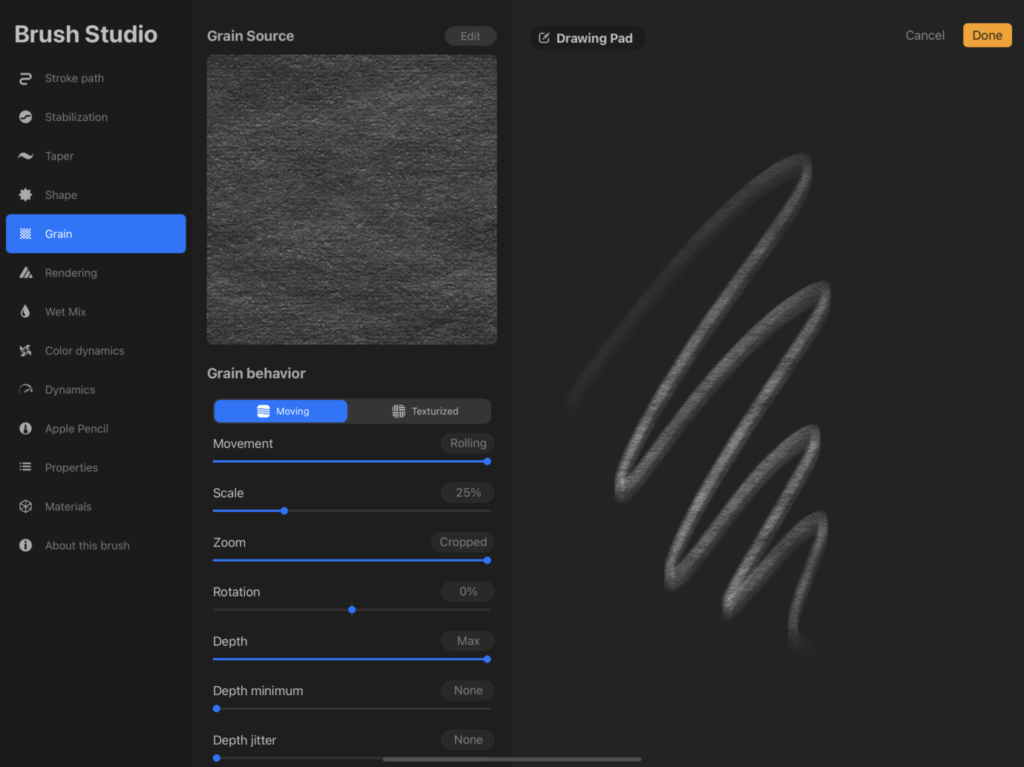
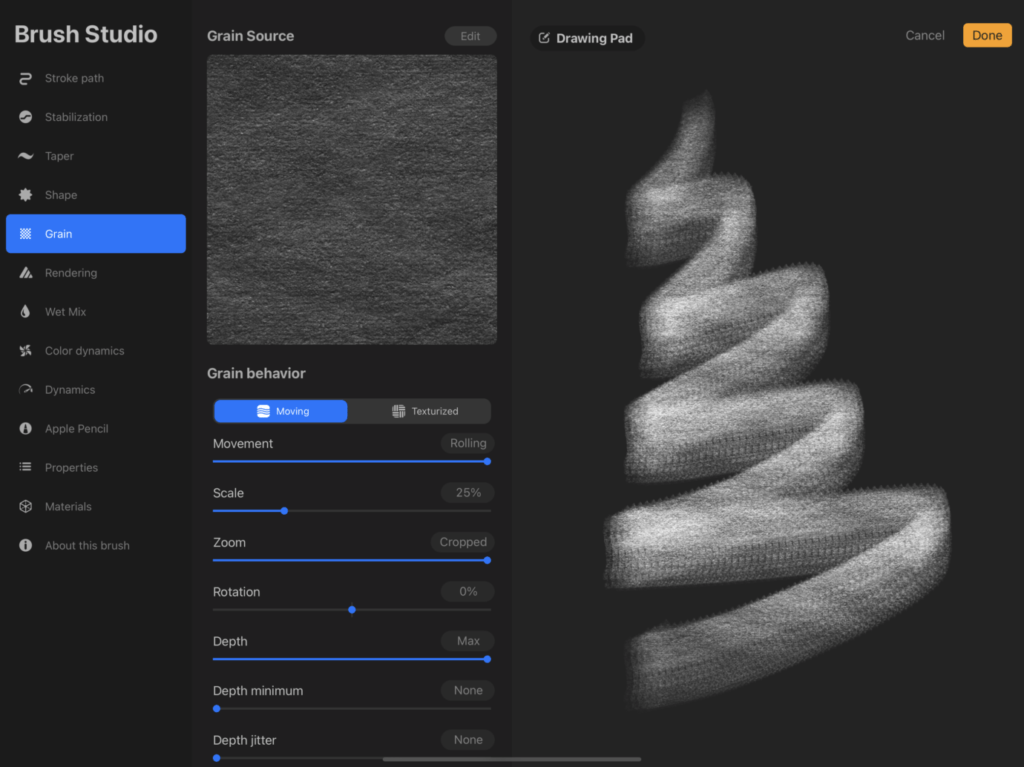
The Grain Behavior section contains four properties that can impact the overall brush behavior: movement, scale, zoom, and rotation.
Movement impacts the amount the grain rolls. When set to Stamp, the grain will remain stagnant, and when set to Rolling, the grain will roll throughout.
Scale impacts the scale of the grain inside the brush stroke.
Zoom affects the amount of zoom dependent on brush size.
The Rotation slider allows the grain to move in a certain direction.
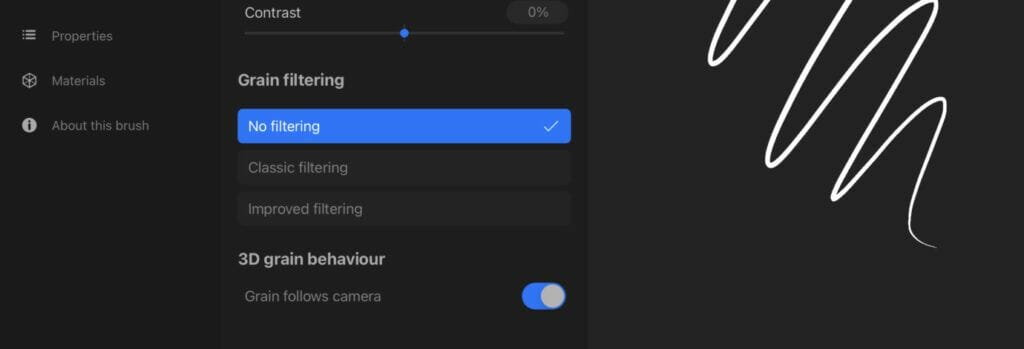
In the Grain Filtering section, you’ll find buttons for None, Classic, and Improved.
Just like in the Shape section above, the Improved option applies more detail to the grain.
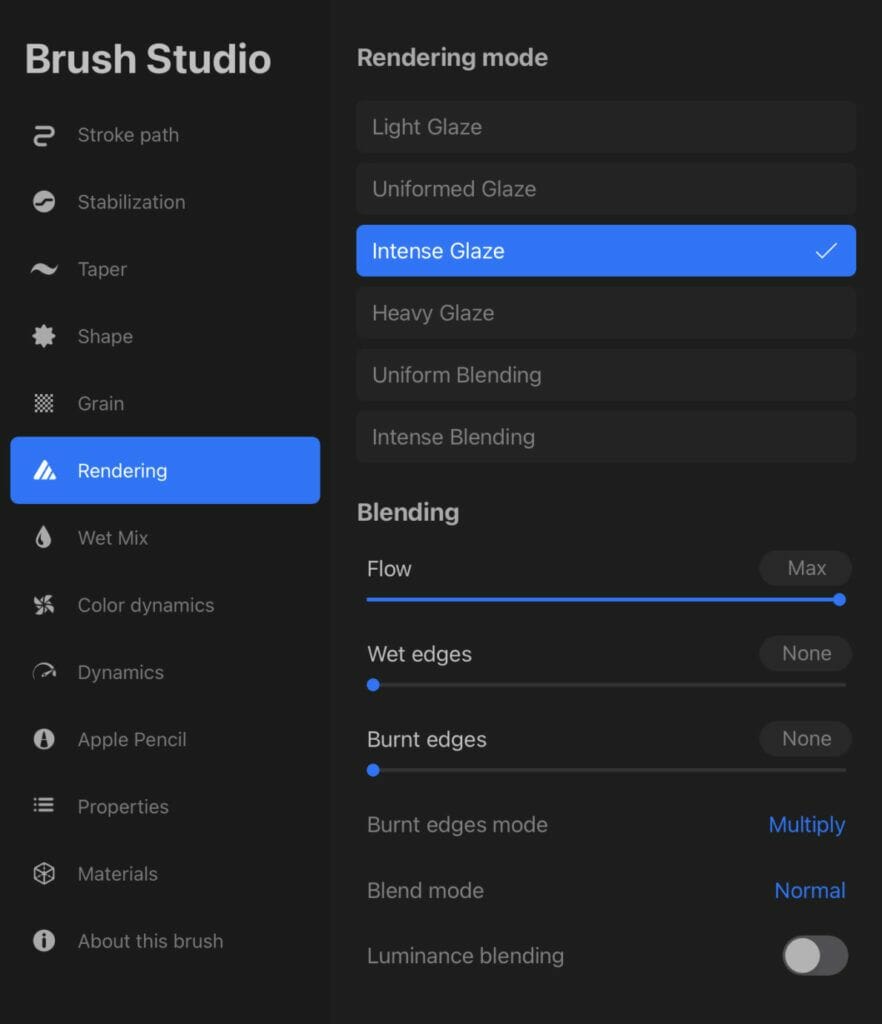
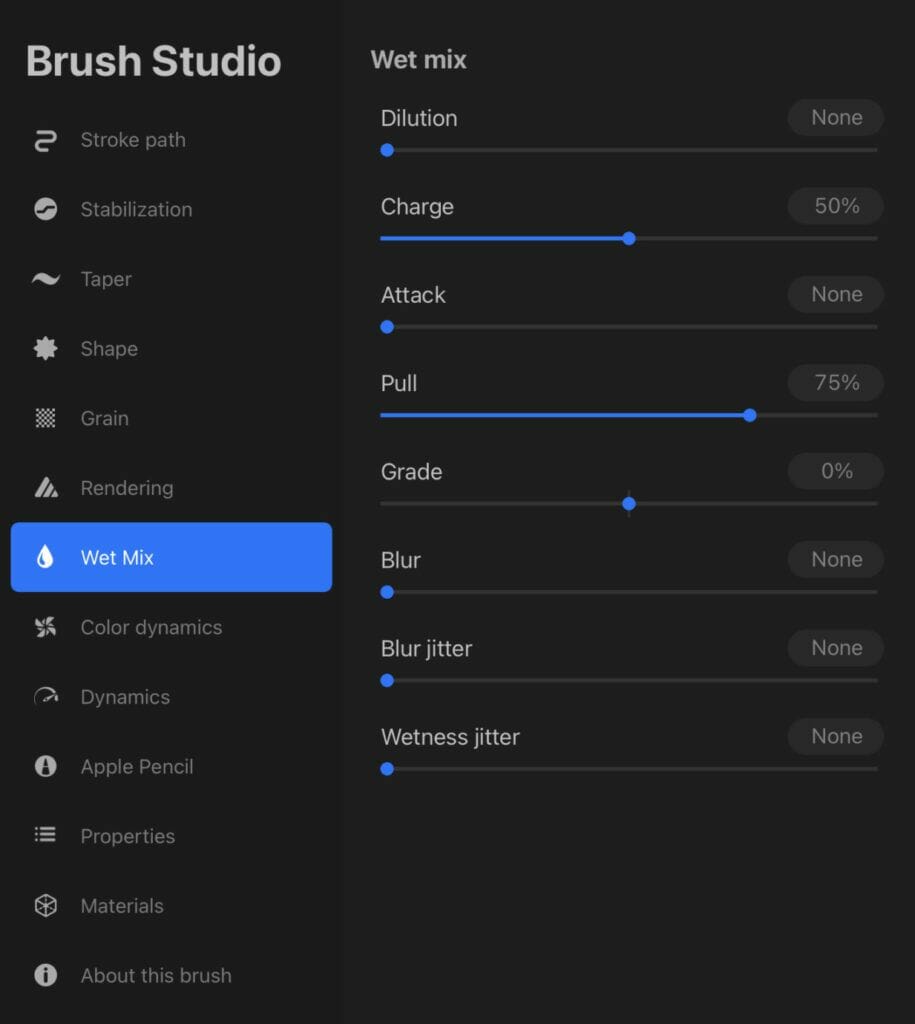
In addition to these elements, you can also adjust the Rendering, and Wet Mix can be applied to customize how the brush strokes interact with each other, as well as how the brush interacts with colors.
The Blend Mode option contains twenty modes to choose from.
For most brushes, Normal is the best choice.
Luminance Blending creates the brightest value when color is applied to a brush.
Since Procreate 5, a 3D behavior section was added.
The rendering mode allows you to choose in between 6 modes.
Blending let’s you adjust the flow, wet edges and burnt edges. It’s very interesting to play with it especially for wet brushes.
Wet Mix creates a “wet look” to your brushes and is an ideal setting for paint-specific brushes.
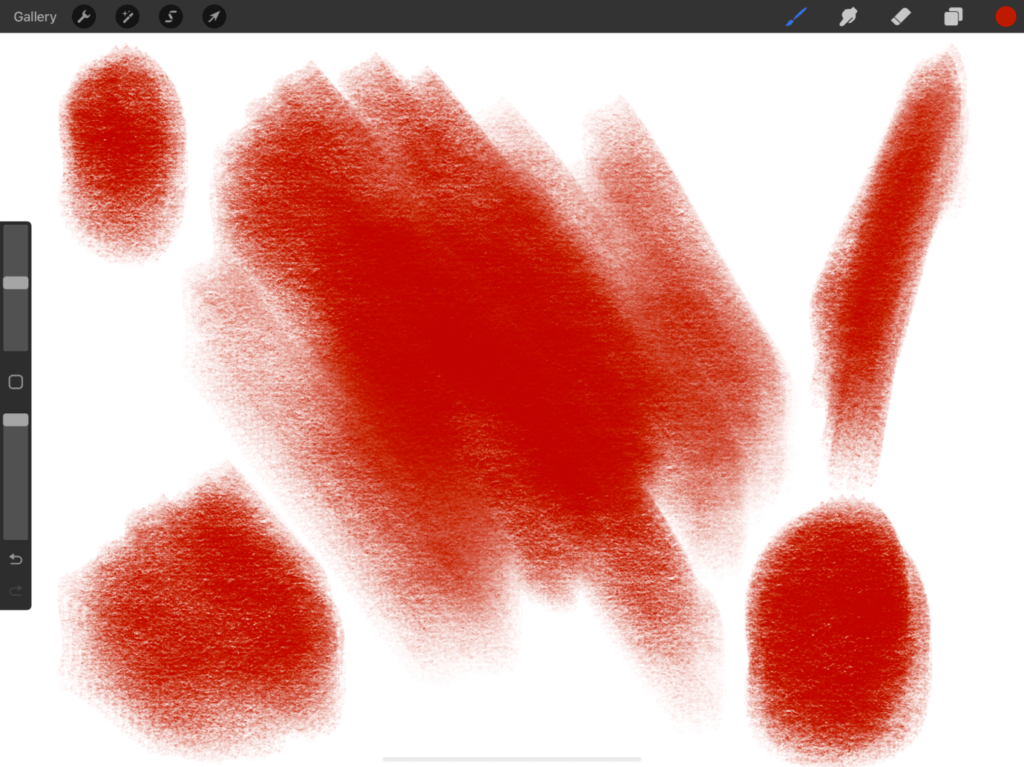
As a brush is being applied to a canvas, the intensity of the stroke can vary based on its speed or direction.
The Color Dynamics sections affects the appearance of the brush while it’s being drawn.
The colors effects can be manipulated in this section to create really unique results.
The colors will change according to speed, pressure or tilt.
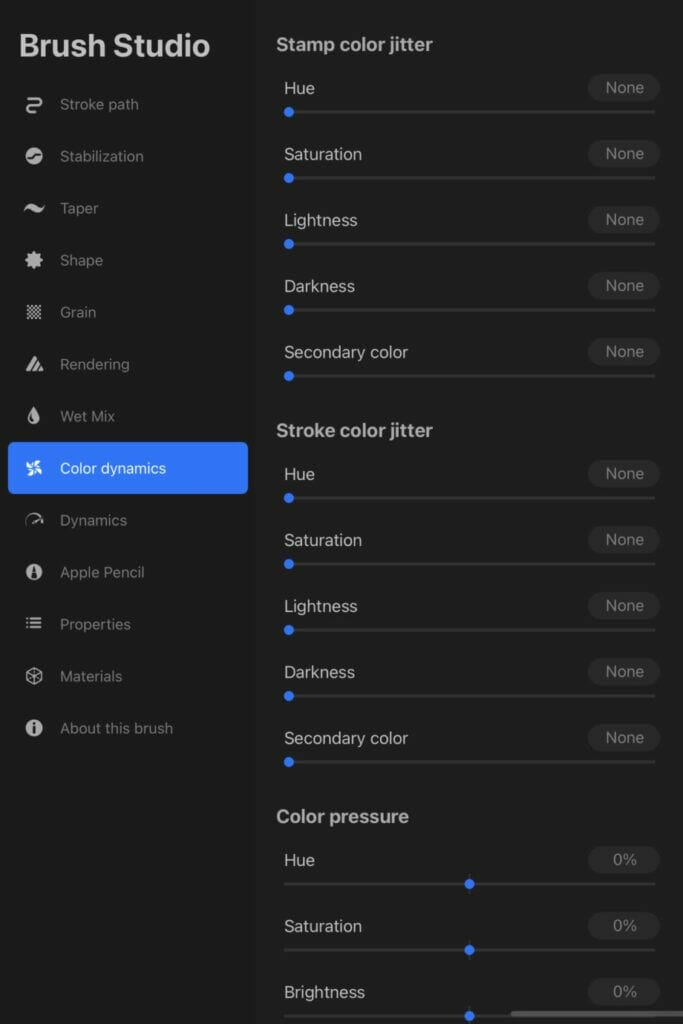
It can create amazing colors changes during the action of the stroke.
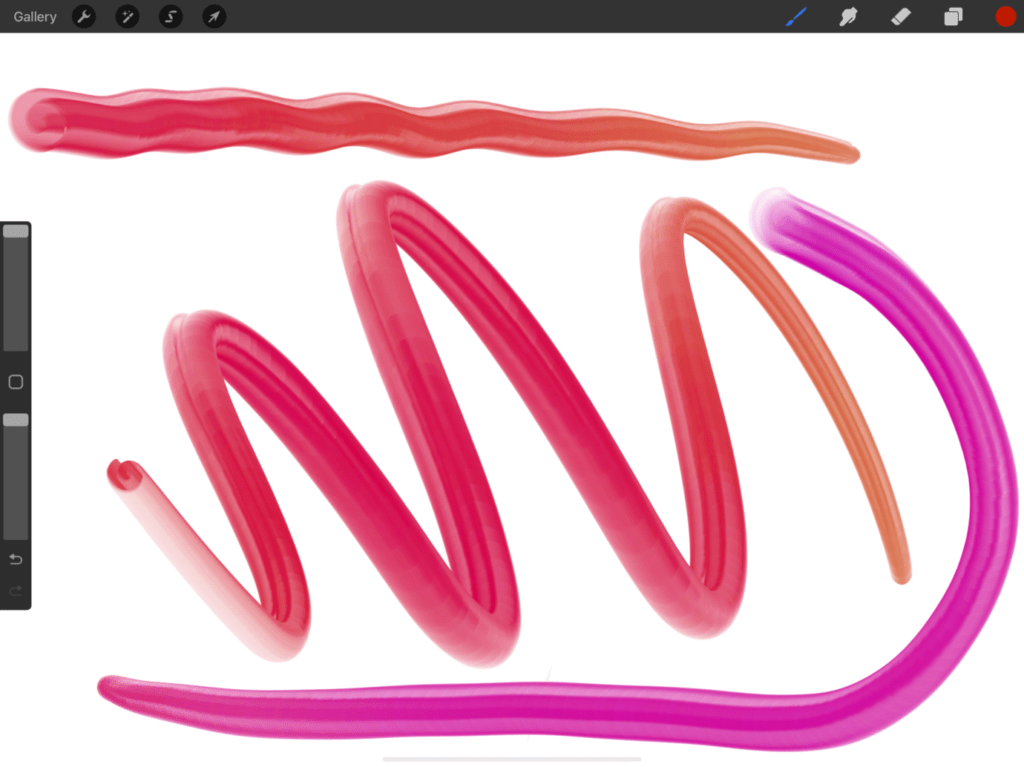
In this example, this worm brush have a smooth color variations to create interesting lettering.
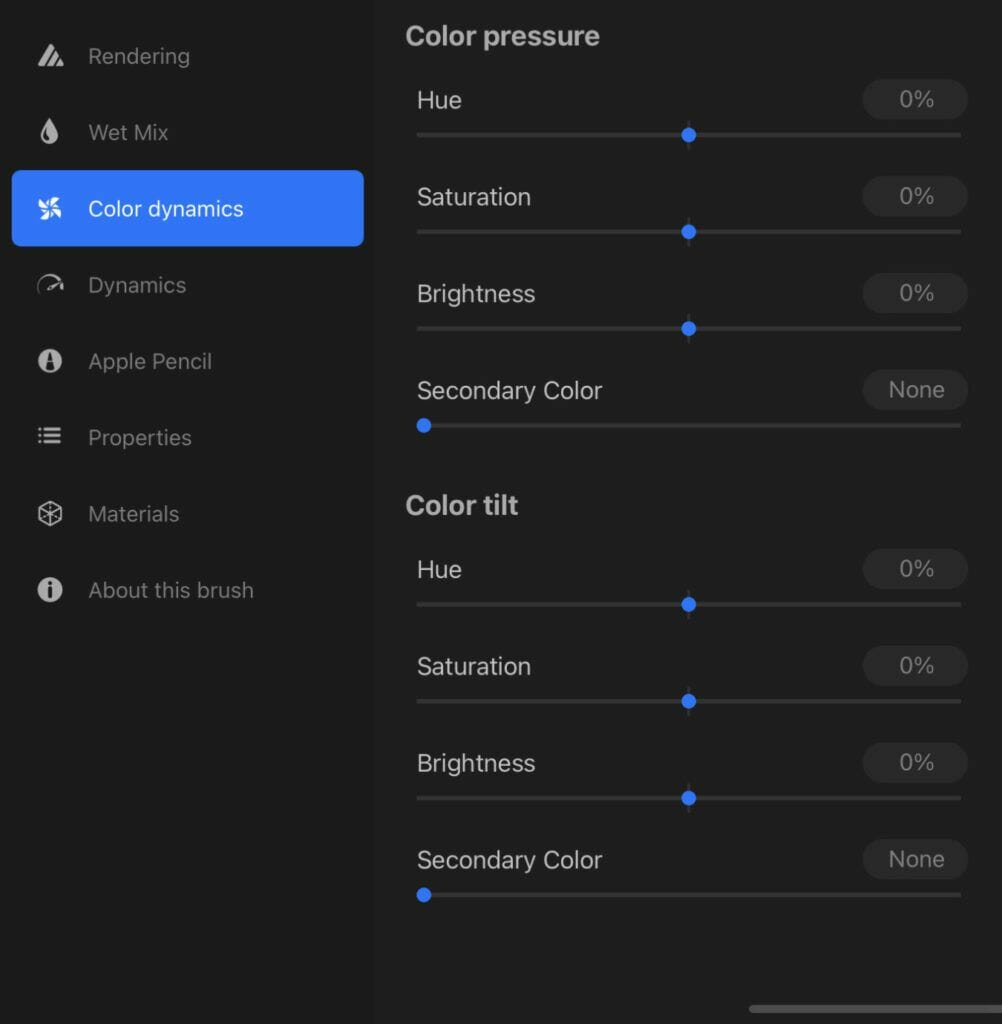
And this is the Color Dynamics setting…

This section will let you adjust some dynamic changes according to gesture Speed and Jitter.
The Pencil menu pertains to users that work with an Apple Pencil.
As you draw out a shape, apply more pressure to create a larger stroke.
Pressure can also determine the opacity, bleed, and smoothing options of the brush.
Set these values to Max to have your brush react when you apply ample amounts of pressure.
Set to 0% to keep your brush properties the same no matter the pressure.
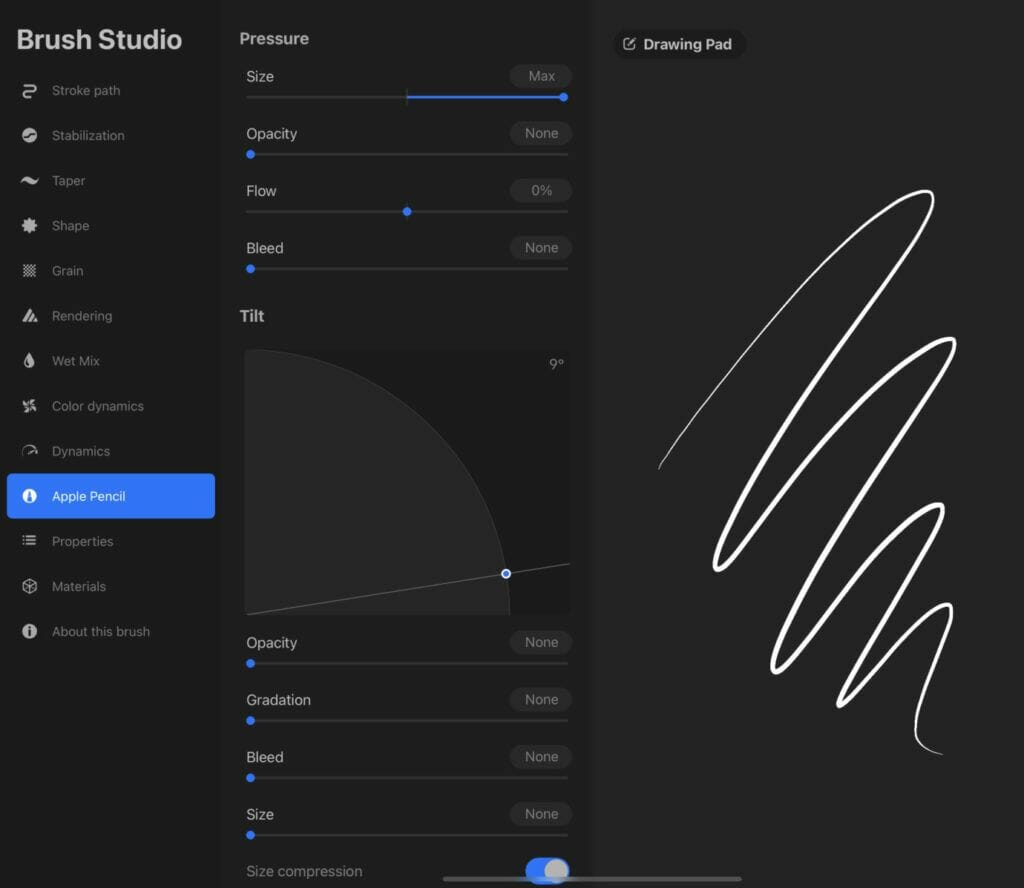
Tilt your Apple Pencil on the screen and you’ll see a difference in how the brush applies to the canvas.
Adjust the Angle amount to set the point at which the tilt affects the stroke appearance.
This slider then affects the remaining properties: opacity, gradation, bleed, and size.
Set to Max to see the stroke change in appearance drastically when set to a certain angle.
Or, set to None if you don’t want the tilt to impact the brush stroke.
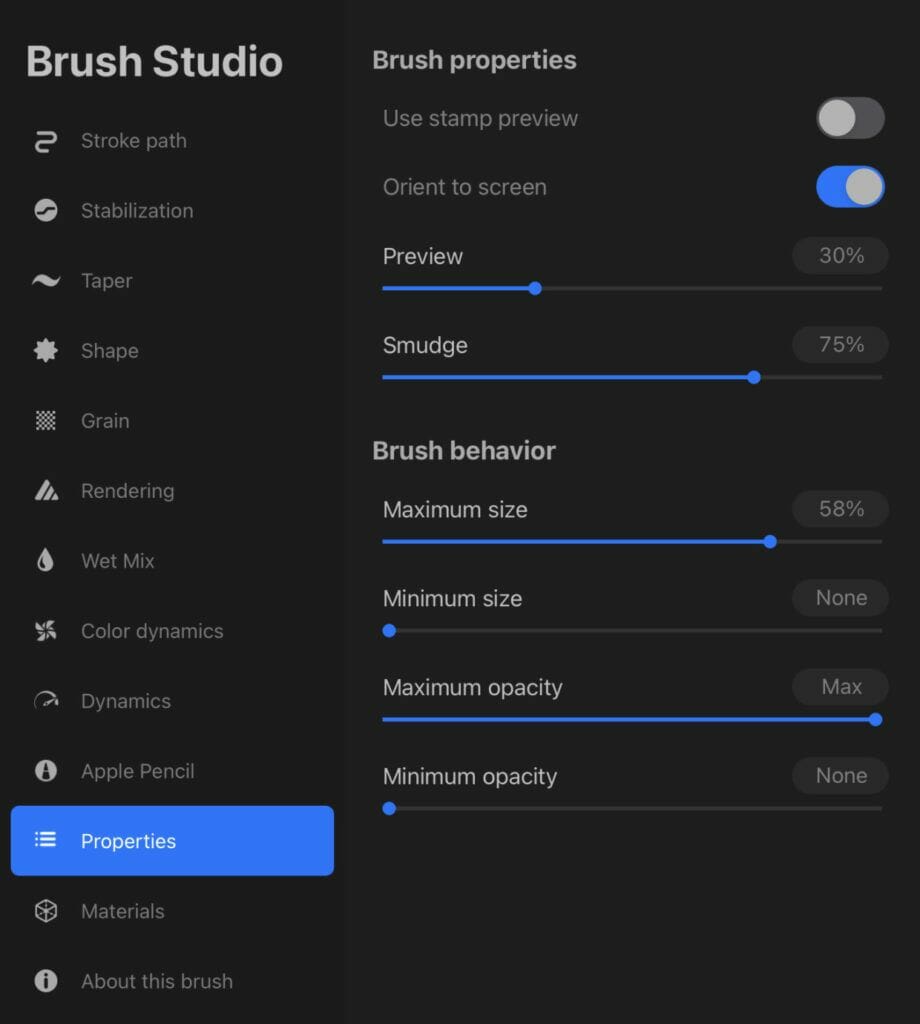
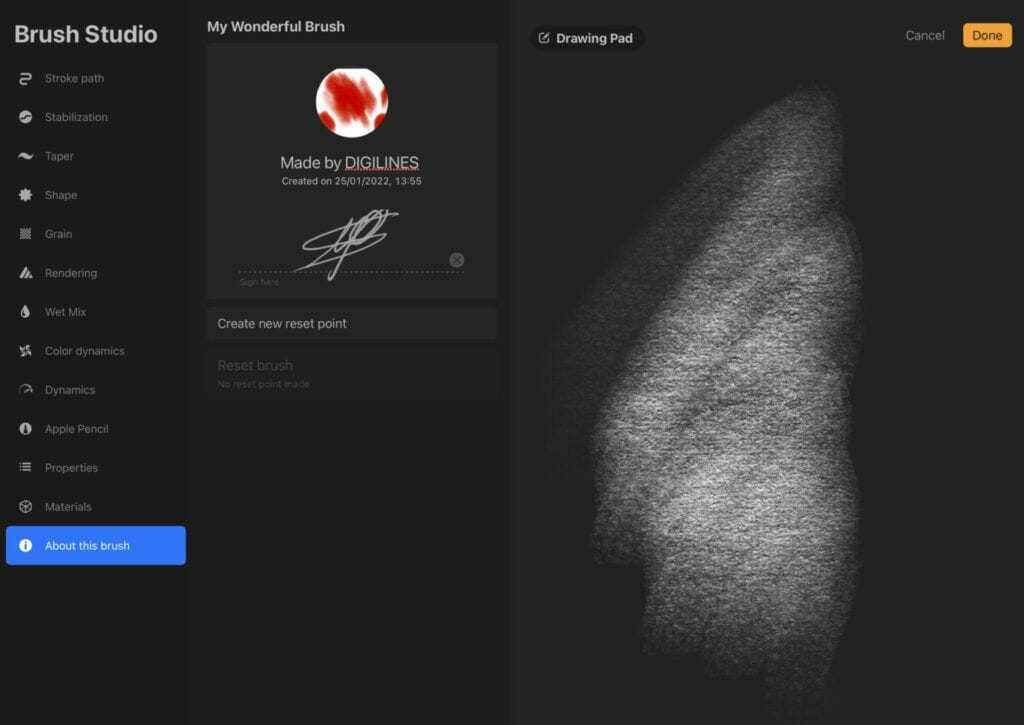
This step in editing default brushes is in the Properties section.
This is where you can change the brush’s preview, overall behavior, size limits and opacity.
Beneath the Brush properties panel is where you’ll find the Brush Behavior menu.
The Size andOpacity Limits sections impact the maximum and minimum sizes and opacity of the brush when in use.
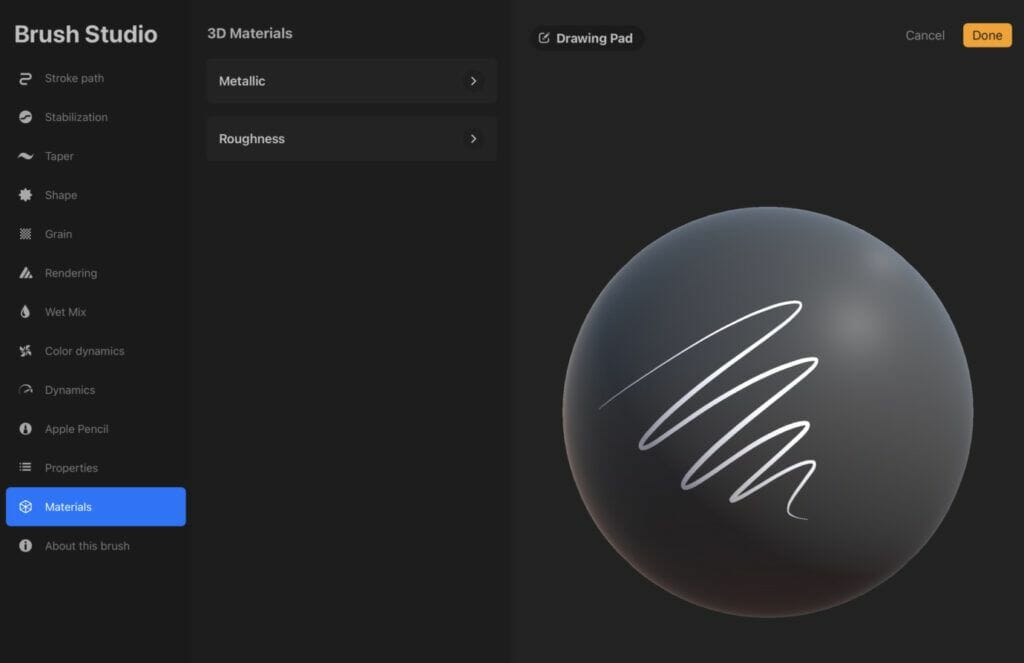
This section is the 3D appearance of your brush, you can edit the 3D render…
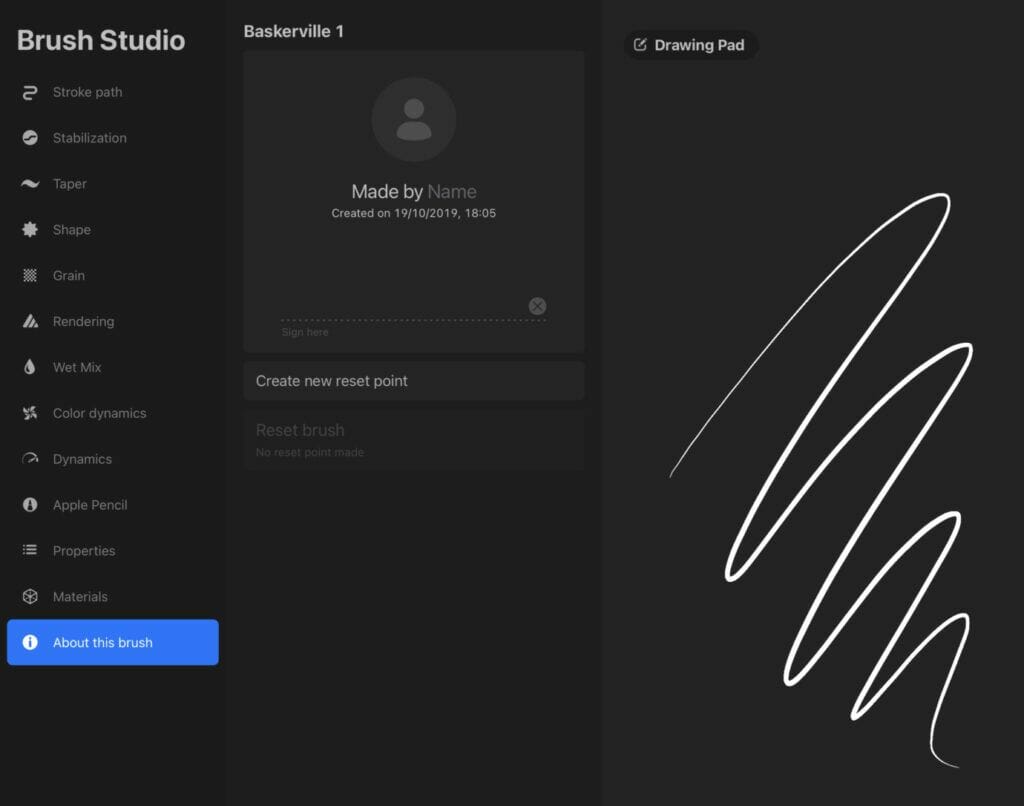
It’s where you can change the name of the brush.
you can also add one image and create a reset point to be sure you will always return to your original settings.
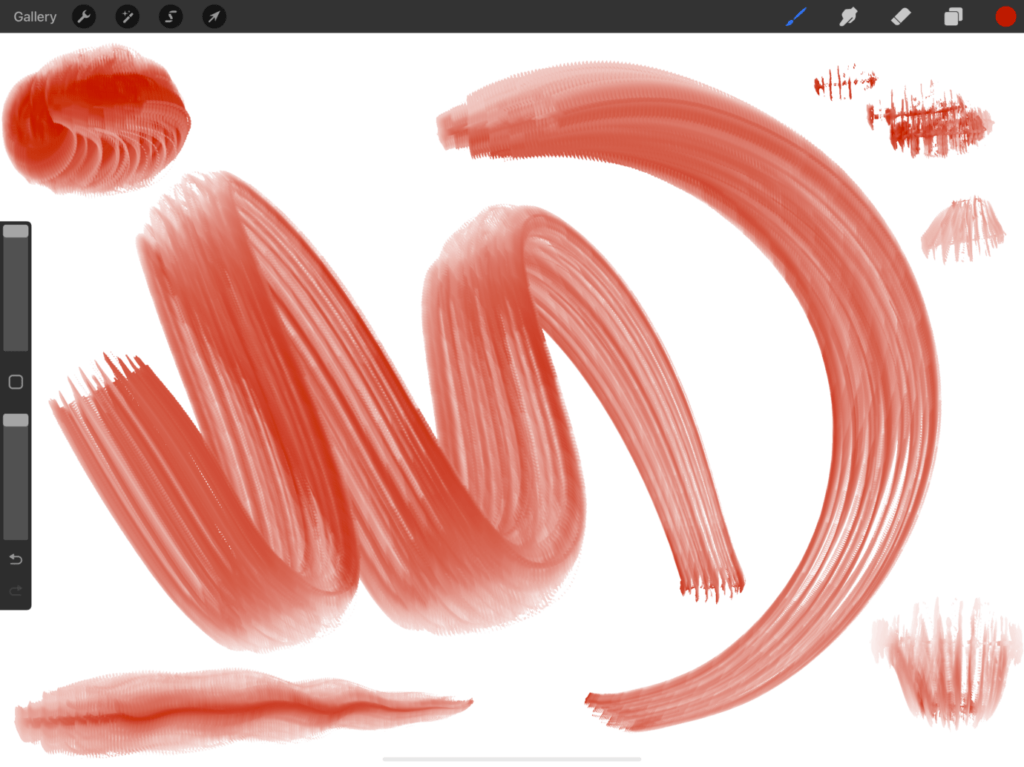
After finalizing your brush settings, go ahead and test out your new customized brush in the canvas.
Adjust the brush size and opacity using the sliders to the left of the canvas.
Make several tests with different colors, sizes and opacities to see the reactions of your brush.
And don’t hesitate to come back to settings panels to adjust it until obtaining the expected result.
Now that you know how to edit default brushes, it’s time to make your own brushes from scratch. Customizing your own brushes gives you more options in how you want your brush to appear on the canvas, rather than using the sources of the default brush.
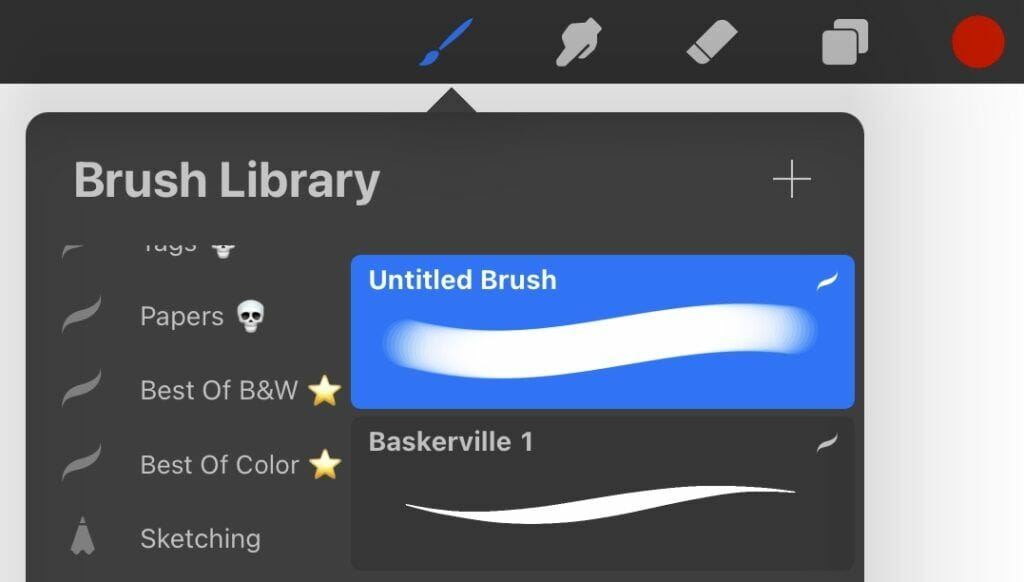
Start off by heading to the brush icon and creating a new brush by selecting the plus sign at the top-right of the Brush Library.

After click the +, you arrive directly in the brush studio with basic setting brush named untitled brush.
Click Done, you return to the brush library… You can return to edit the brush by tapping on it.
The brush’s Shape section is where you can change its overall appearance.
In this section, you can alter the Shape to determine the brush appearance.
You arrives in this basic settings section.
Brushes in Procreate begin as a single shape.
That single shape then repeats over the course of the stroke to create a brushstroke.
The Shape section will alter how the source shape behaves when drawn out.
This determines the base of your brush and how it’ll appear when drawn out.
While the default source is a soft circle shape, you can also import a photo, file, or select from Procreate’s Source Library.
By clicking Edit in the shape source section…
You arrives in this panel.
the imagination for a brush shape have no limit, and it depends on your goal for this one.
Trying to imitate real media or do something completely original, your shape will be the base of your brush.
For both shape and grain, the source is included in a square like this.
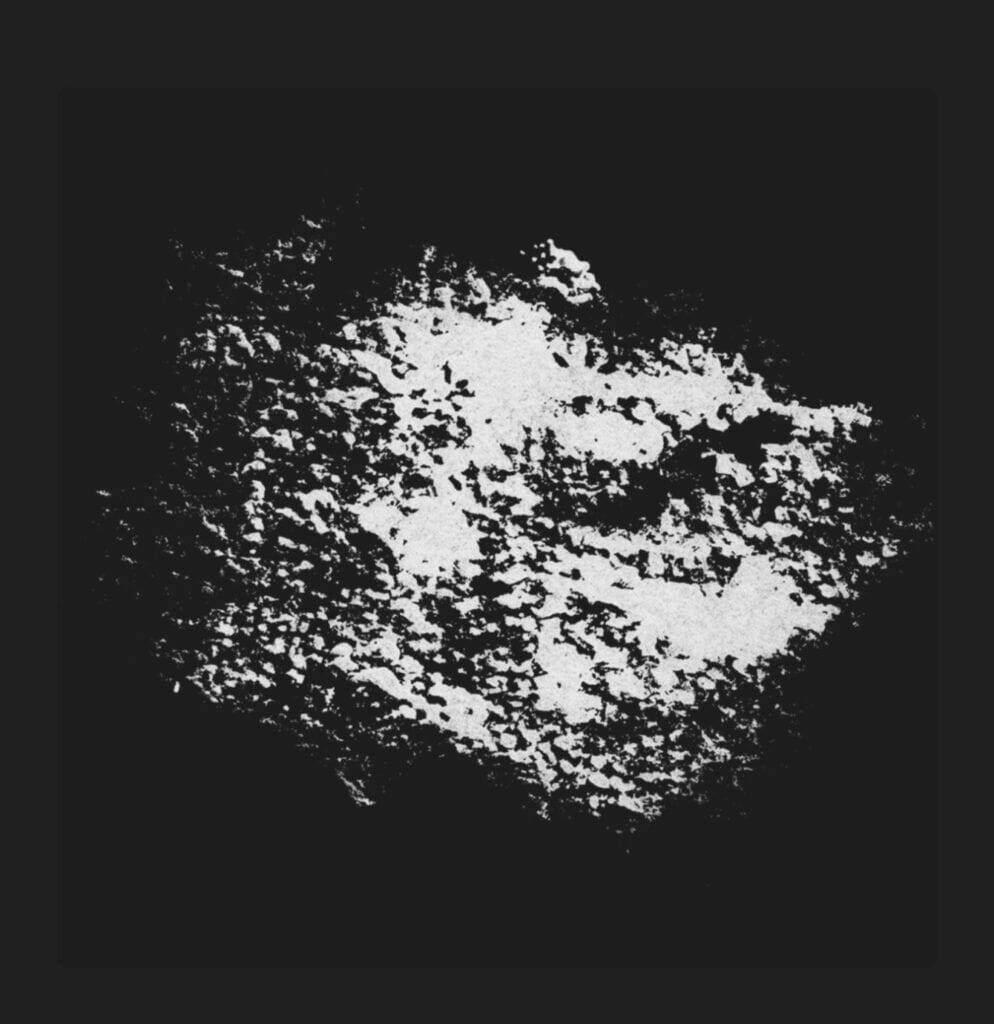
To create a shape, you can do it directly in Procreate by create a square canvas and painting your shape with color from white to grey on a black background.
Note: The black is not recognize as shape, that’s why you must use light colors to create your shape.
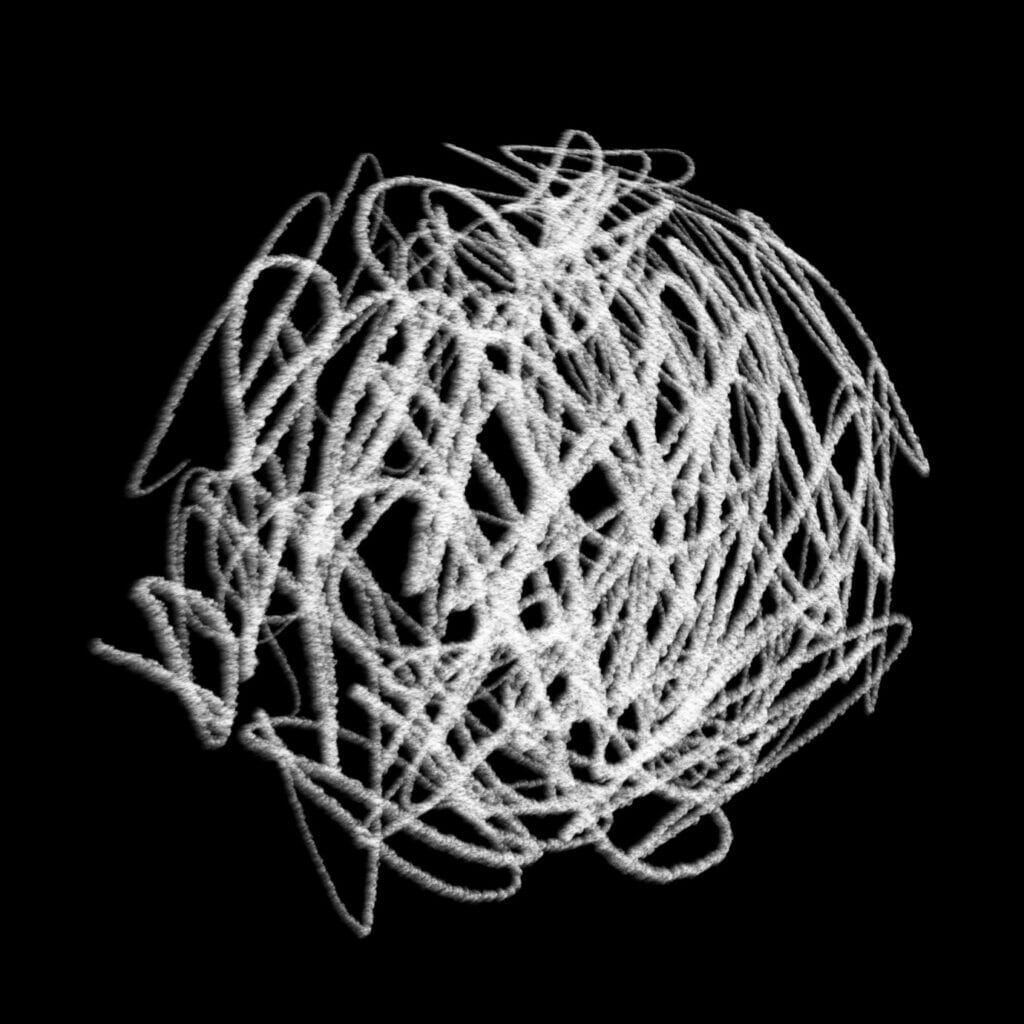
Another example
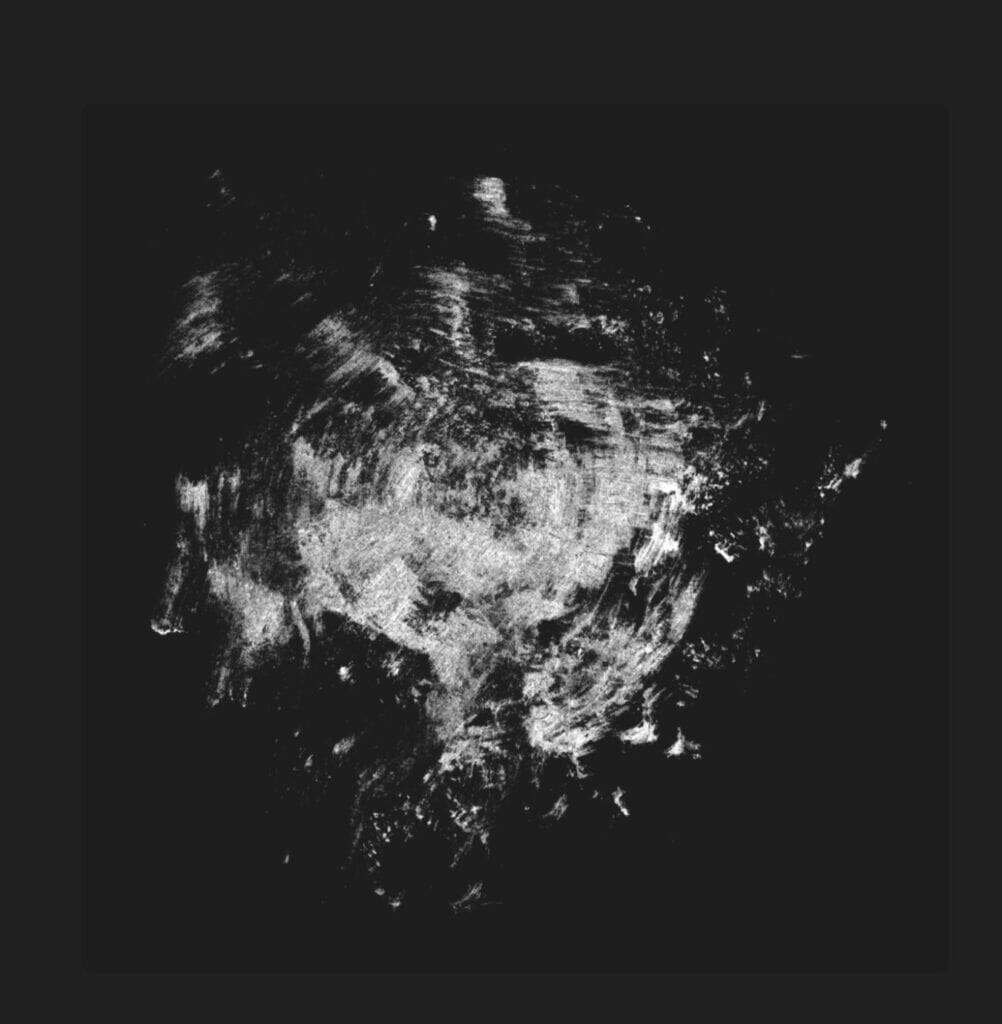
To create a shape, you can also work with scan of real media, edited in Photoshop or Proceate, like in this exemple.
When you feel happy with the design of your shape, return to your brush creation, in the shape section and import your new shape.
By clicking import, a pop up window opens with few options as explained previously in the article.
Insert a photo allows you to import one image from your photo library, import a file from your files documents in the iPad.
Source library is the Procreate in App shape library, and paste if you just copied a shape created in Procreate.
For this exemple, I will use an image saved in the photos library of the iPad, import a photo.
Click done and you return to the shape section, your new shape is imported and you can adjust the shape setting as explained previously.
Follow the same process than for the shape but in the grain section.
In Procreate, the brush stroke acts as a strand of singular shapes.
Within the shape holds the grain.
Think of the brush’s grain as a paint roller, as the brush is drawn on the canvas, the grain changes in direction and size.

For this exemple I will import a grain from the Procreate source library, but like for the shape, you can import from different options.
By tapping the grain area with 2 fingers, you invert the texture intensity.
By clicking done you return to the grain section, the new grain is imported.
Now you can start to play with the whole sections setting to find your perfect brush as explained previously for adjusting the Procreate default brushes.
Now experimenting and tests until your brush is good.
Using the steps mentioned above, adjust the brush settings to your preferences.
Test out the brush settings by drawing within the box in the Advanced Brush settings.
You can always alter your brush later on, if needed.
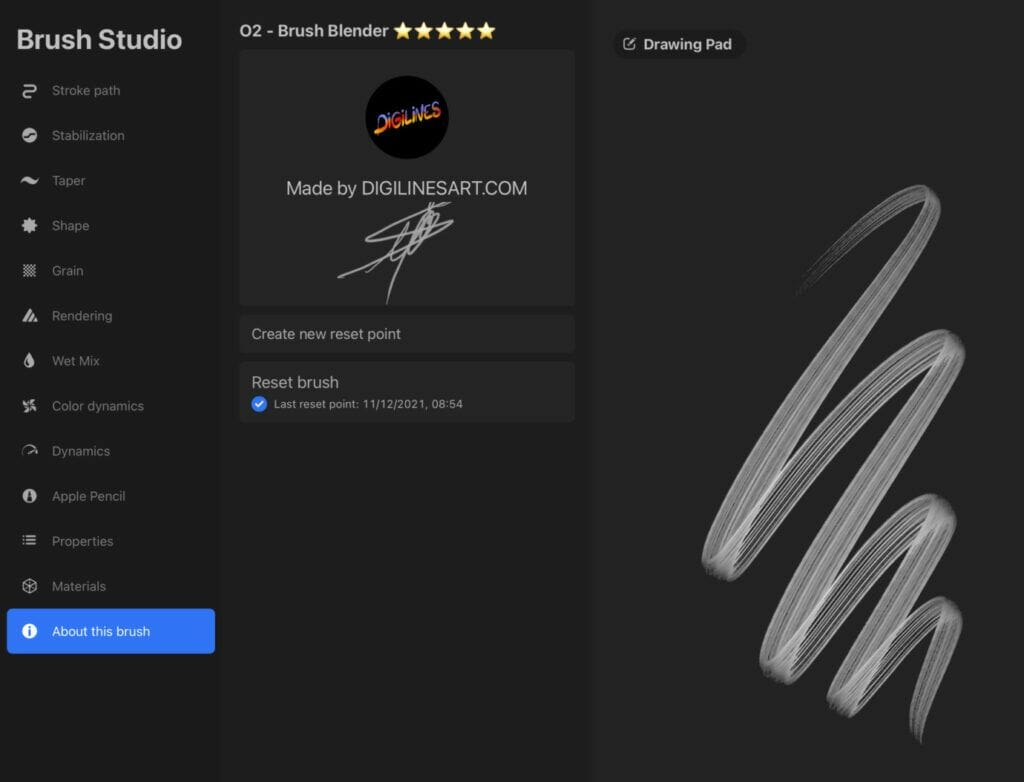
When you are done, sign and save your brush in the section About this brush.
As professional designer I create a full brush library adapted to every kinds of arts and design.
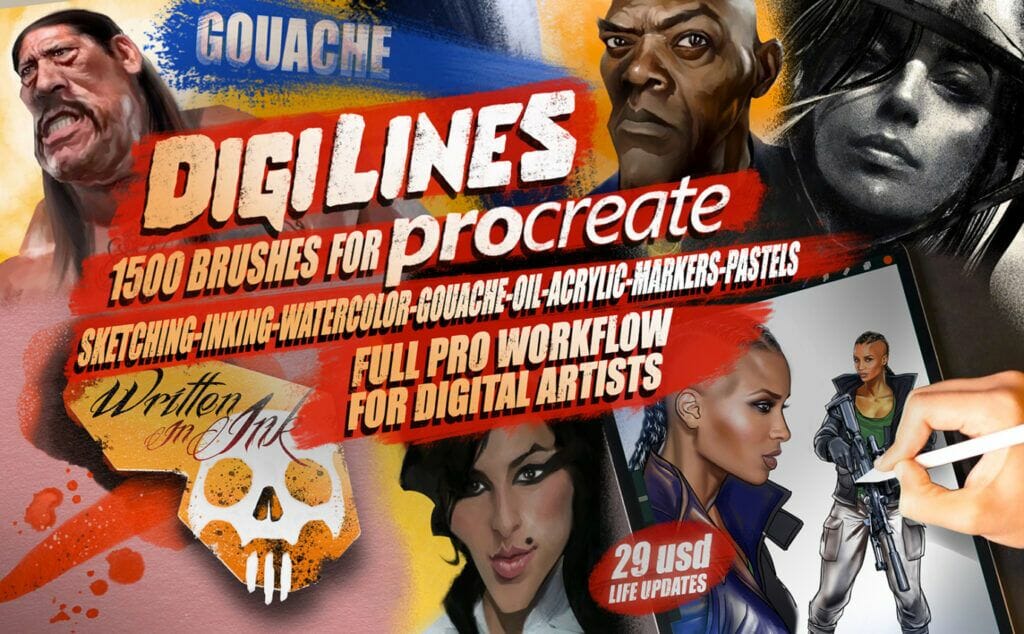
29 $Purchase