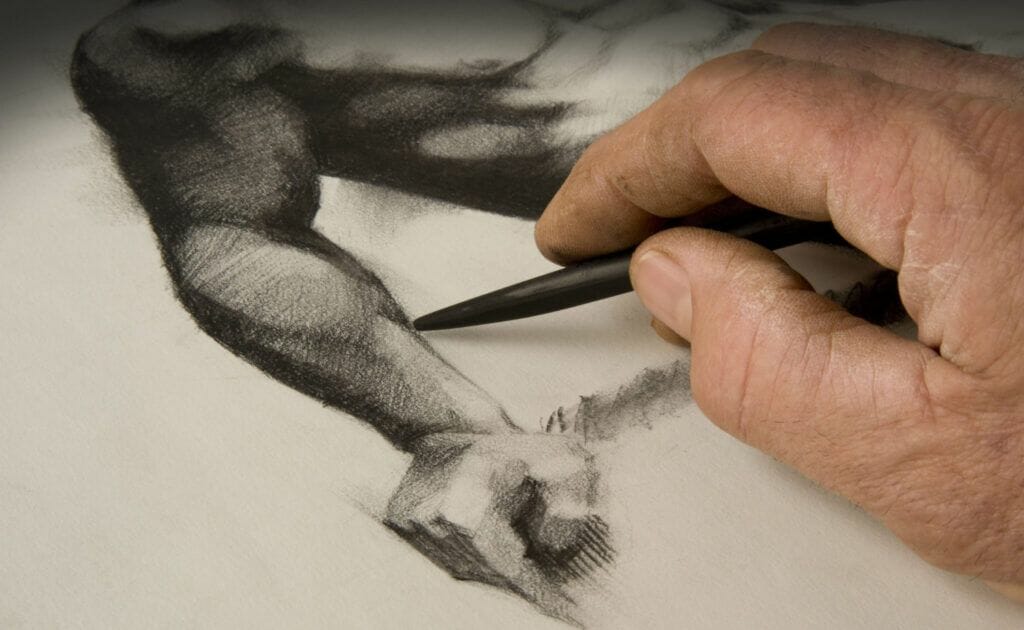
Sketching might seem primitive in today’s digital age but there really isn’t a replacement for good old fashioned pen to paper.
BUT...Since few years, the improvement of the digital brushes allows artist to sketch with the perfect feeling of a paper sketchbook.
Especially since the iPads arrives to Pro level with Procreate, everyone can have a digital sketchbook in the bag.
Art is best learned by doing, from the sketch to the render, this article will explore different techniques to use digital pencils.
When the sketch is just a research sketch and won't appear in the final render... Or for the pencil or charcoal render add depth, contrast and your own unique style to your drawings by combining your favorite techniques.
The role of sketching in digital art varies depending on if your creating identities, illustrations, product concepts, or other designs.
Here we will focus on drawing and illustrations, the sketch concept for logo or websites are a very different process.
Sketching can start loose, beginning with basic concepts , then work on compositions or layouts.
After those directions are chosen, the concepts can further be refined with detailed sketching.
In this article we will use Procreate App on iPad.
Layering pencil marks isn’t the same as layering paint.
The paper pencil process doesn't have layers like digital, so most of the time the artist will start their artworks from light to dark.
Graphite isn’t a transparent medium, so you can create a finished looking piece all in one layer.
The concept of layering in drawing, refers to the process of starting with a light sketch then slowly building in the dark areas to create shadows.
Most artists will use this process to plan out where the elements fit before committing to dark lines which are more difficult to erase.
The underdrawing acts as the first layer of an artwork, it can form the first stage of the drawing process. This is especially true for pieces that require more accuracy or time investment.
Draw a fine, light line to outline the main features of your subject.
Some artists also like to use lighter colors for the first rough.
Then build on this layer afterwards with layers of shading.
The shading process can be totally different according to your style...dots, crosshatching, charcoal...
The digital process will allows artist to use layers, and it's the main difference with the paper process.
At times, several small thumbnail sketches on a single page are used to explore composition.
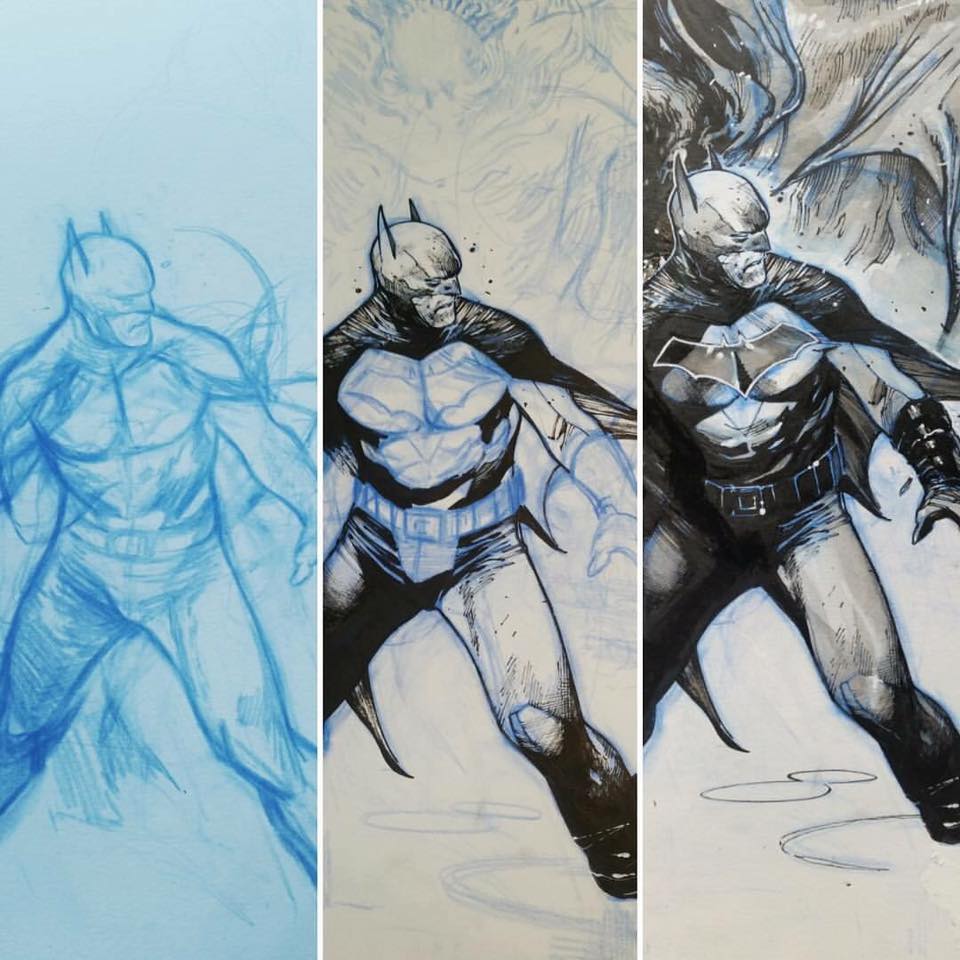
On paper your process will be from light pressure sketch to dark precise lines, in digital you'll go from big dirty rough to precise lines (all separated on different layers).
The first sketch is most of the time dirty and full of mistakes, it's a research process and you can improve your sketch on separated layers until you feel satisfied about the result.
Personally i like to use thick pencil brush like 8B to create my main volume and composition on a first layer, i can be dirty and rough because this layer won't appear in the final render of my artwork.
But it's so important, it's the structure of your artwork.
The kind of brush you will use for the different stages of the sketching depends on everyone choice, but i would say that usually we will start with a rough sketch brush like 6 or 8B, then continue with more precise brush like HB.
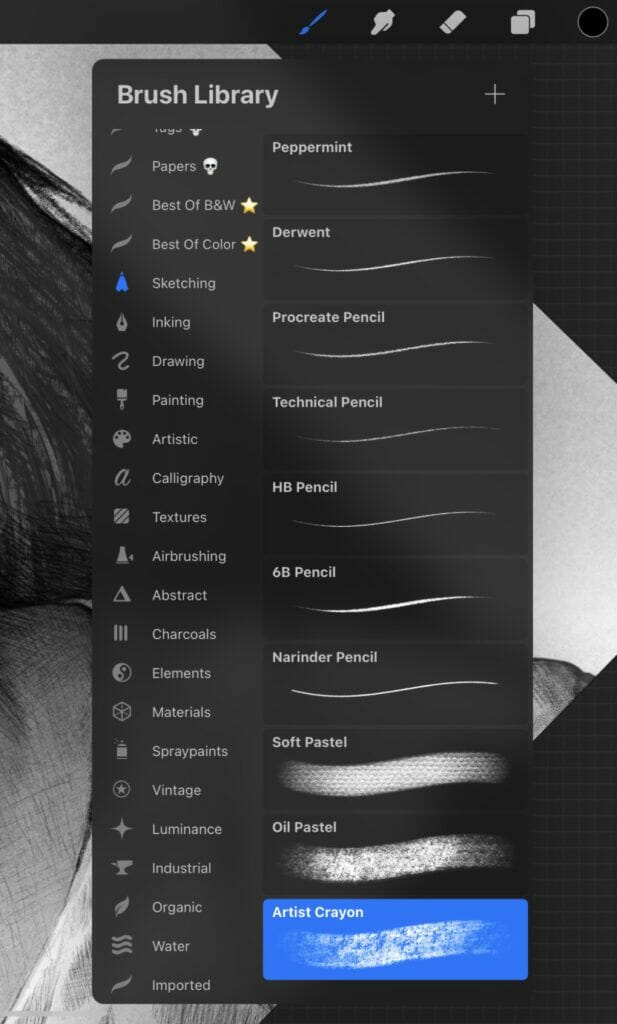
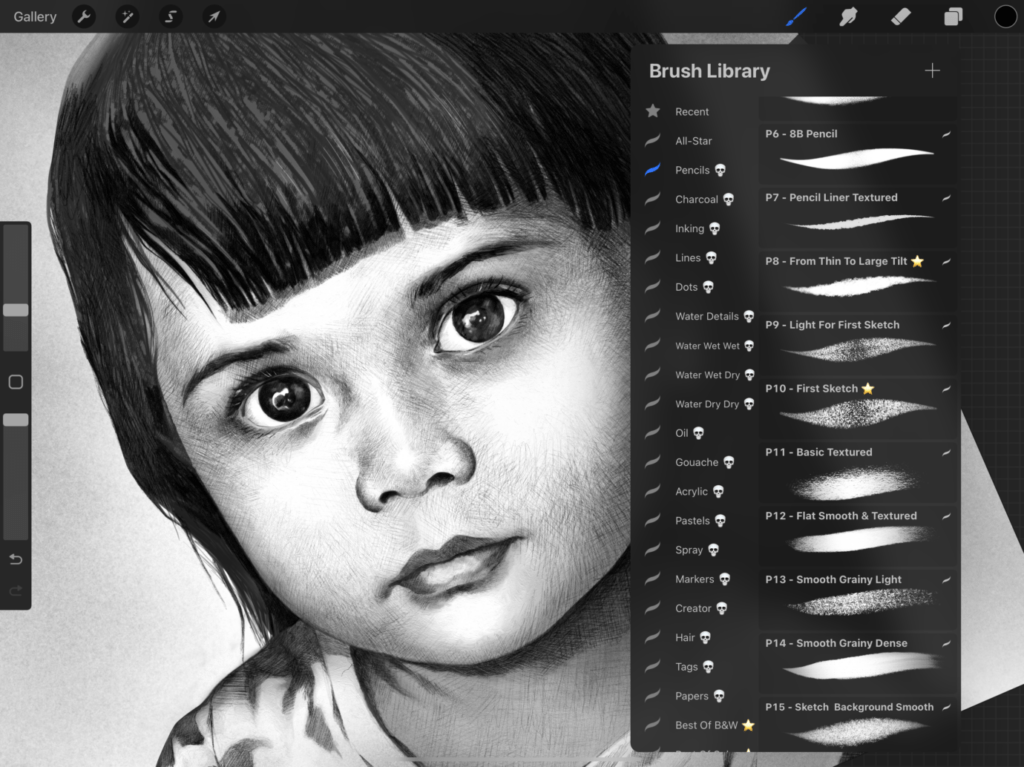
In Procreate the original brush library propose a sketching brush section where you can find something suitable.
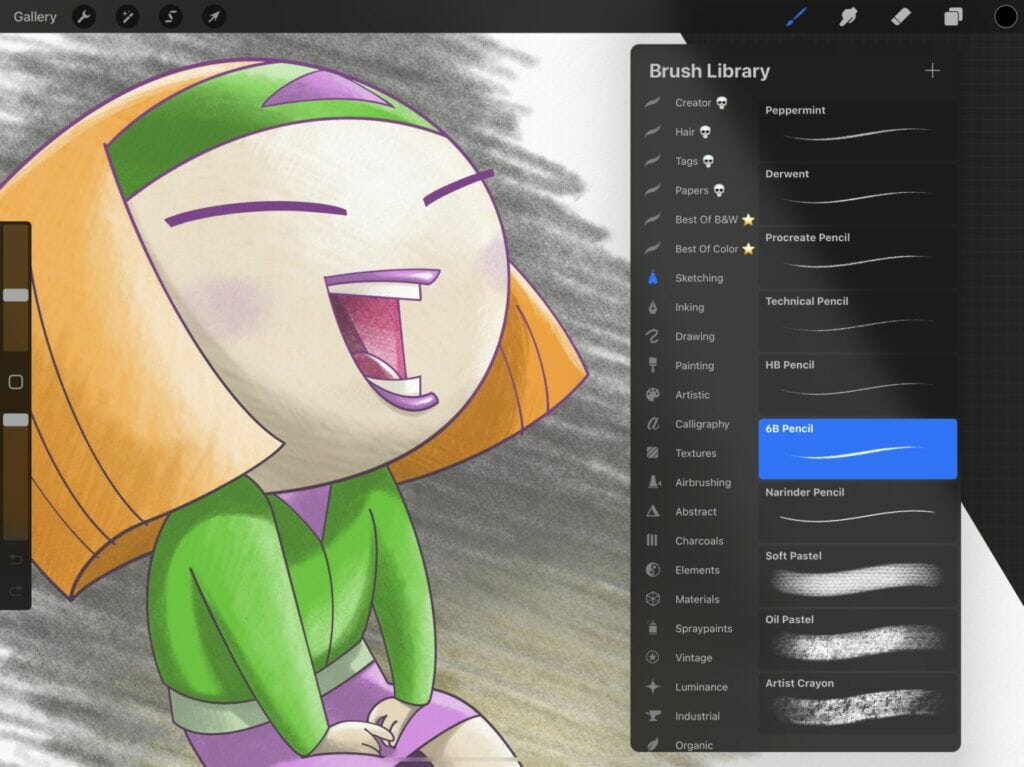
But in the Drawing section of the Procreate brush library, you also can find some interesting.
Experiment and choose your.
I would say that 2 or 3 different brushes could be good for the different stages of the sketch.

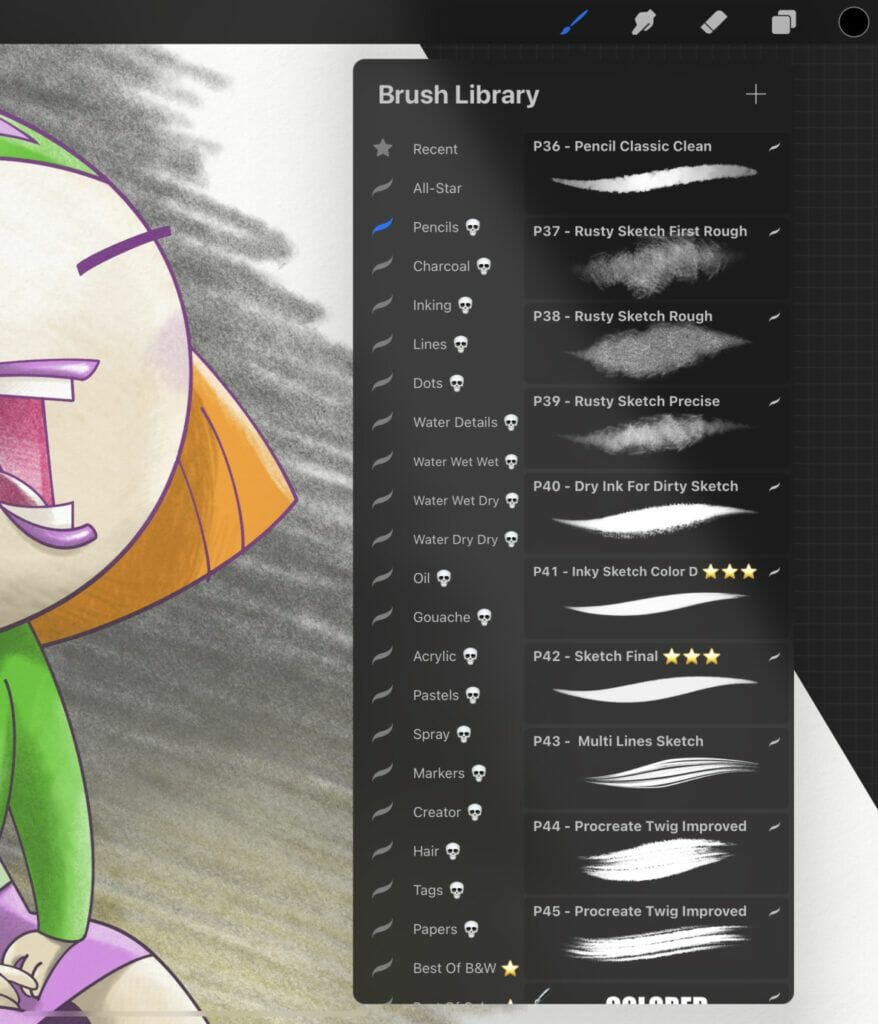
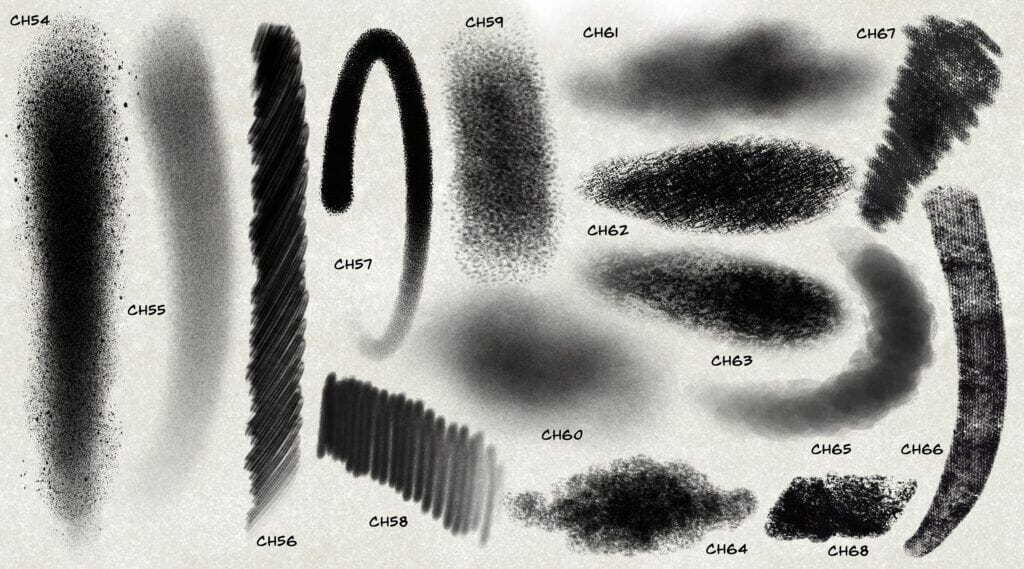
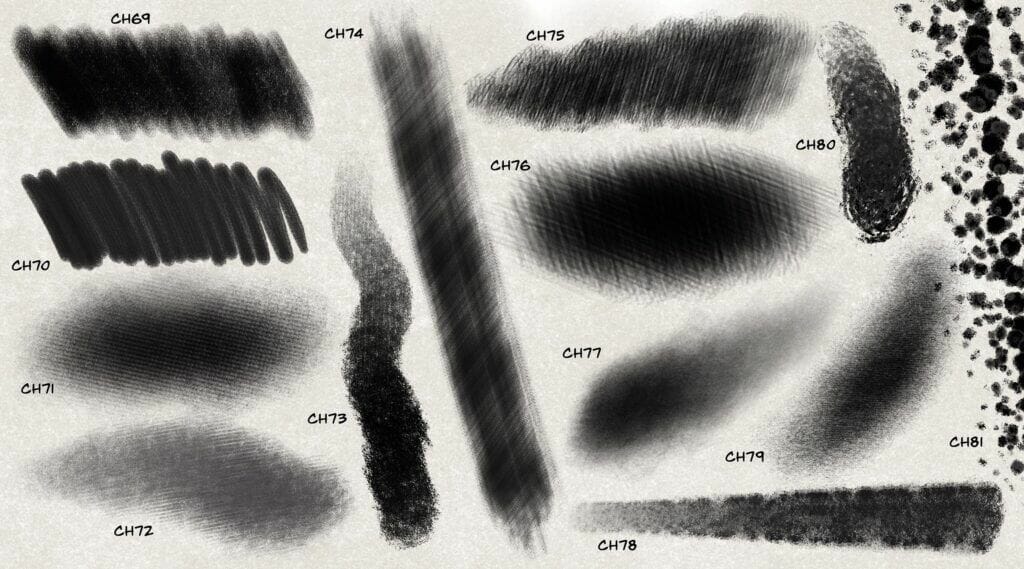
Or download others online, free or premium...Here we use our own Digilines Brushes.
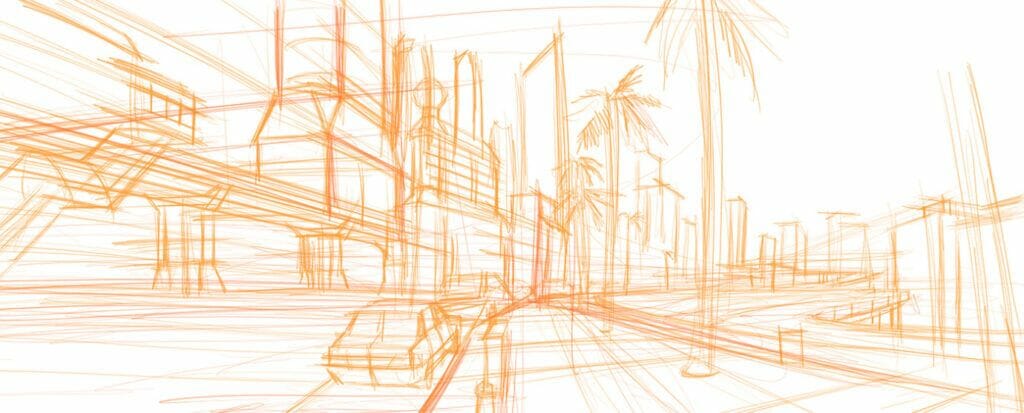
Let's start by roughly create the main volumes...

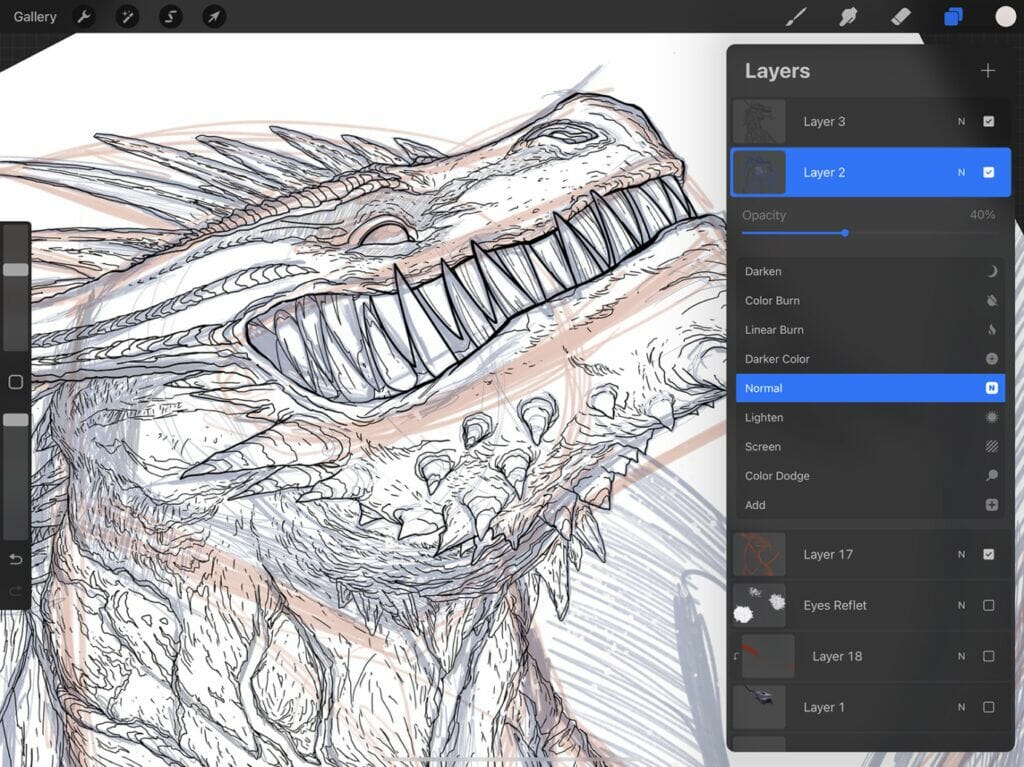
Layer after layer you can decrease the opacity of the previous rough sketch layer and give more precision on a new one.
You don't have to be careful to be clean or perfect, work on your composition and shape.
You can also use different colors, from light to dark to improve the precision of the sketch layers.
A sketch is not designed to be a detailed drawing that gets every element perfect.
Instead, it captures the essentials of the subject - the overall form and perspective, a sense of volume, movement, and feeling.
It should not be labored or overworked.
Sketches are often part of the preparation for a more developed drawing or artwork.
The sketch allows the artist to rough out their ideas and plan the finished piece before embarking on a more precise work.
It may be created in any medium, rough pencil is the most common, but compare the different brushes in your Procreate library, experiment and you will find the right tools adapted to your style.
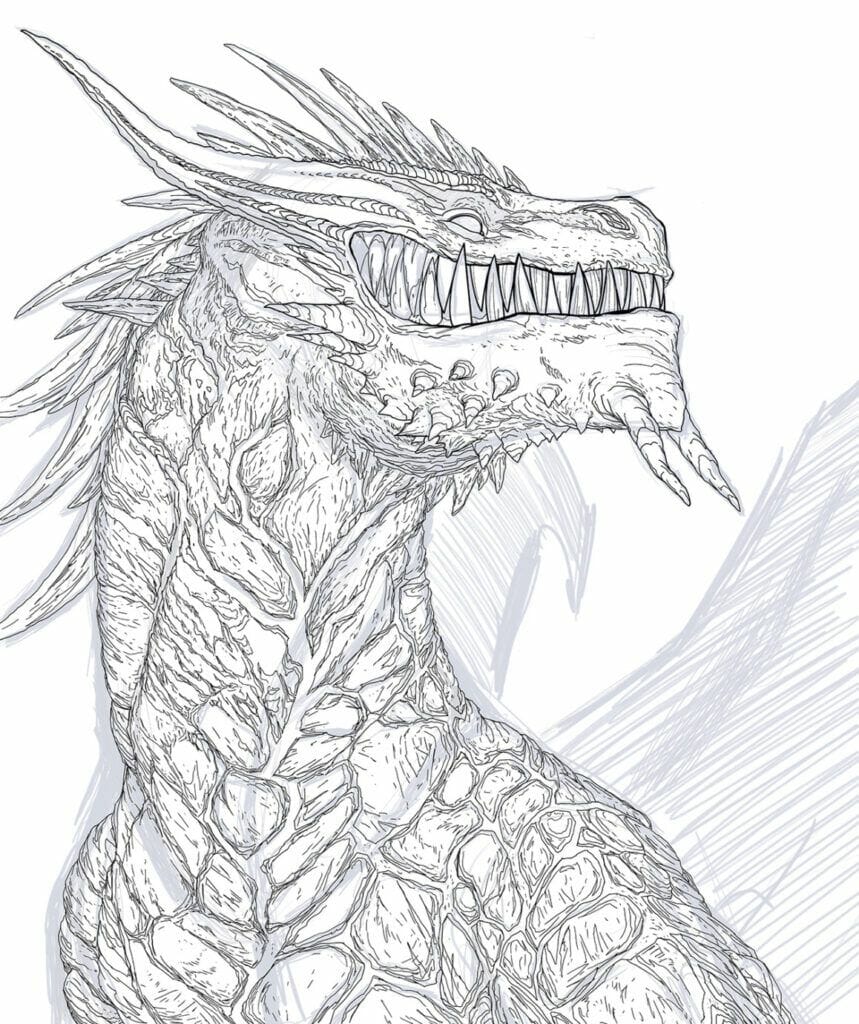
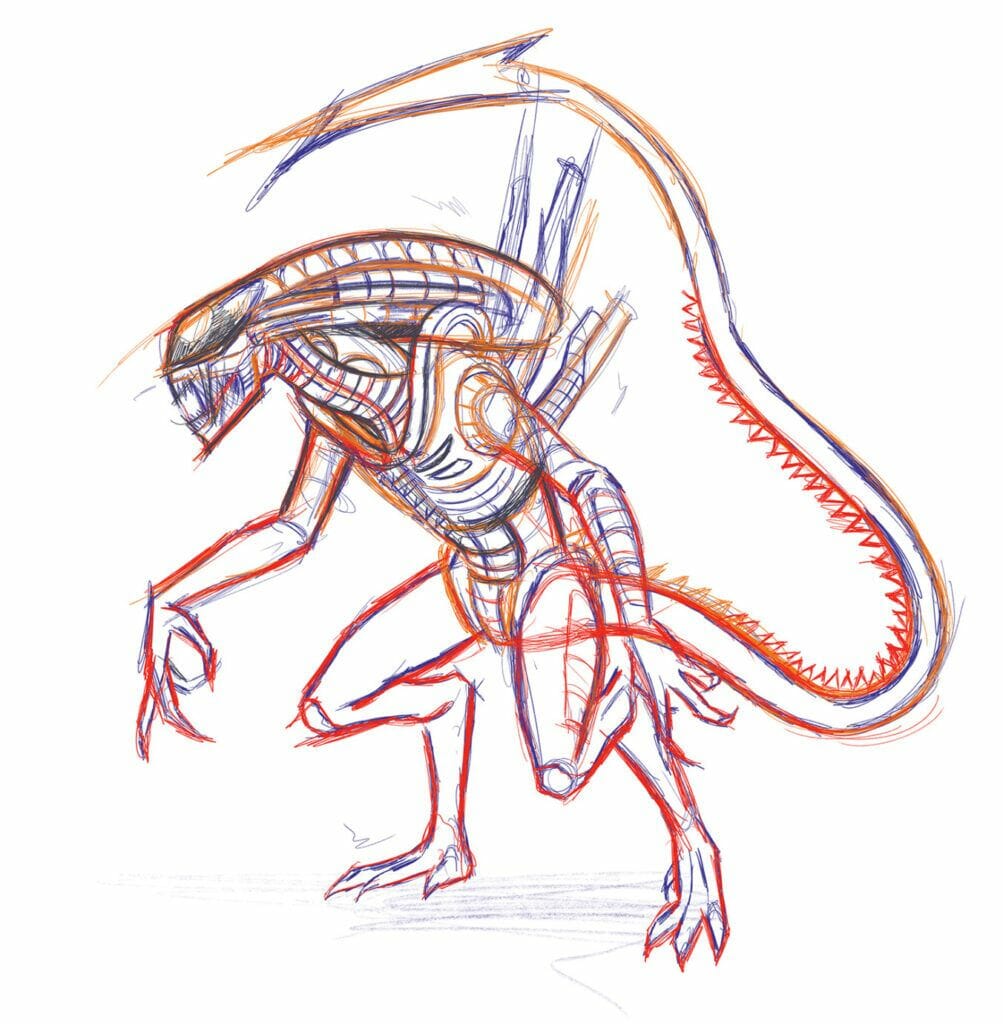
In the next example, it's an Alien pose research.
The goal is to create a new pose from scratch based on an existing character...
The first sketch is the basic volumes and the construction of the pose. Try to avoid tangents...and give a good silhouette to the pose.
Don't focus on details, but try to understand how the different volumes works.
Use rough brush and colors if you want.
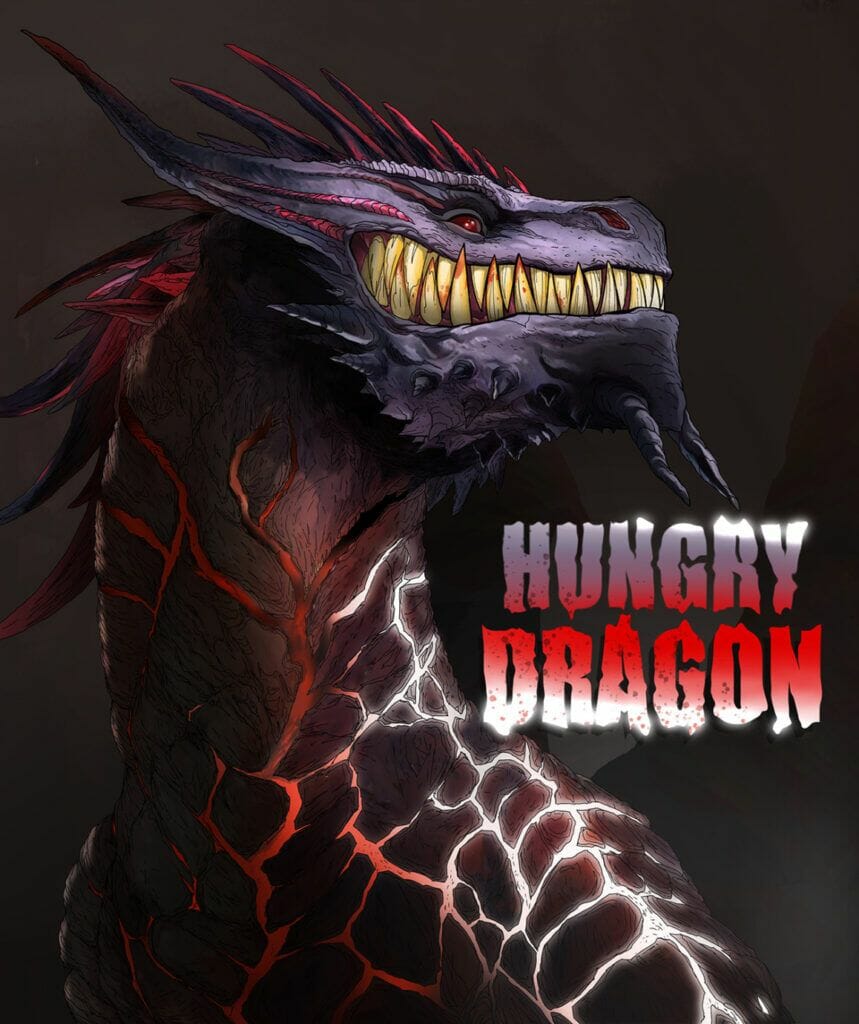
Add more details and structure in the pose..Switch to more precise brush. Always on separated layer.
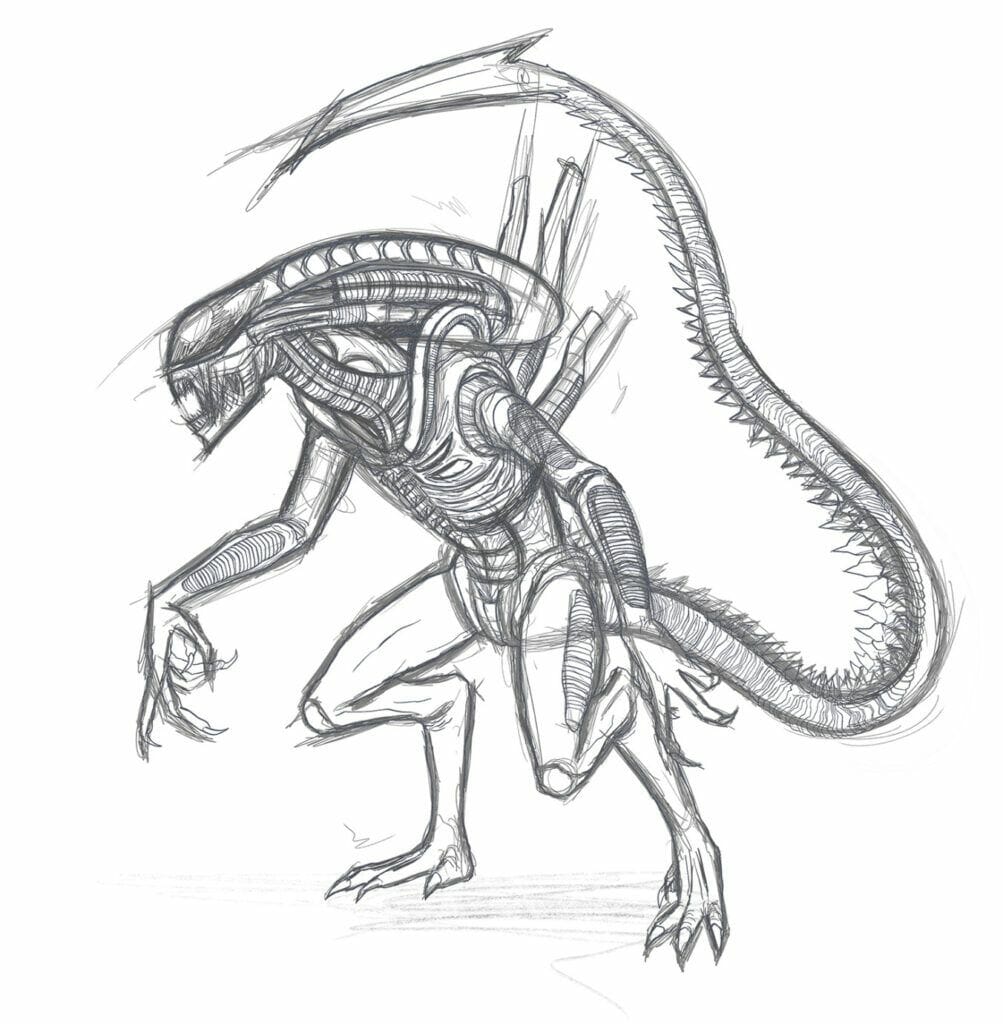
Stop sketching when you feel you add enough precision to go to the final render.
In this exemple i will do a comics style inking with a inker brush, that's why i like to have a precise sketch.
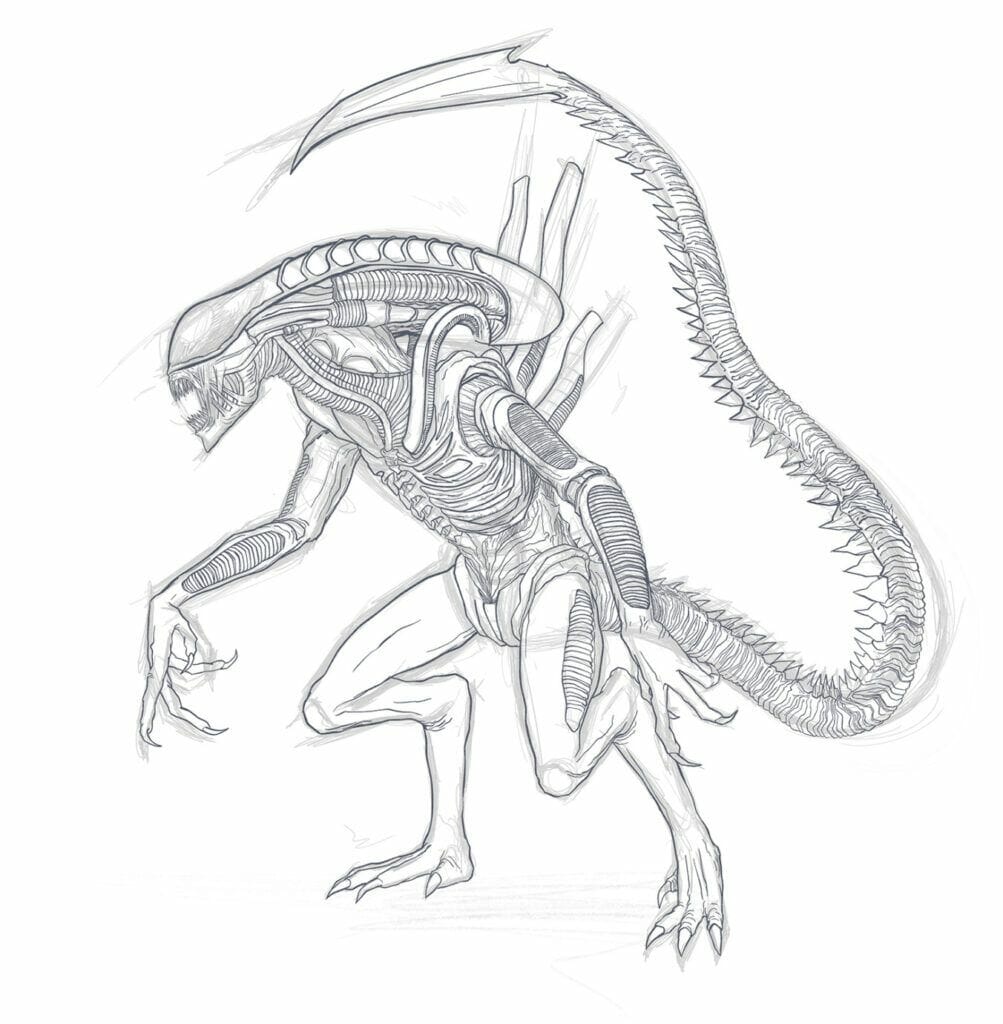
For the inking i want to focus on the line only, no interpretation of a rough sketch.

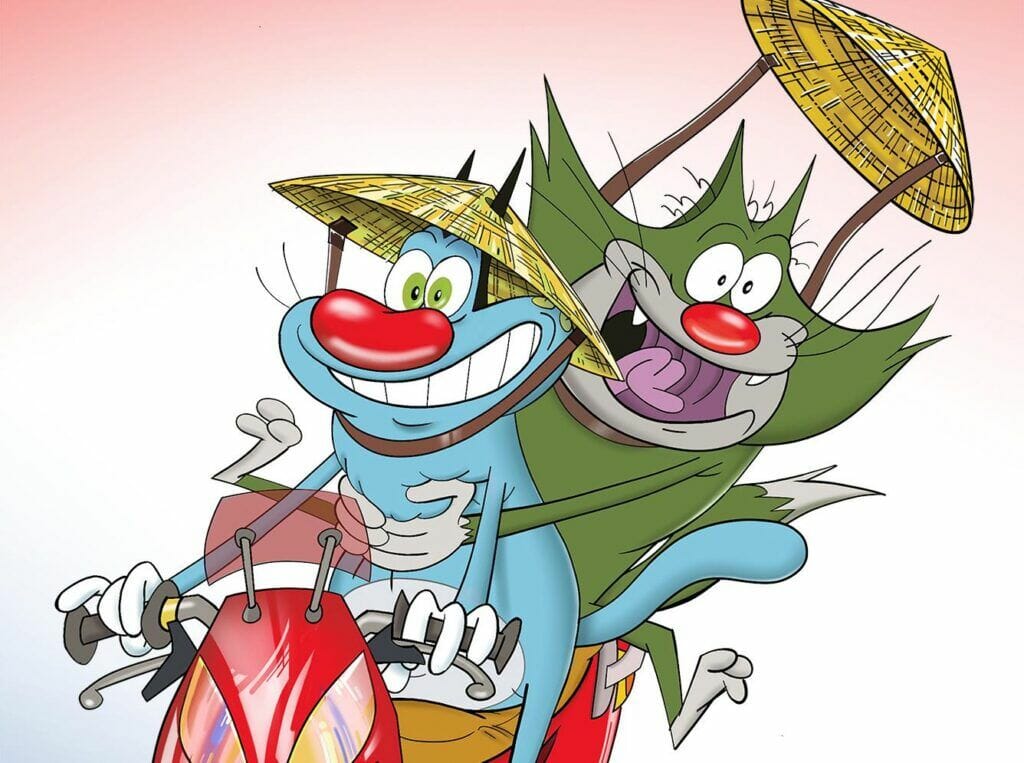
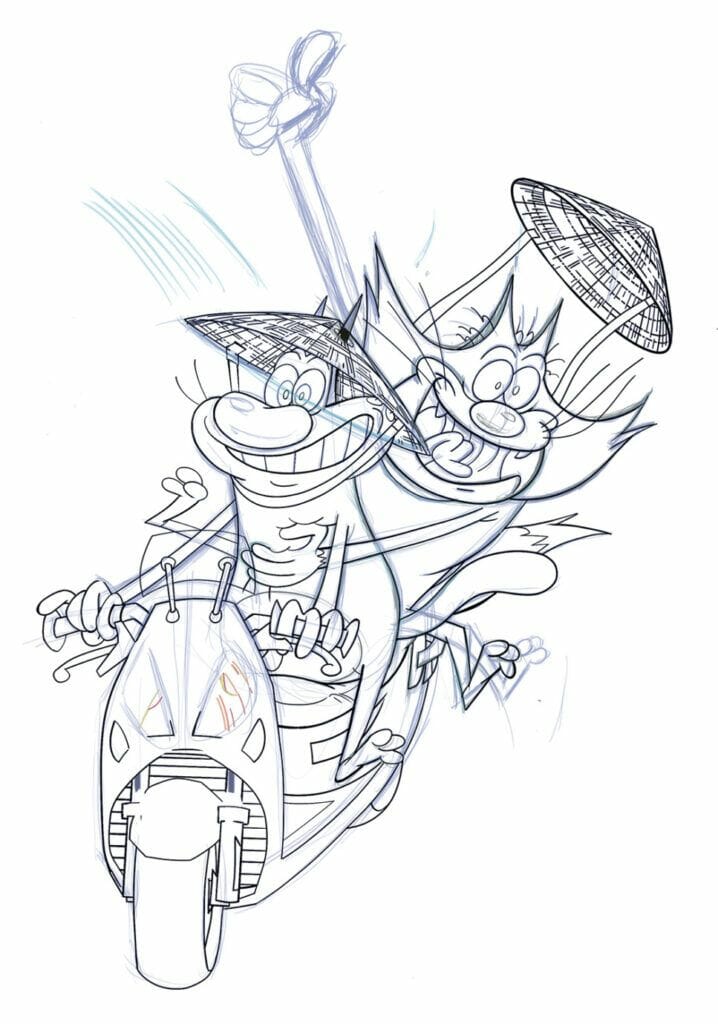
I worked for the cartoon TV show "Oggy and the cockroaches" for several years as layout director.
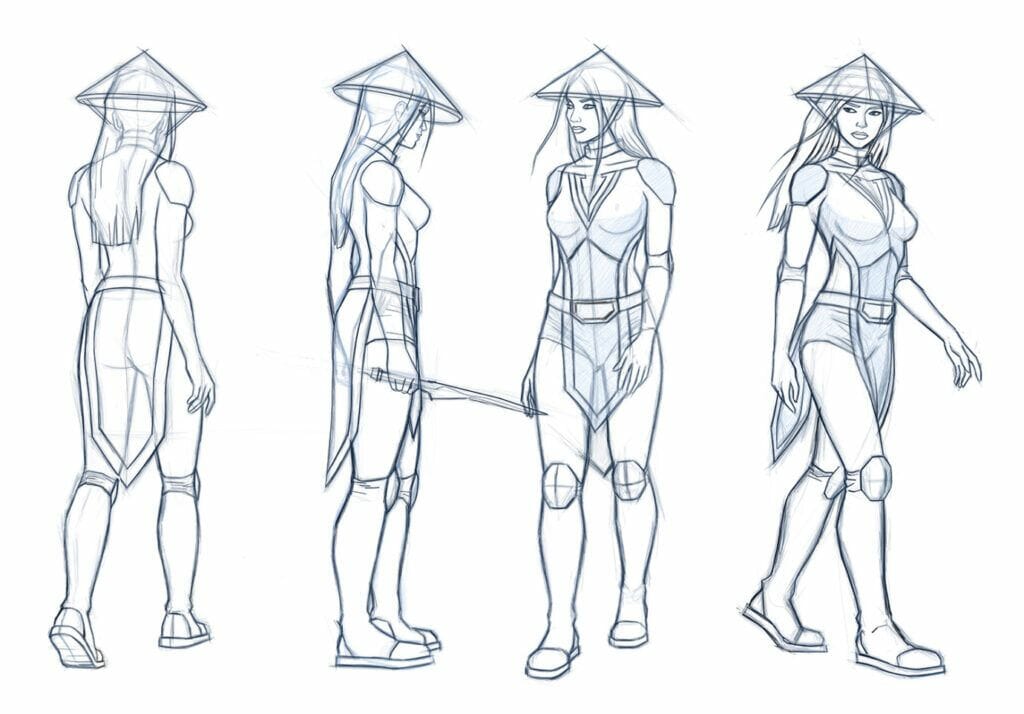
This character is perfect to explore the cartoon sketch process in digital.
This example can be adapted to others cartoon styles...
Using different brushes during the process to arrive to a precise sketch, ready to inking or clean.
Roughly sketch your pose to find your composition and dynamic of the pose.
It's not necessary to be clean, the important is to give an appealing and expressive attitude.
I repeat, it's a research process and this sketch won't appear in your final render.
You can use rough sketching brush for this stage.
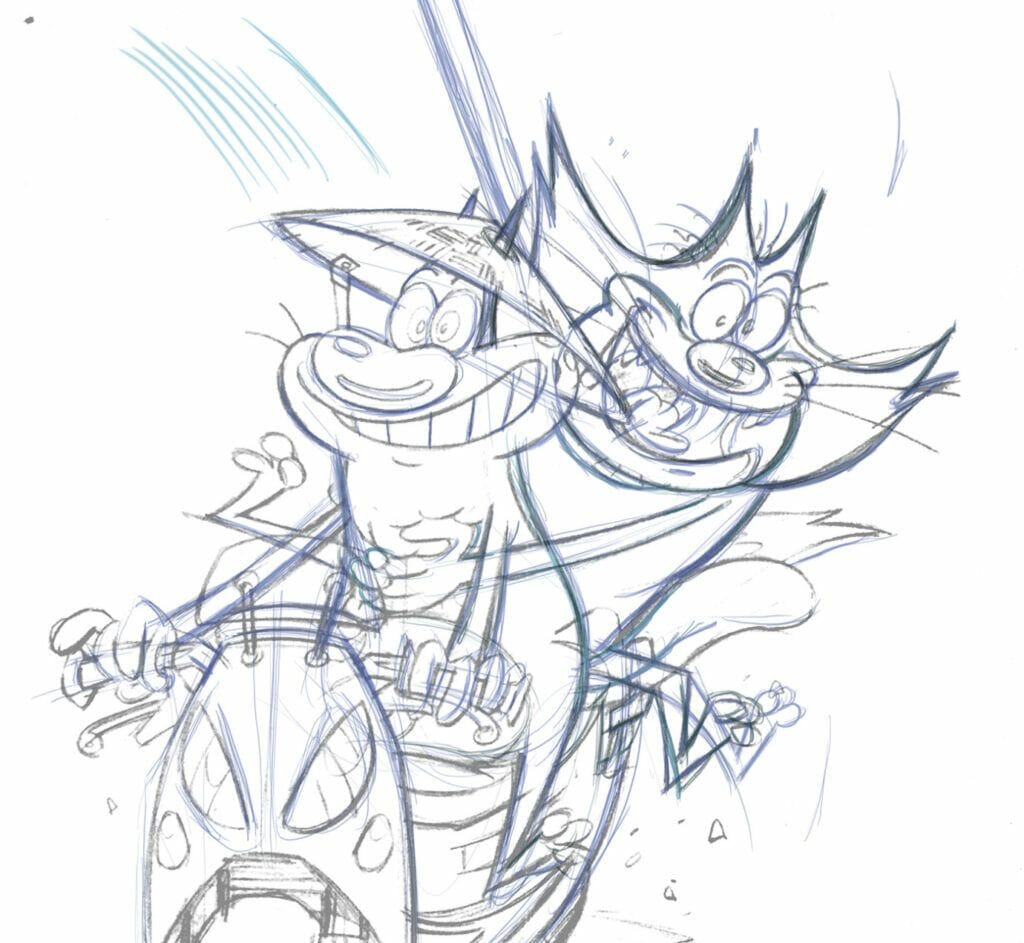
As i explained previously, layer after layer, make your sketch more precise.
You can switch to more precise brushes, closer from inking, not too textured.
In the Procreate brush library, choose the one adapted to your style...Here we work with the Digilines Procreate brush library including more than 70 sketching brushes and pencils.
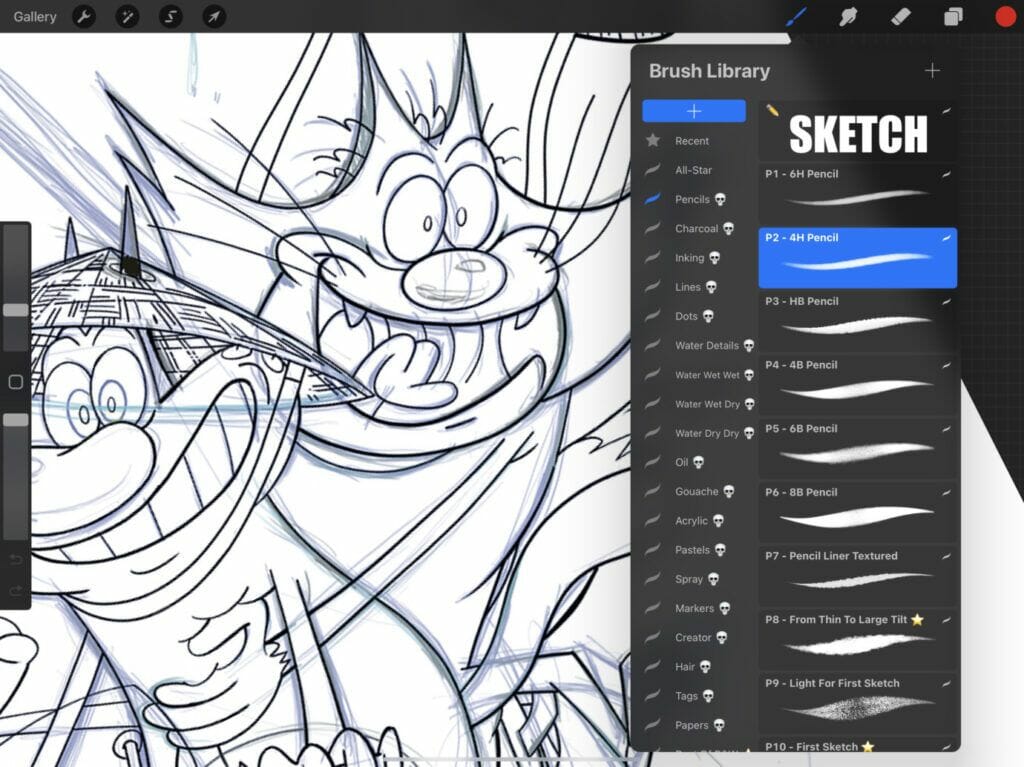
But in the original Procreate brush library you will find few interesting ones...
And add more details...
Personally i like to have a precise sketch before start the final render of an artwork, but some artists, especially the ones use painting technique stop their sketch at a more rough stage.
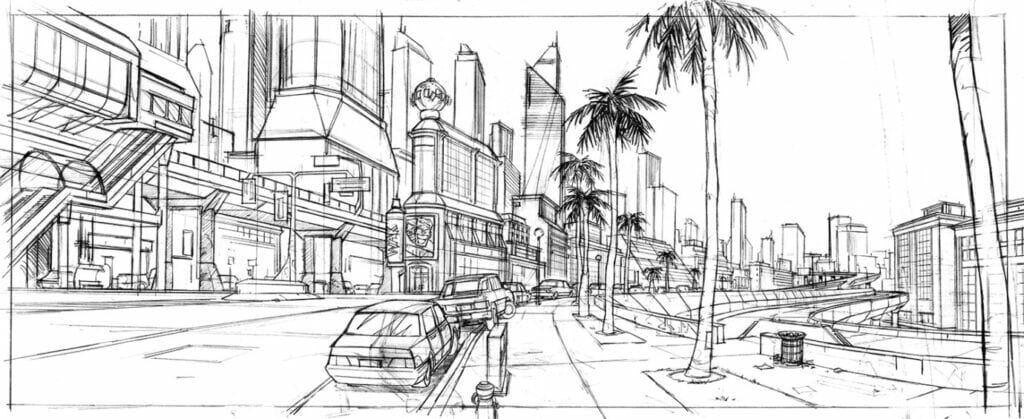
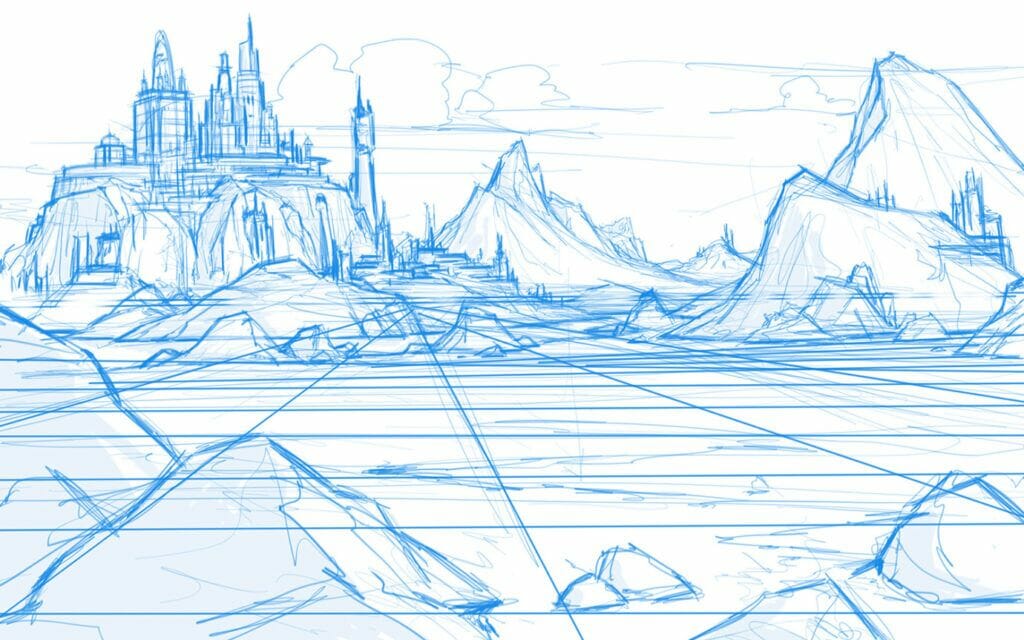
To create a scene, for an illustration or a cartoon scene, first sketch roughly your composition with your characters.
No details, just the main volumes of your image, when you feel ok, add the details on a separate layer to finalize your sketch.
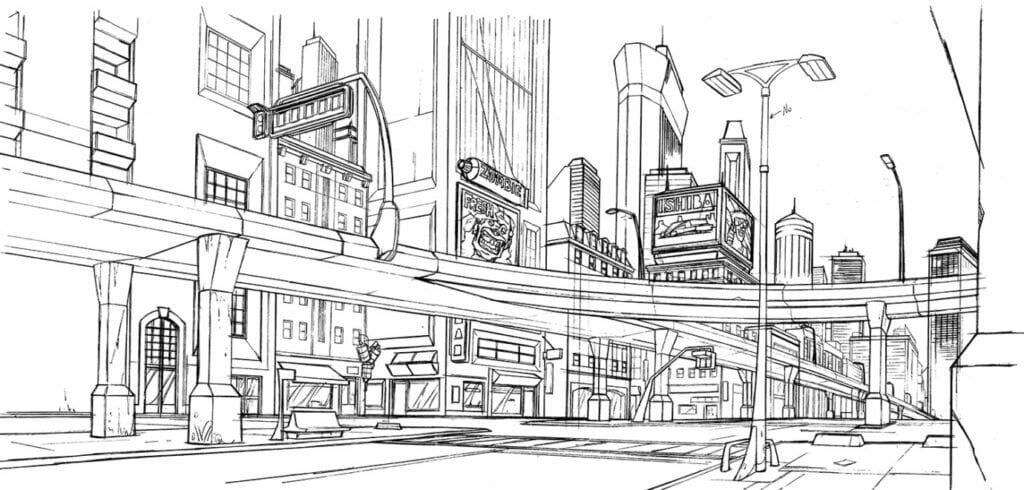
This example is a layout for a scene of Oggy, the sketch of the background with the main poses of the future animation. It will be the same process for an illustration or a comics strip.
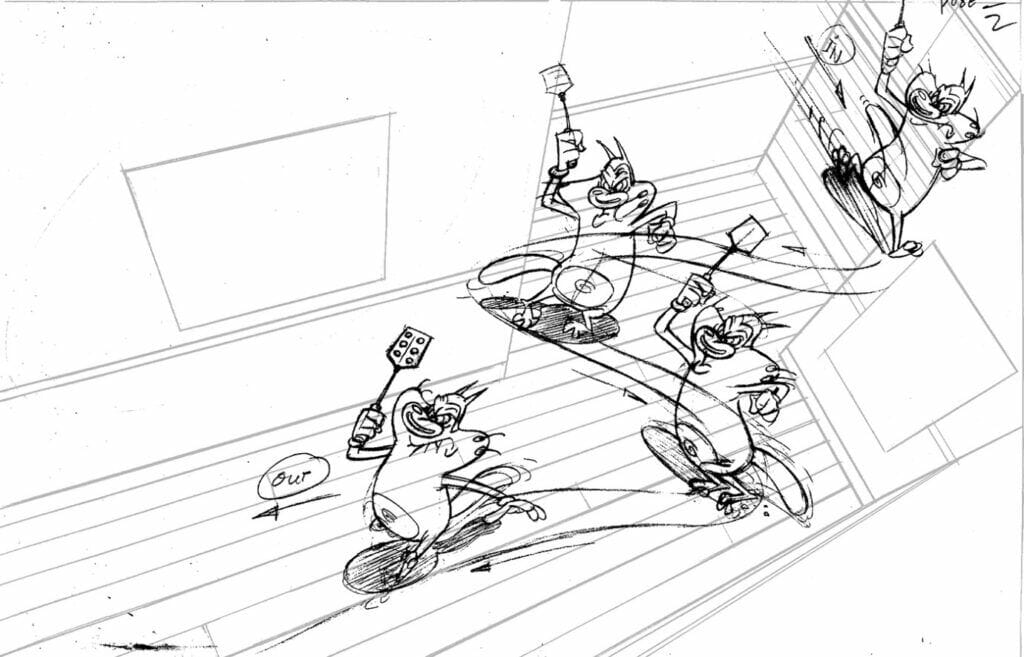
The final sketch of the poses of Oggy must be precise and match with the perspective of the background.
I use a digital HB pencil.
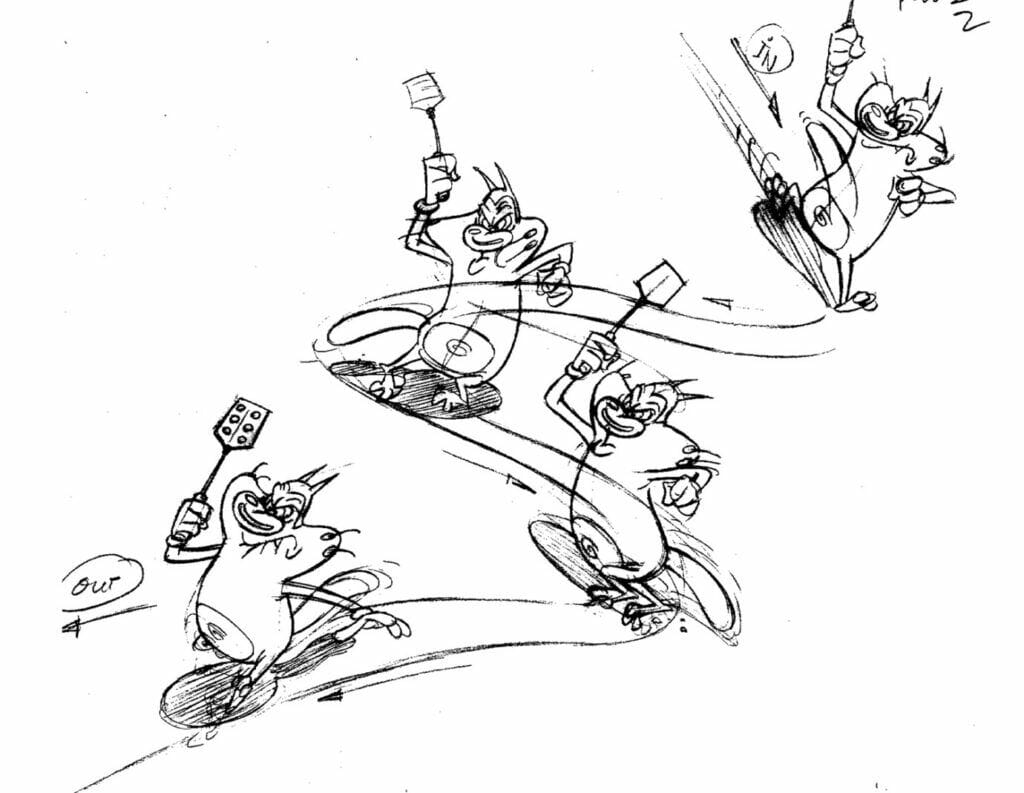
Few examples of sketch cartoon poses.
In 2D animation the sketch part is also very important to create the key poses and the rough animation.
The process is the same than artwork sketch, but you will have several sketches to create your movement.
Don't focus on the details, but roughly build your movement and try to keep the volume of the character...In a second time you can adjust the details.
In the next example, the walking cycle is mainly done, but in the details you can see a lot of deformations and unexpected shakings.
This kind of problems must be fixed in the second part of the rough animation...In this article we won't go to this stage, we just talk Sketching here, i will develop animation process in Procreate in a dedicated article.
For this first animation sketch, it should be better to use a rough brush to avoid focussing on details.
This second rough animation example is similar, searching process of the main movement without details...
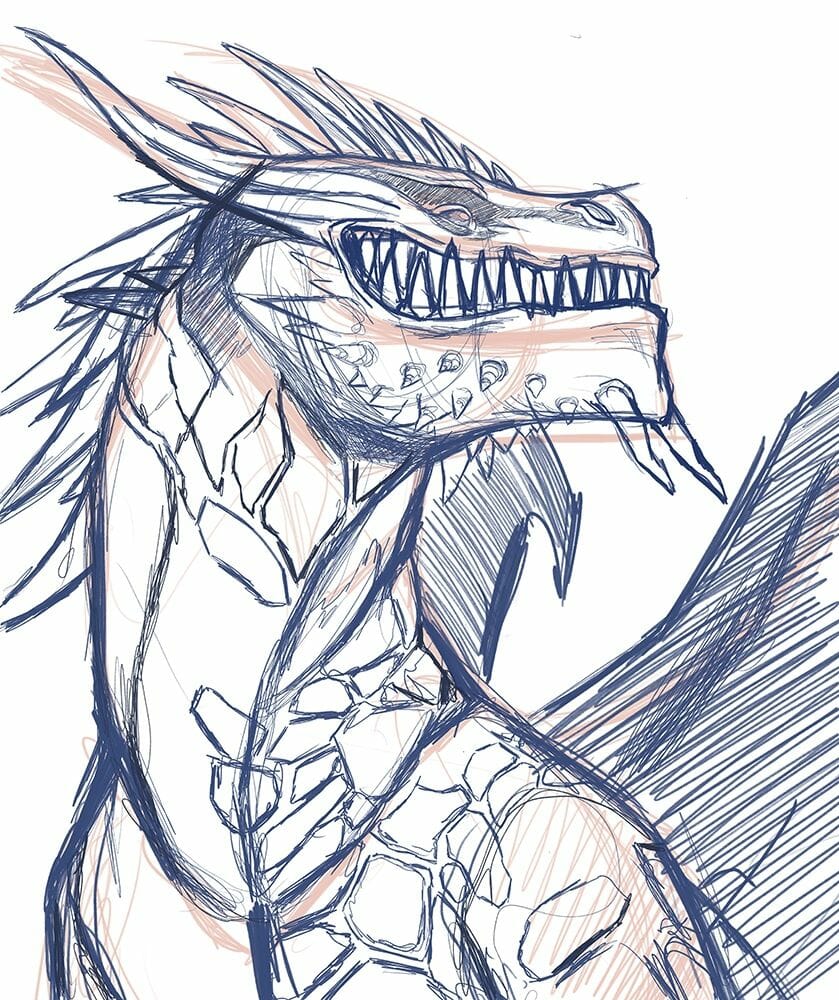
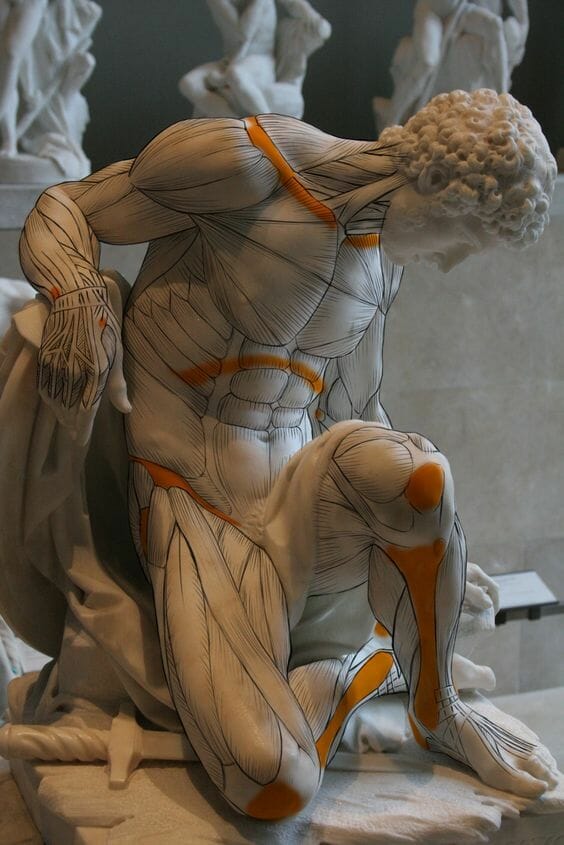
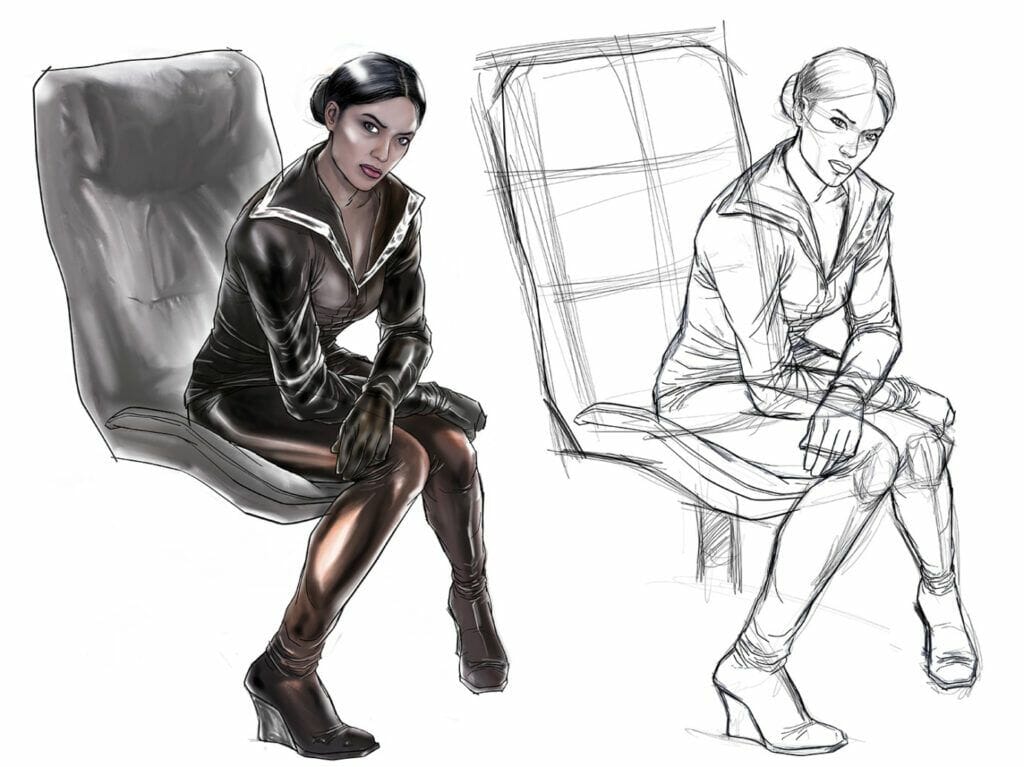
You are digital painter, comics artist, animator or others and you focus more on realism.
The process is similar but of course the acting and construction will be different.
Here we focus on the digital approach, and the drawing techniques is a giant world to explore, i will just develop here the main points and create dedicated articles for each point.
But I would say that the best way to improve human body sketching will be life drawing, but photos references can be good also.
This is similar to creating a loose sketch, but the purpose is to capture the movement of your subject in an expressive way.
This technique mainly applies to drawing the human form and capturing the action and pose of the figure.
Time yourself when using this technique, as the purpose is to be quick and not overthink the placement of lines. Aim for around one minute per drawing.
Don’t think about the details, like the facial expressions or hands, just focus on the form of the figure.
This can form part of the first stage of figure drawing.
It’s especially useful to practice this technique if you plan to do some life drawing.
Practice, practice, and practice more.
Don't copy what you see, but understand the construction of the pose and draw it from this understanding.
You must understand even the hidden body parts...
It's very important to create interesting poses, clear and strong.

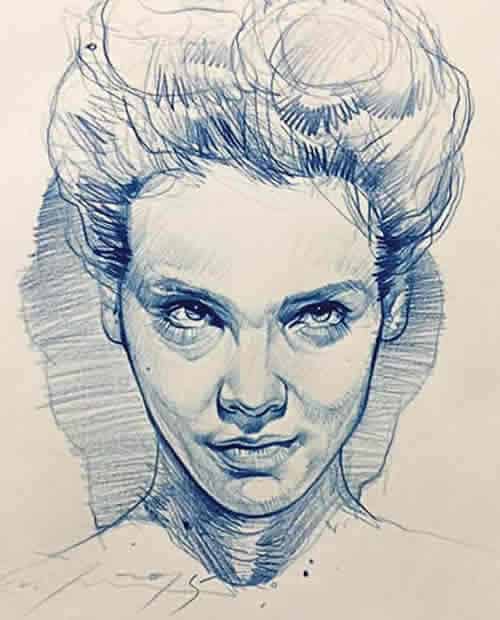
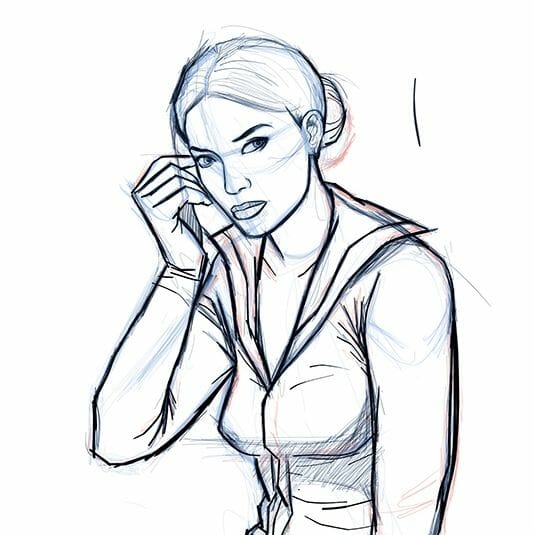
Or expressions...
Analyze carefully the volume, the change in the face, and the details according to the expression you want to do or copy.
The acting and body language are one of the main point to master when you want to tell a story in art.
You must be an actor yourself to imagine and draw facial expression and acting.
The sketch stage is where you create this expression.
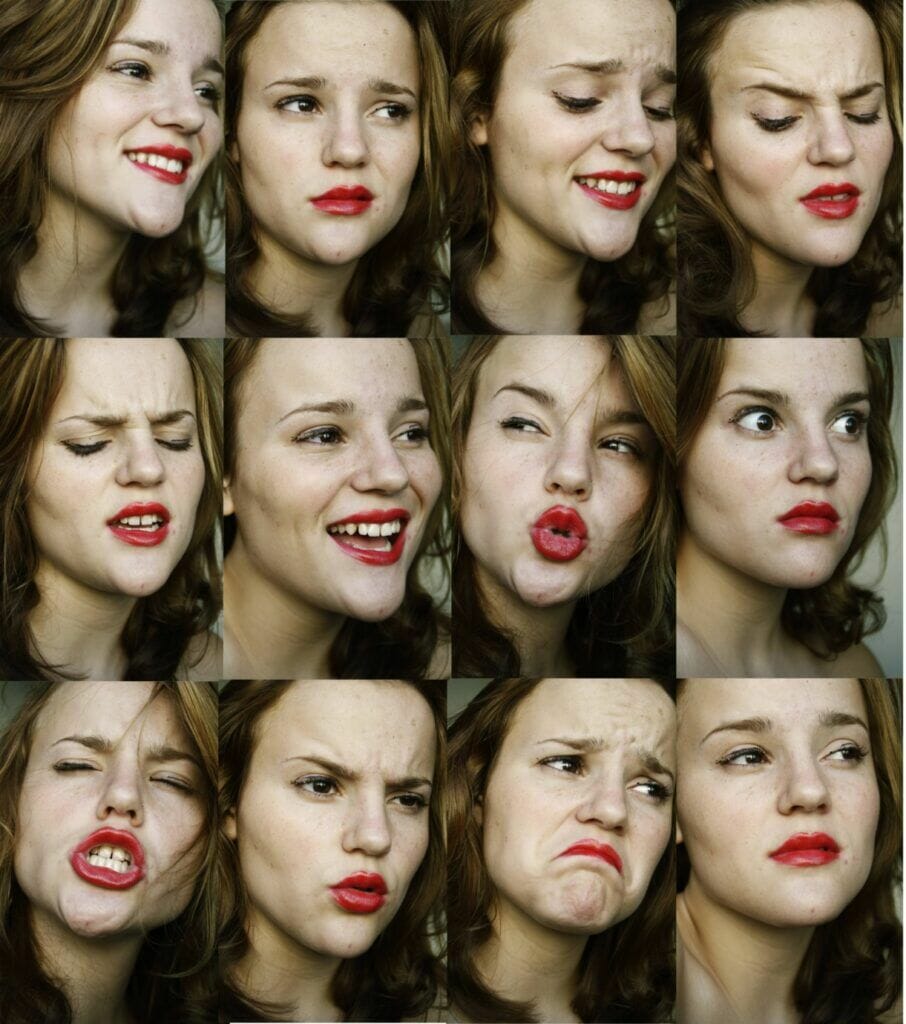
Anatomy and acting, works on it to improve your drawing skills.
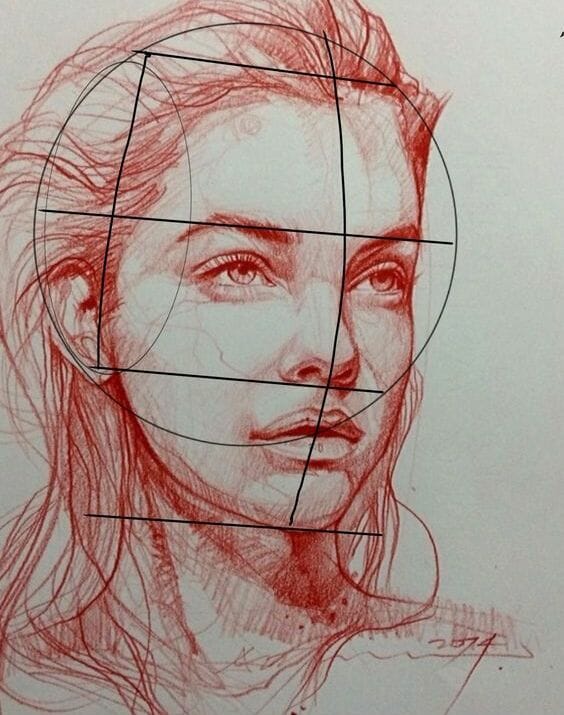
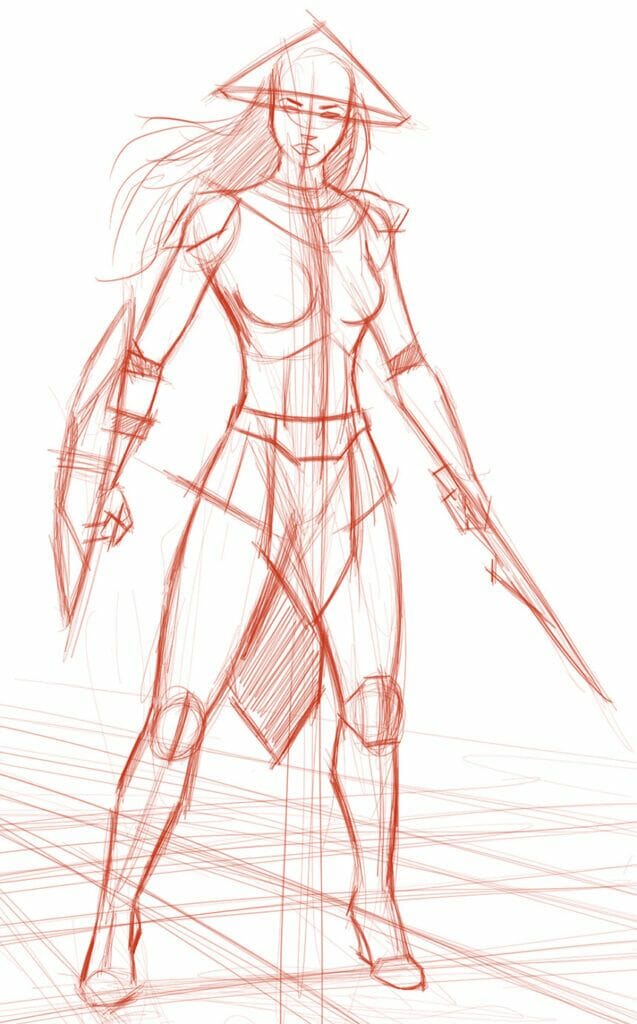
Sketch the main volumes of the pose from rough to detailed on different layers as explained previously.
The first sketch should focus on the research of the pose and general proportions.
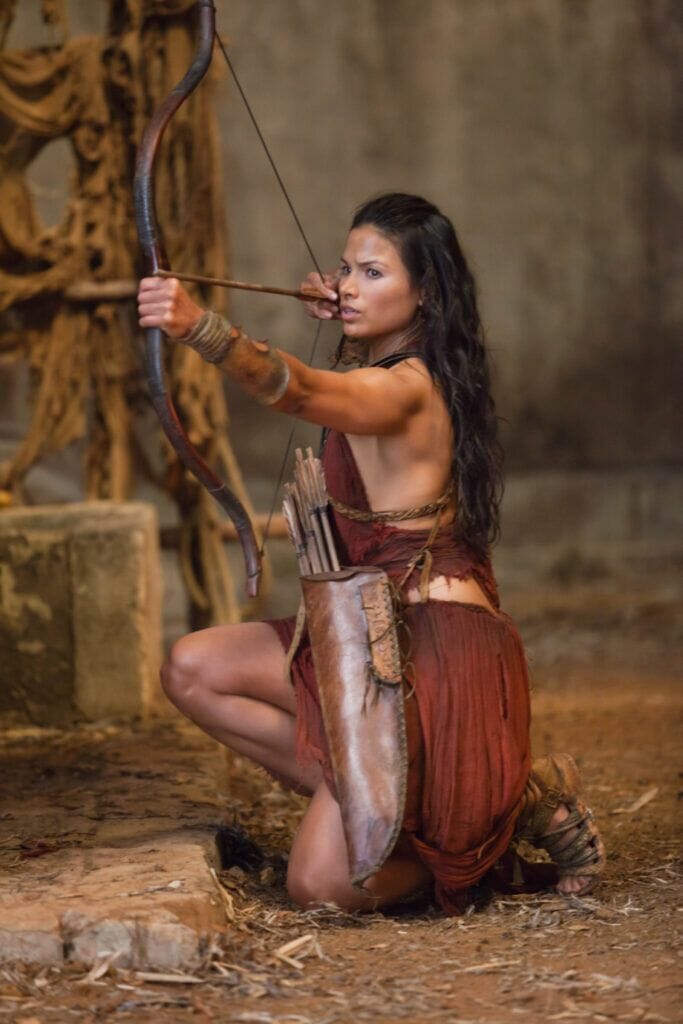
Sketch your pose, focus on proportions, posing and composition.
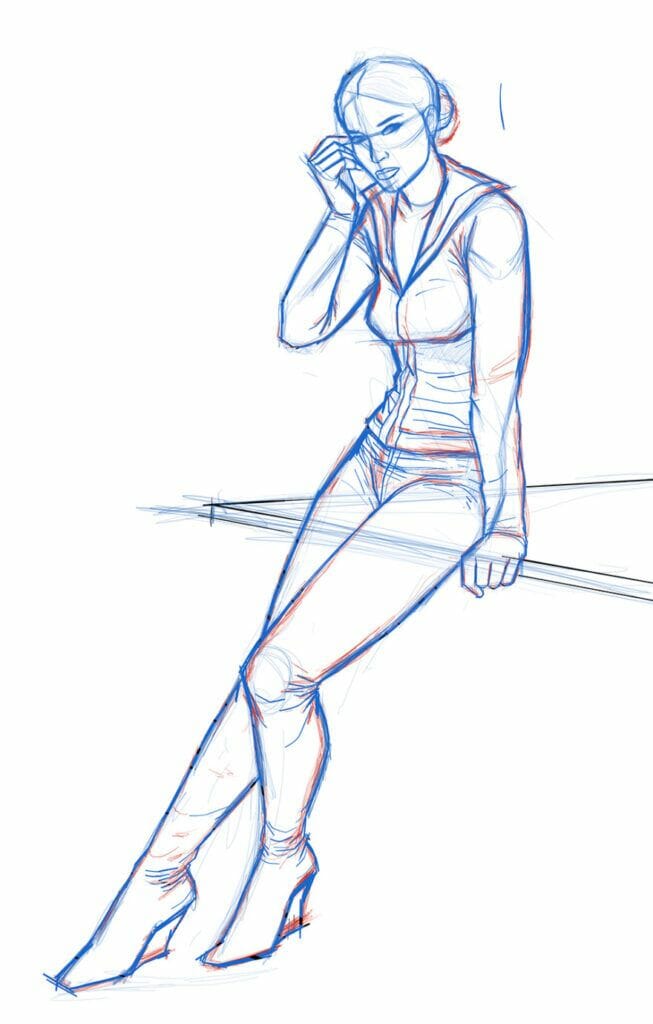
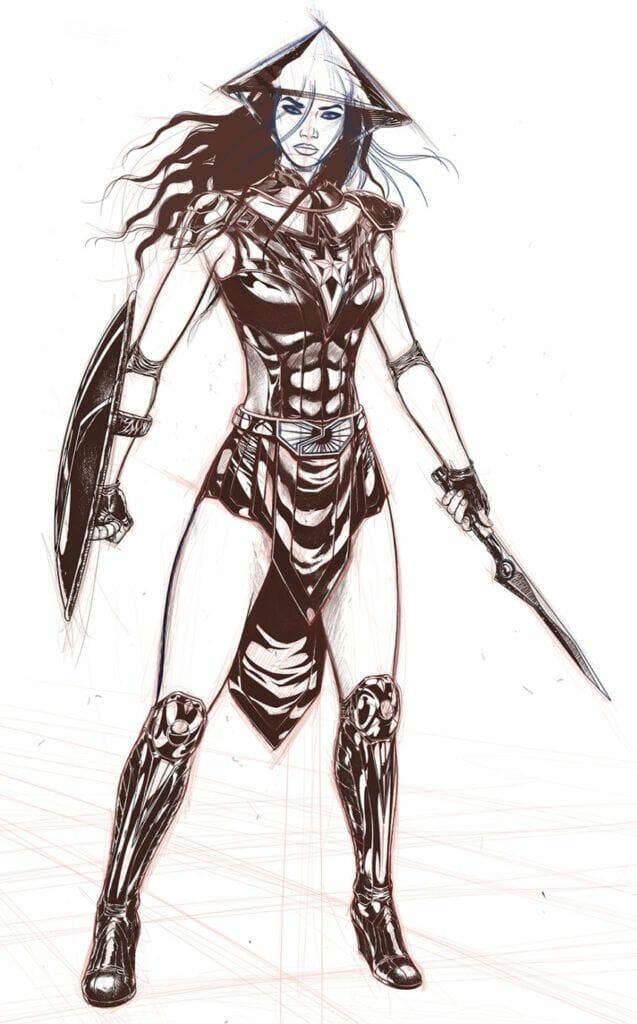
To finalize your sketch, finish by adding the details with a more precise brush.
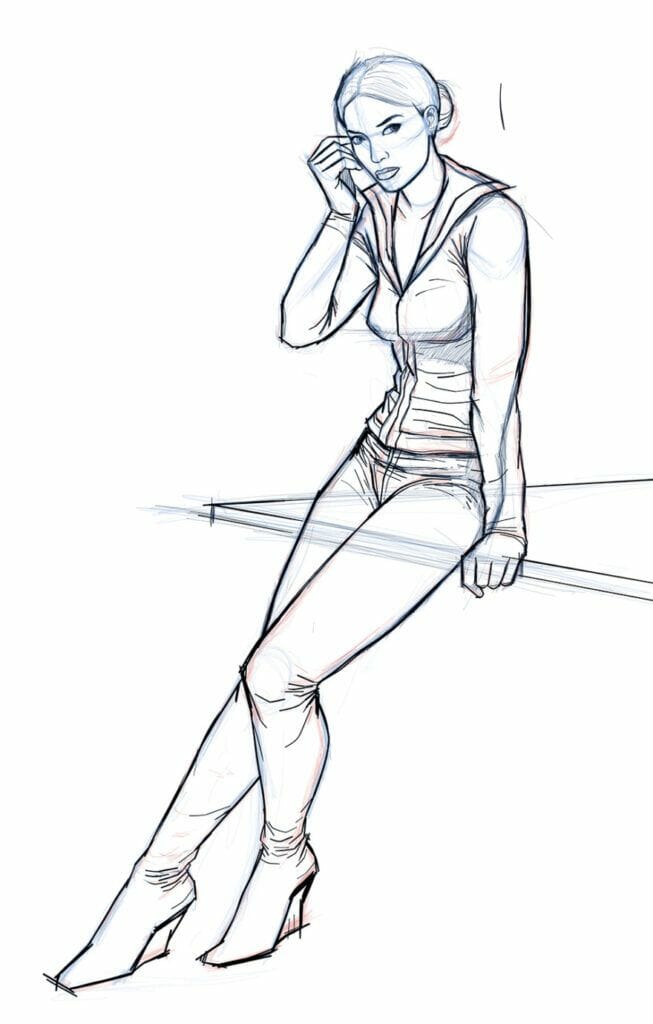
Sketch even what you don't see to be sure your shapes are good.
Again, sketch the main volumes and construction.
Then details it...always on a separated layer.
The next image is a inking render of the previous sketch.
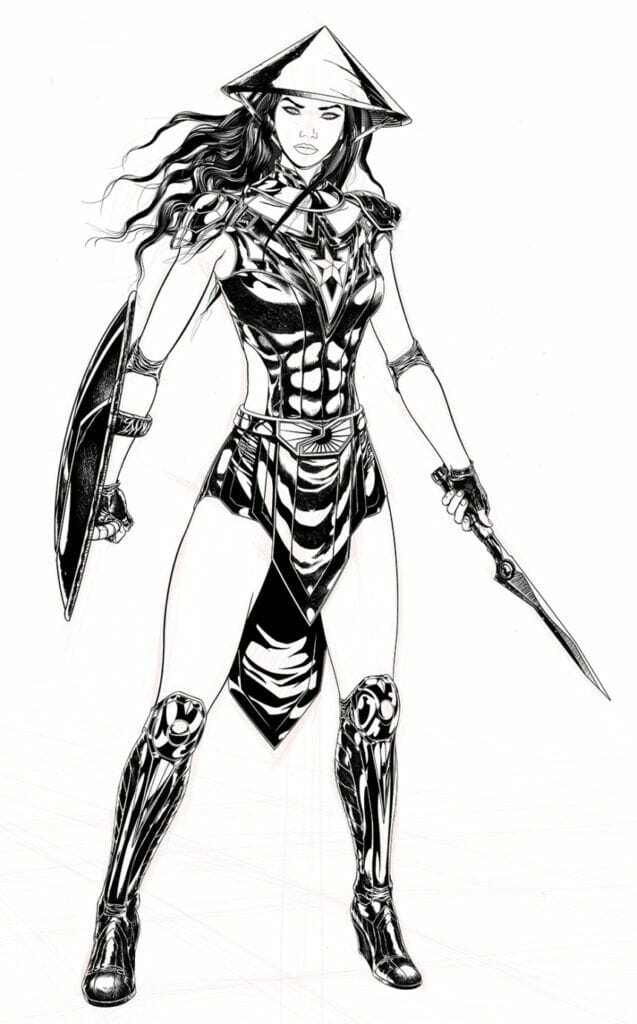
I won't develop the perspective and composition rules here, but as the human body sketch works on different layers from rough to details.
This what you will do if you want the sketch is not only a sketch but also the render.
It will be similar than a paper pencil render or charcoal.
Check in your Procreate brush library witch ones will be suitable for your style.
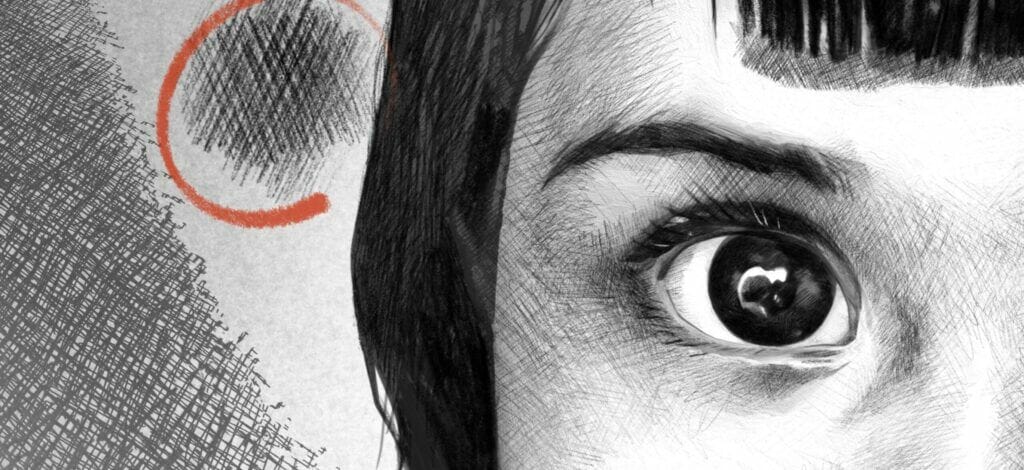
In this example the render is a mix of cross hatching and smooth finger smudging.
Cross hatching is a type of hatching, whereby parallel lines are drawn next to one another to create light and dark values.
Perpendicular lines are then drawn over the top of the first lines in a similar hatching style.
The crosshatching can be done manually with patience, by smoothly shading your artwork...You can let some light parts completely white.
Cross hatching creates great texture when you look at the drawing up close, but when you step away, it will appear as smoother shading.
Hatching is the technique of creating parallel lines to give the illusion of light and shadow.
Draw lines closer together to create dark values, lines further from one another create highlights and mid tones in a drawing.
Apply more pressure to the pencil for the darkest areas.
To be successful at the hatching technique, hold the pencil in a loose fashion.
This means instead of pressing hard on the lead and using your wrist to draw, try and draw by keeping your wrist straight and moving your elbow.
This will create longer, lighter, more sweeping strokes for the hatched lines.
For extra long hatch lines, try keeping your elbow in one position and moving your shoulder to create pencil lines.
It may seem basic to reassess how you hold a pencil, but especially if you’re a self taught artist, basics are easy to miss out on.
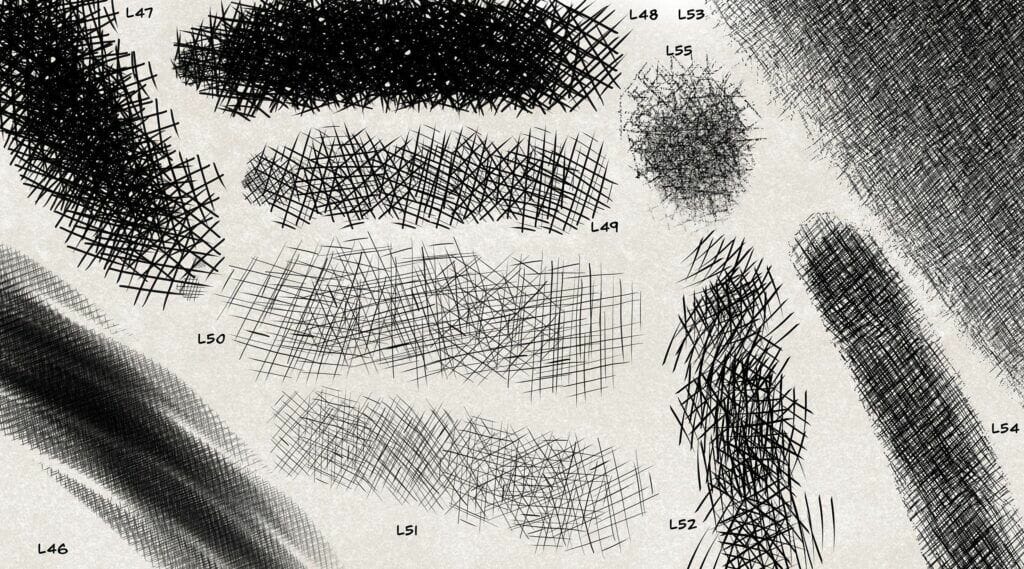
You can also use some existing crosshatching brushes, those comes from our brush pack.
Of course it will save a lot of time for the same effect.
To create your final render, choose the right brush according to your goals.
It could be hard rough render or very light shading. Experiment until find your own technique.
Tonal shading technique is pretty simple and the most intuitive of all the drawing techniques.
Apply pressure on the pencil where you want to place the shadows in the artwork.
To create an even shaded appearance, hold your pencil slightly at an angle and lightly move it backwards and forwards.
On paper unsharpened pencils create softer lines, it’s also essential to use a soft pencil in digital.
Anything between HB and 8B would work perfectly, depending on how dark you want the shading to be.
Finger smudging can be done like on paper by using a smooth brush in the smudging section of Procreate.
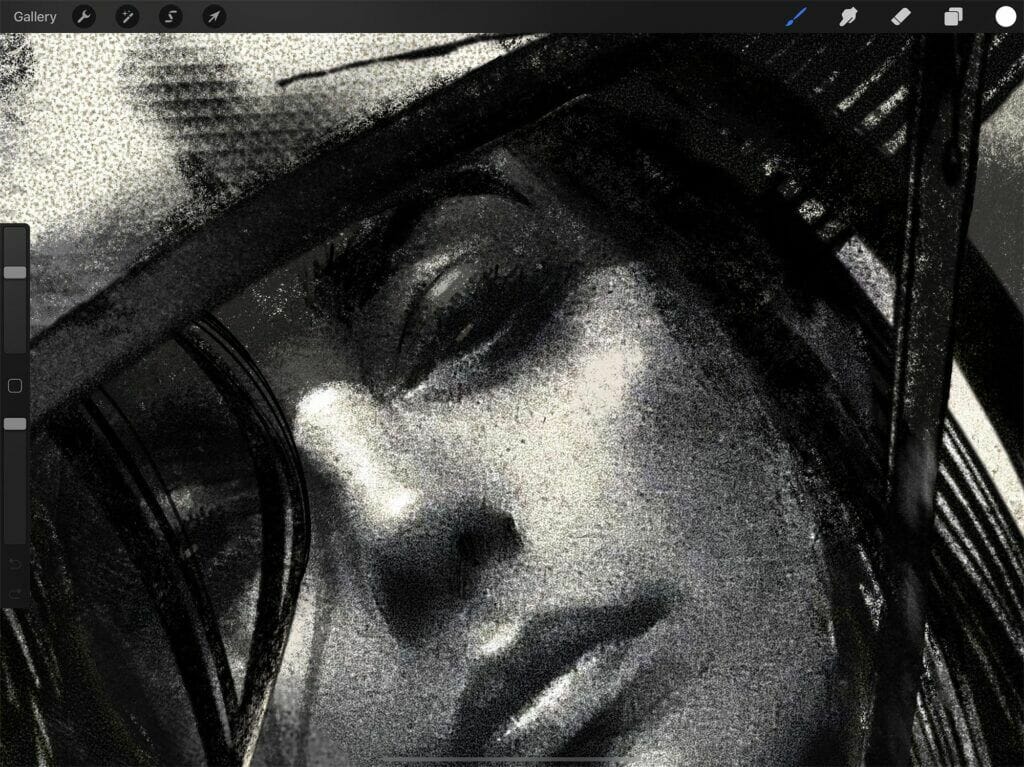
ONE OF MY FAVORITE MEDIUM BUT ALSO ONE OF THE MOST DIFFICULT TO MASTER...
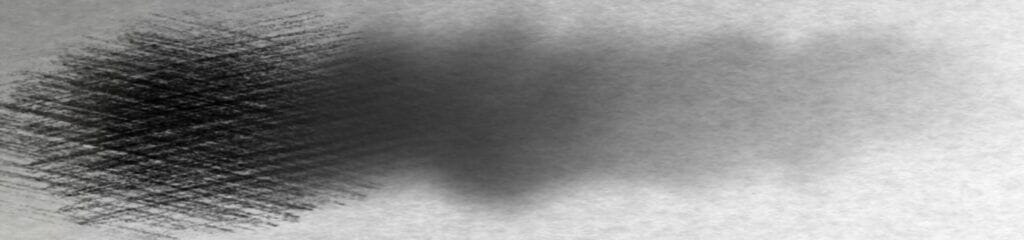
Digital can also imitate the chalk and charcoal render.
Procreate propose few nice brushes for it.

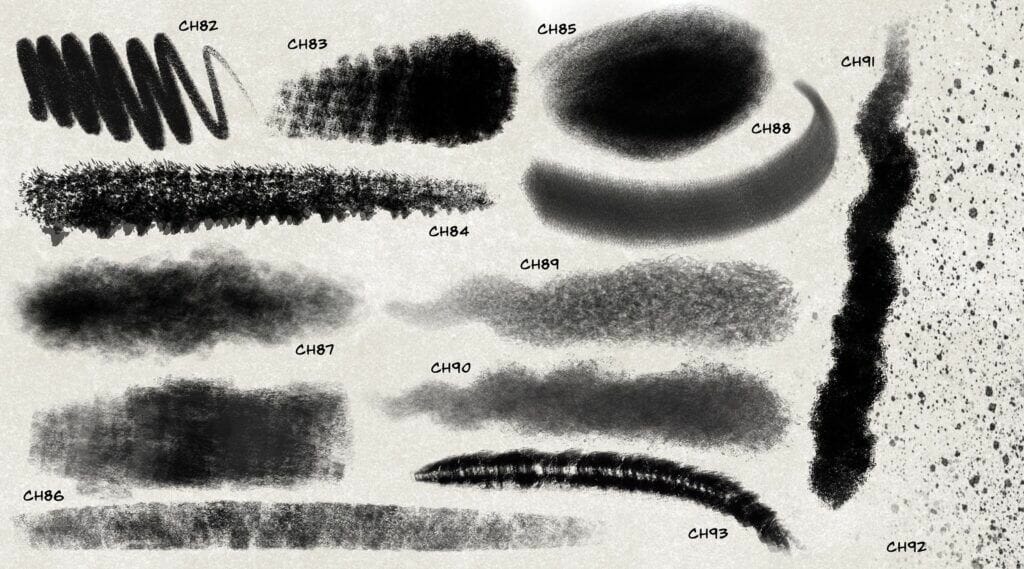
For more realistic options, our brush Pack propose a lot of charcoal textures and render.

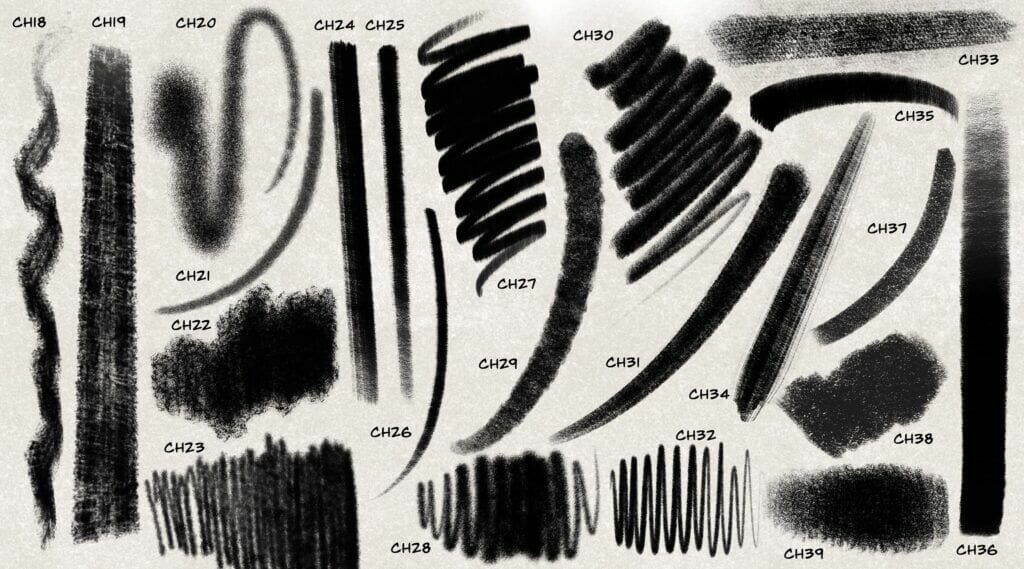
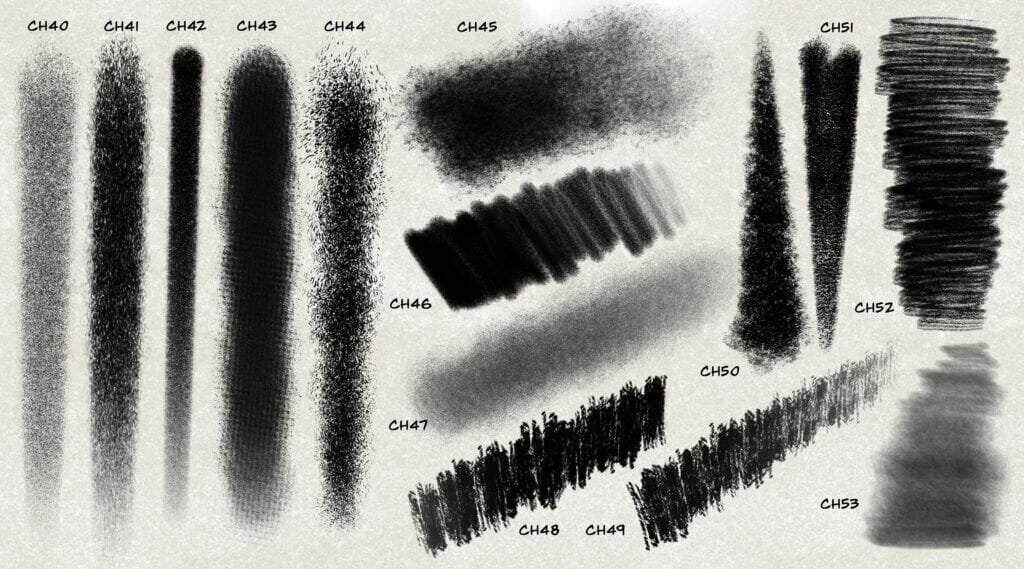
With a paper texture canvas you will arrive also to a more realistic render.
As you can see in this examples, the textures can arrive to the render of real medias.
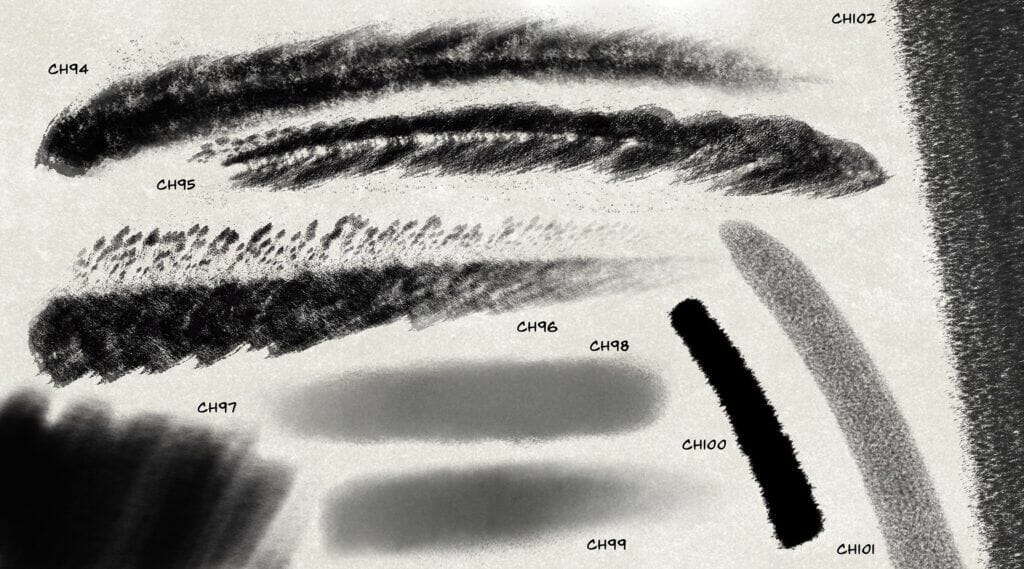
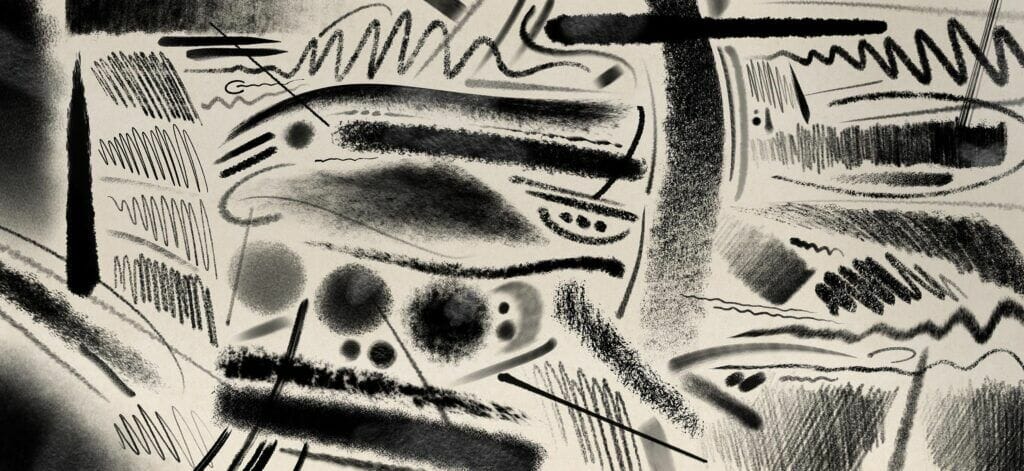
Let's fill the paper with rough and textured charcoal effects crafted from real mediums.
The gesture is really important for charcoal drawing, sometimes one effect is just one line and it must be perfect.
With Procreate you can do effects from textured large brushes to precise ones...
And blender to add some real smudge effects.
Not really my cup of tea...
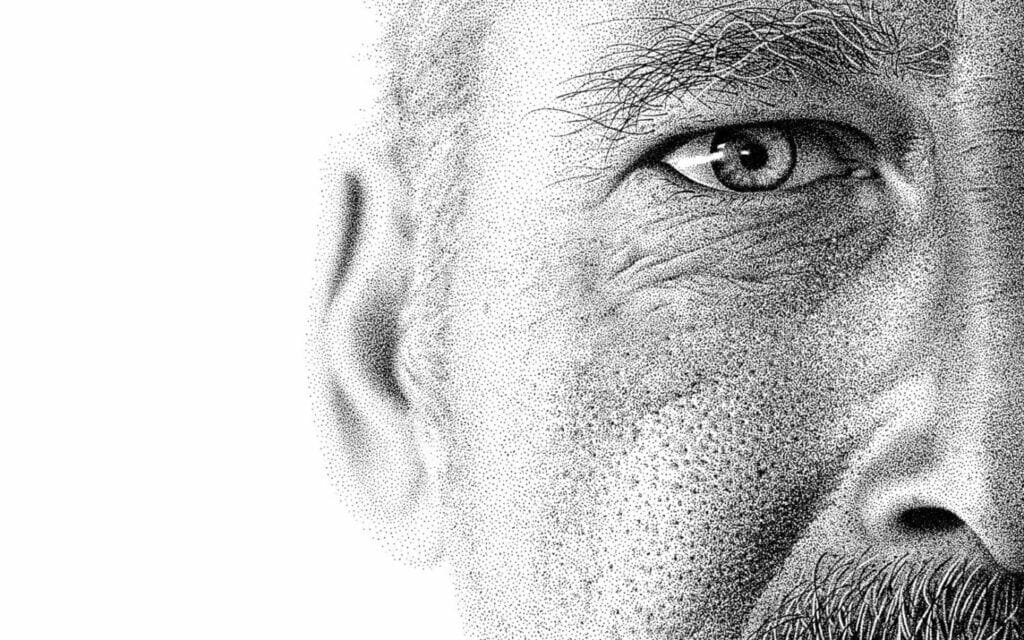
Similar to hatching, stippling is a technique of creating a repeat pattern on the canvas to convey areas of light and dark in a drawing.
Use a dotting action to render values.
Create dots closer together to show darker areas and further apart for the highlights and light tones.
For this technique, i recommend a hard brush, more inking than sketching.
29 $Purchase
