Many of these techniques will apply to various art programs and even traditional art.
Here i will use mainly Procreate on iPad.
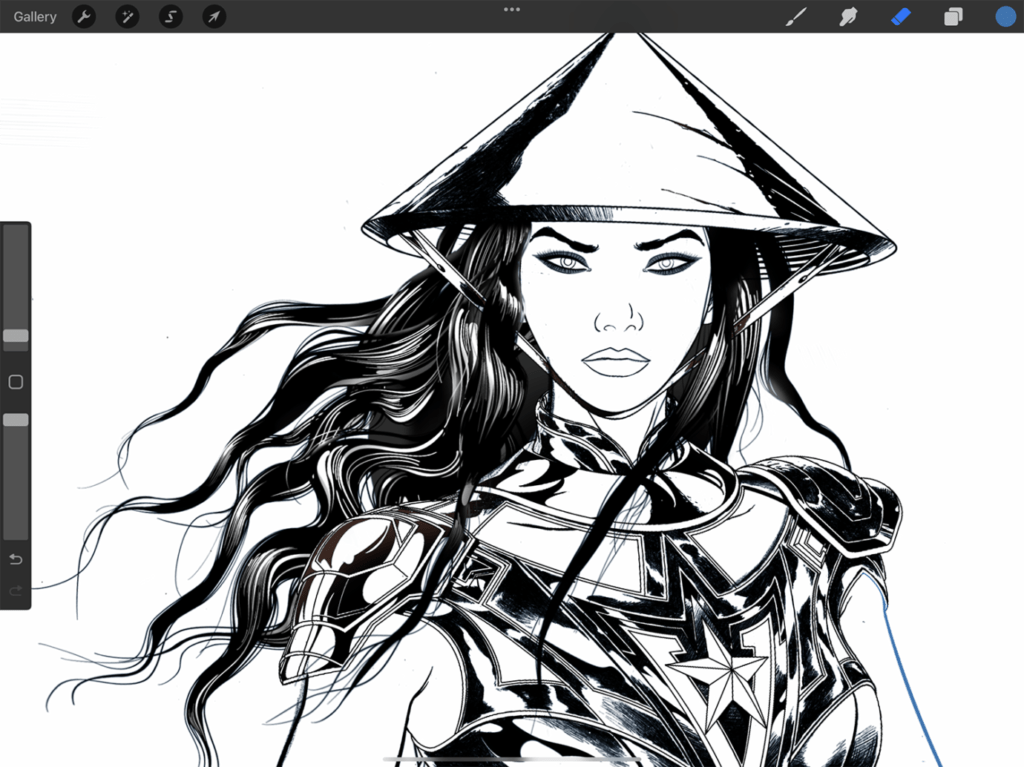
How to ink an entire scene from start to finish, how to spot in shadows, where to implement various line weights, how to cross hatch, how to adjust perspective, and how to clean up the work by using powerful editing features in Procreate.
Understanding on how to create beautiful line work for your illustrations quickly and effectively.
Digital art programs will not make you a better artist but used properly can make you much more efficient!
Main Points Covered in this article
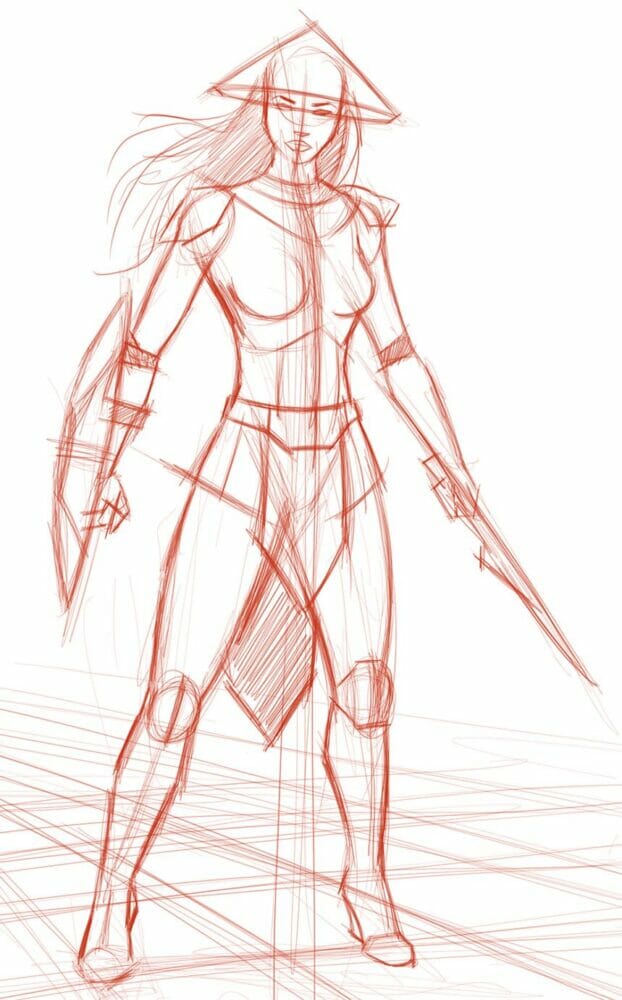
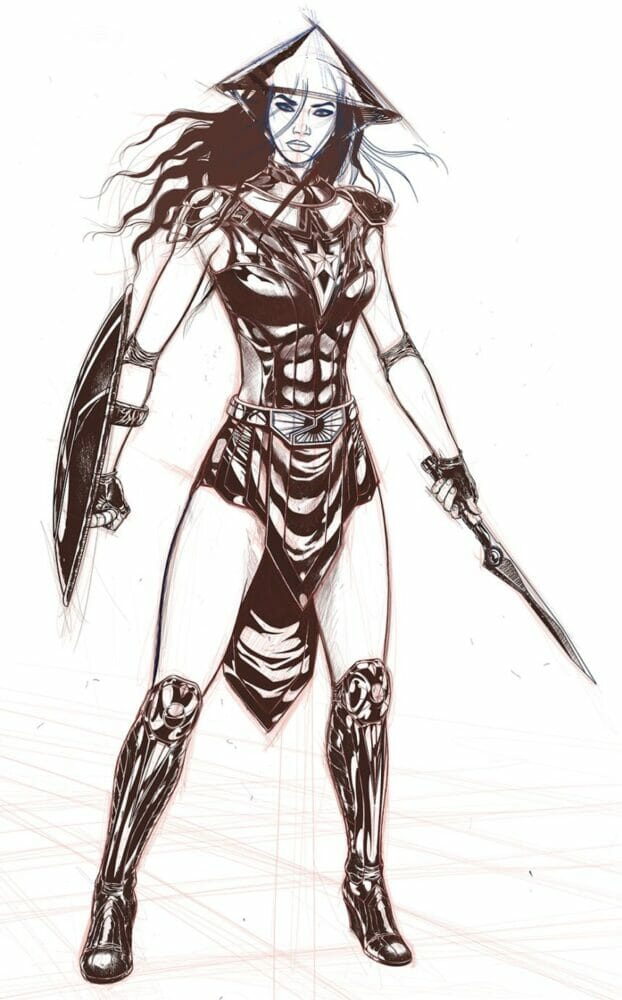
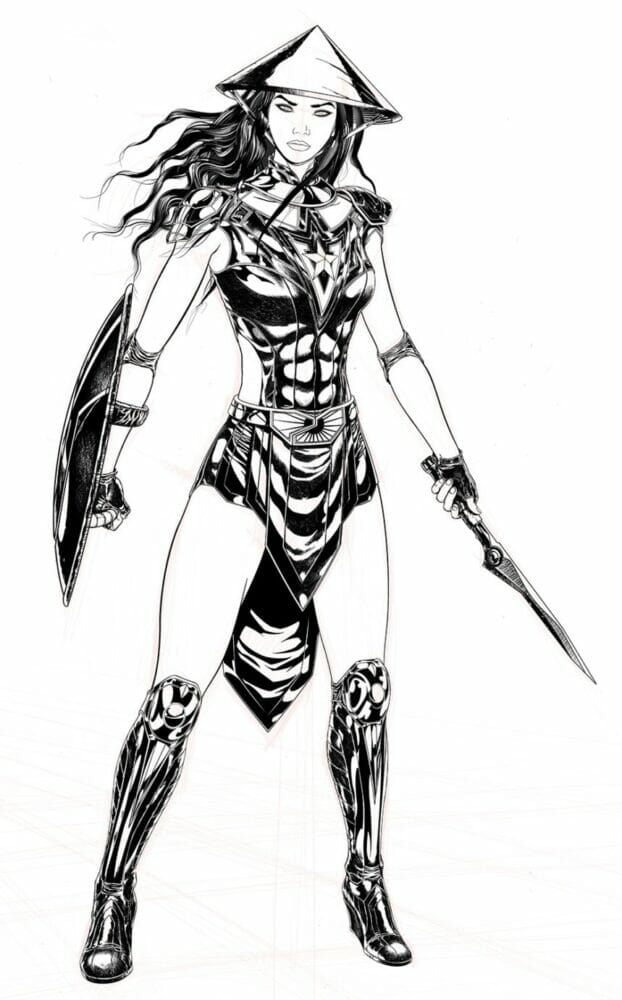
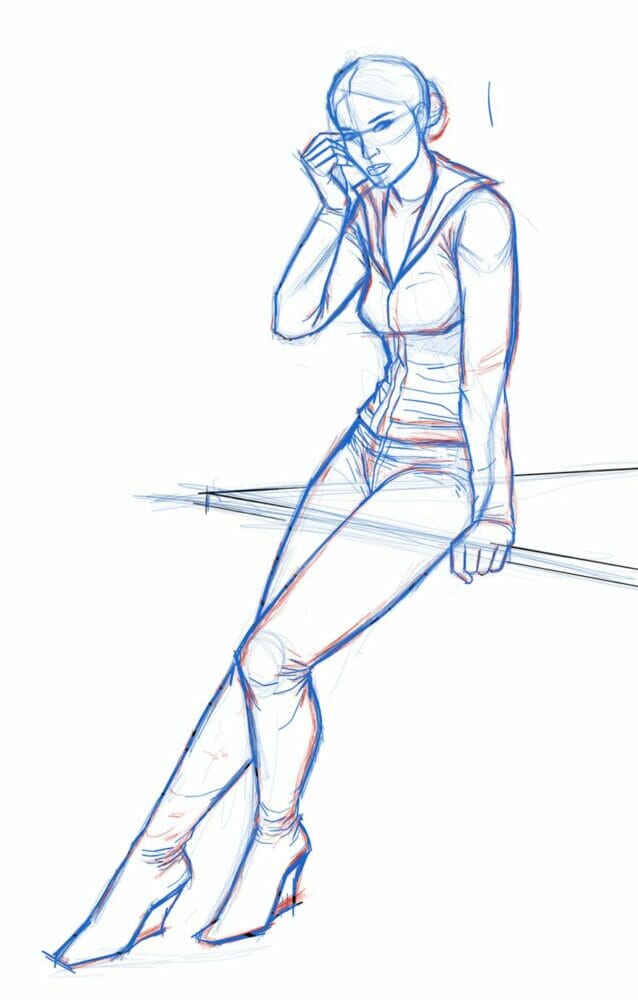
It's really important to work with a solid sketch base to focus only on the line when you start your inking.
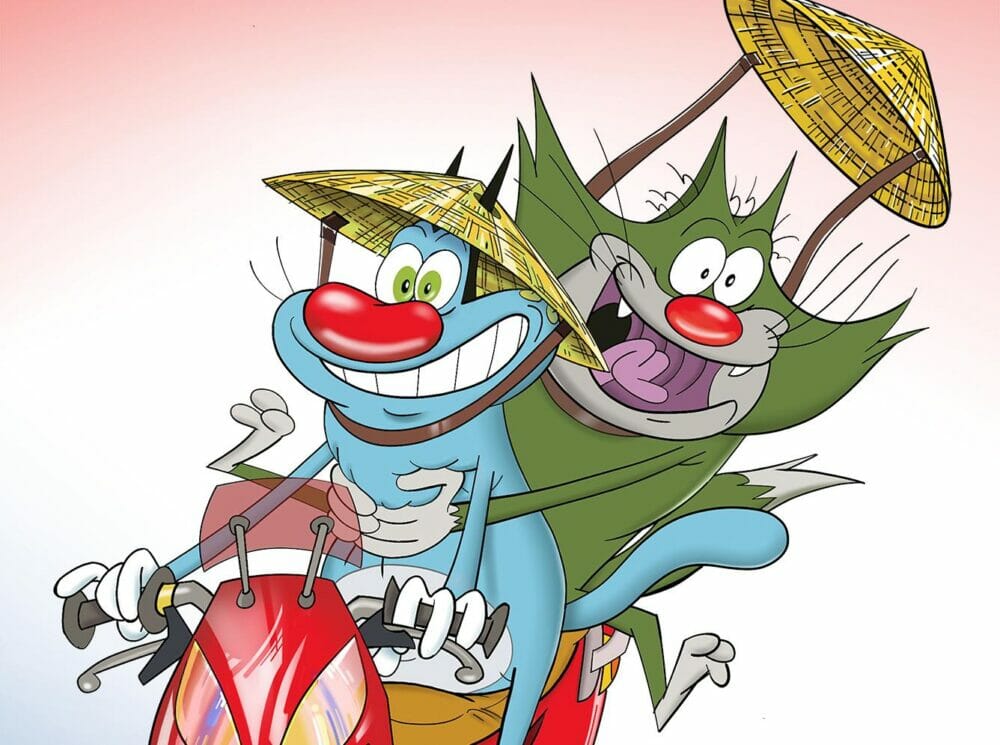
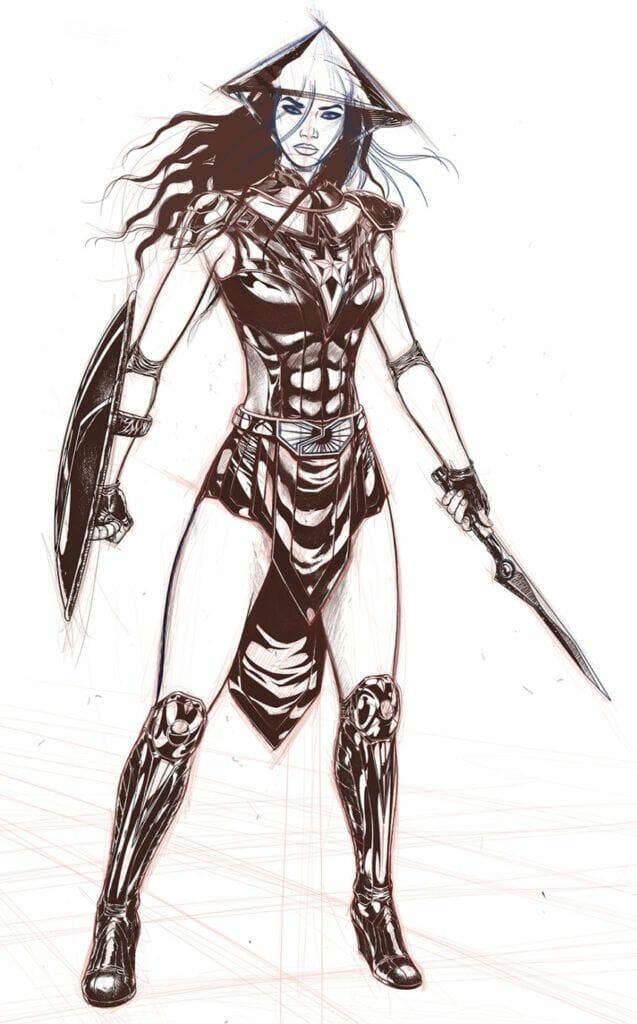
For cartoon also but of course the inking lines will be more simple.
Simple doesn't mean easy because when you have just few lines to create a design, those lines must be more efficient.
It's a strong sketch construction to avoid doubt during the inking process.
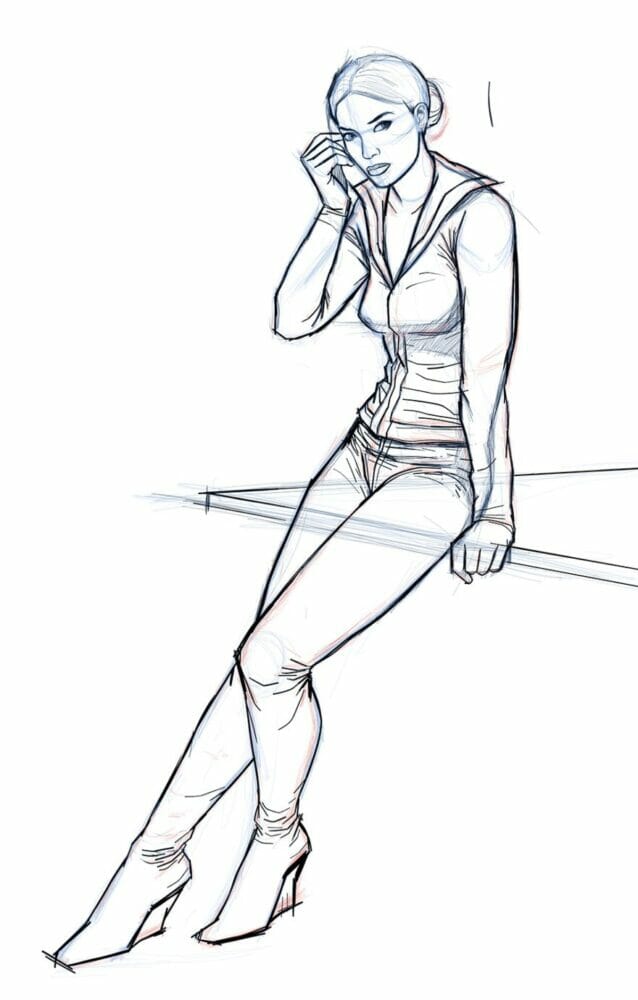
The next example is a good start but miss details in some difficult parts like the hands.
If your inking artwork includes shadow effect like in USA comics style, i suggest you to add it in your sketch...At the inking process it will be hard if you don't have minimum indications about the shadows.
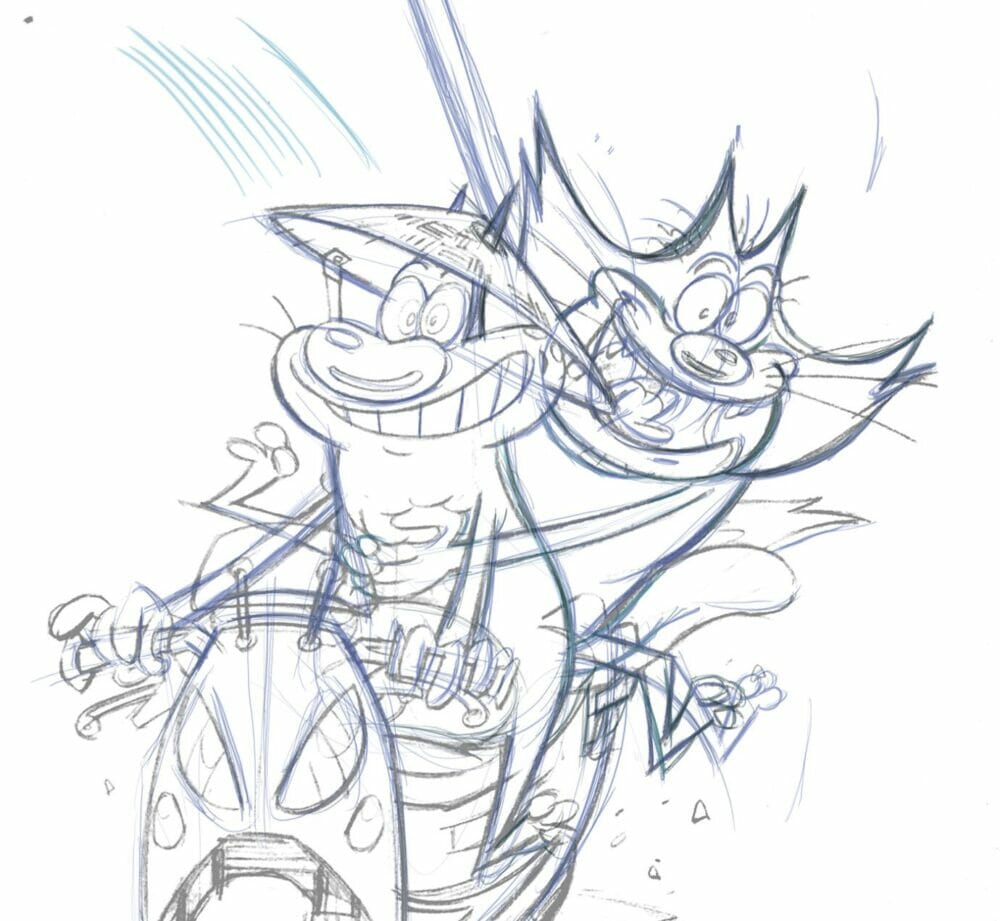
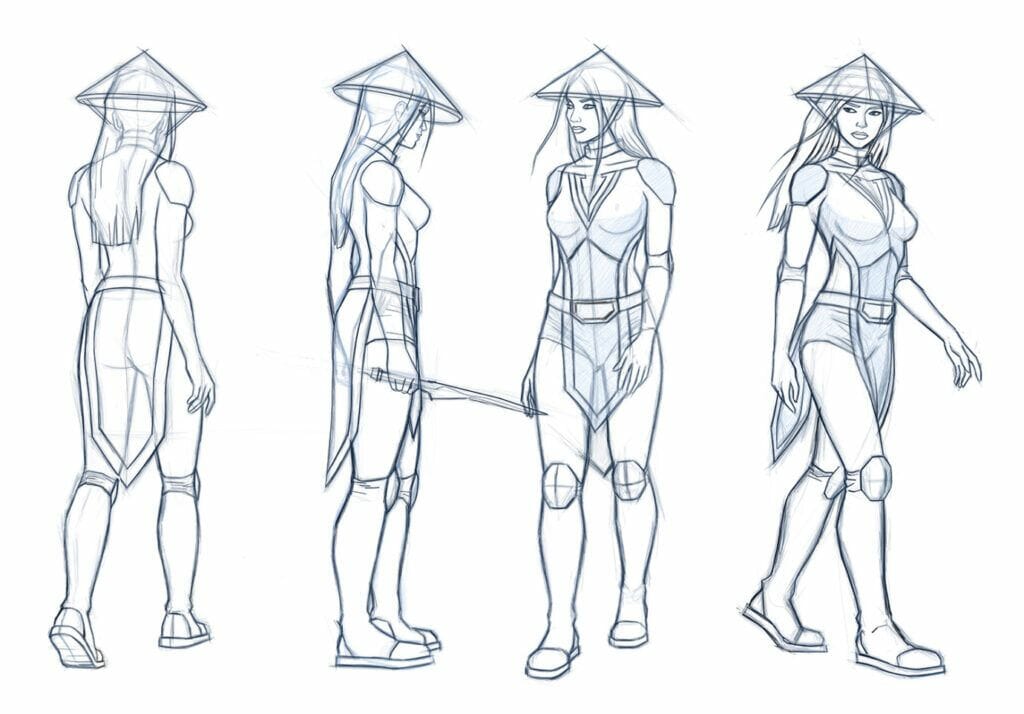
In cartoon style, the sketch must focus on the dynamic of the pose and acting.
The inking must keep the energy of the sketch.In this video, some cartoon sketch poses for the show "Oggy and the cockroaches".
For more informations about sketching techniques, i wrote this detailed article.
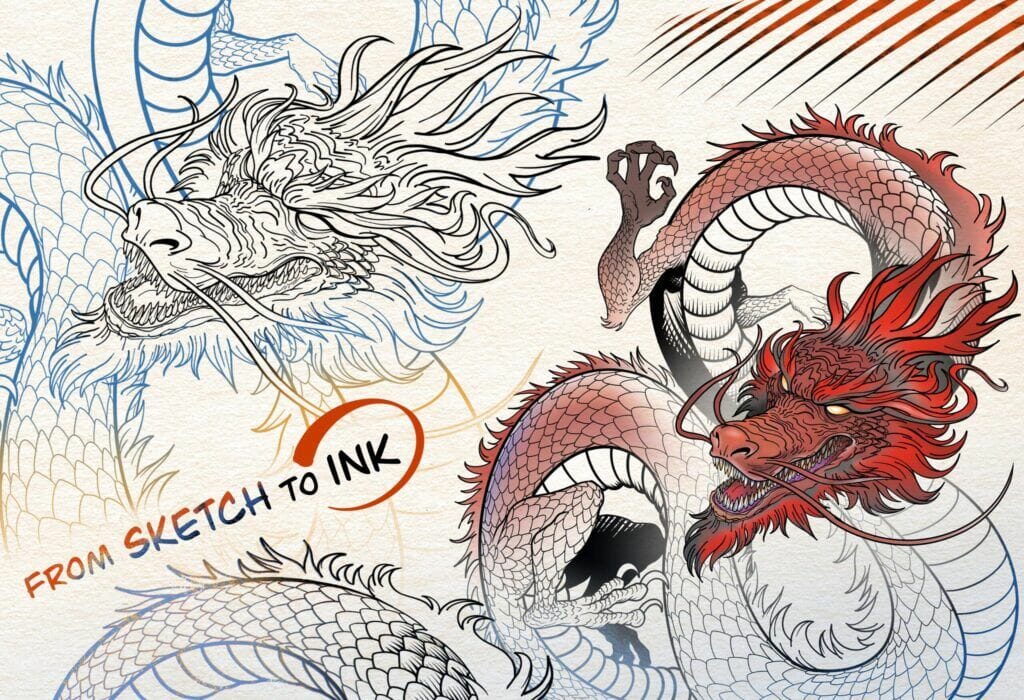
Inking can be done in thousands styles, from really rough to perfect clean lines...
I would say that according to your goals, the choice of the brush will be very important.
Sketchy or clean, textured or not, assisted or not...
If you know how to do, i suggest you to create your own brush to have your personal unique style.
In this article, a step by step tutorial to create brushes in Procreate.
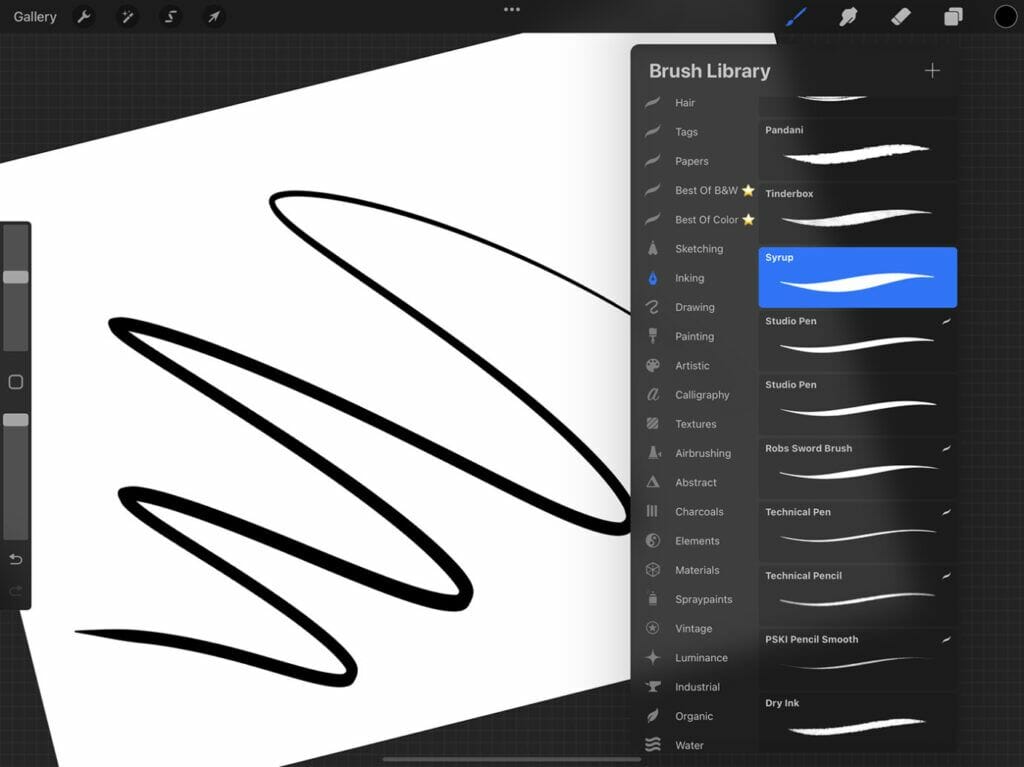
Procreate propose a range of good inking brushes to make great renders, but you can also find a lot of good brushes online, premium and free.
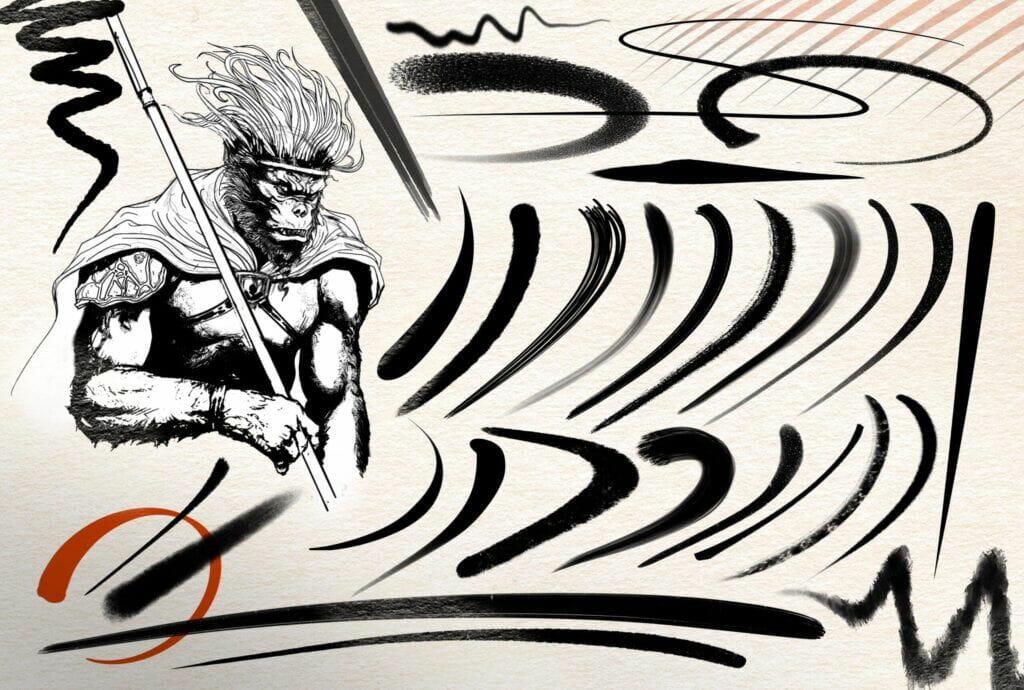
Most of the time, artists wants to arrive to perfect curves and lines to create clean artworks.
In traditional medias, it was very difficult because you can't redo several times the same curve until arrive to the perfect one.
Digital allow us to stabilizing brushes to obtain this kind of effects, but every softwares and apps propose different tools.
The vector base App Affinity designer propose a really effective brush stabilization.
And because it's a vector app, it also allows to adjust the lines one by one.
But here we will focus on the raster design App Procreate.
In the Inking section of the brush library, the Studio Pen is probably the most clean brush.
Let's try to stabilize it to obtain dynamic effects and a good render.
In the stabilization section of the brush, adjust the setting at your hand. Personally i just adjust the streamline settings.
Start to inking but when some lines will cross i suggest you to create a new layer.
It will be easier to erase some part and keeping a dynamic gesture when you create your stroke.
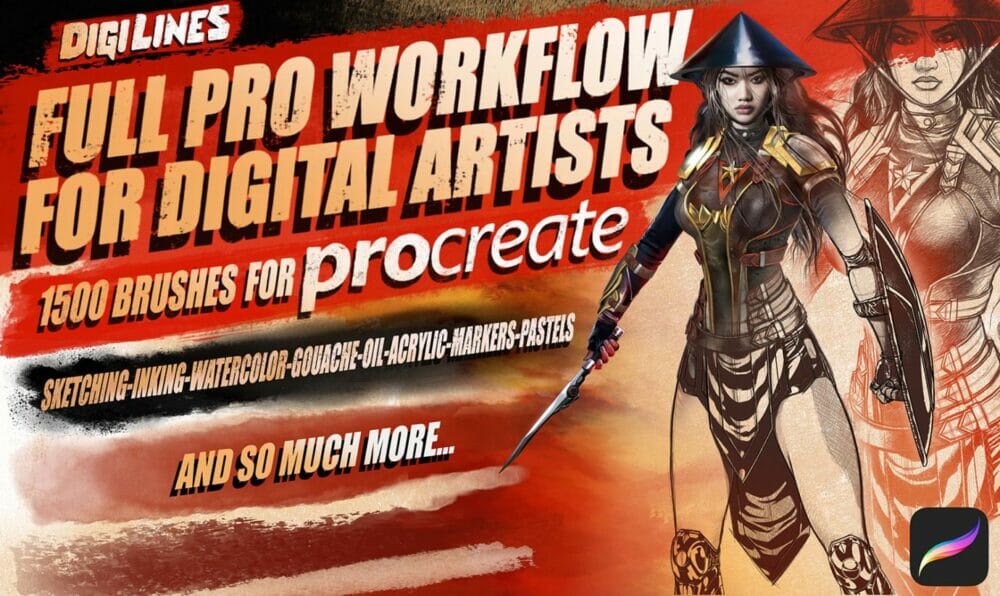
29 $Purchase